Secrets to Making Perfect Waffles Every Time
This post may contain Amazon or other affiliate links. As an Amazon associate, I earn from qualifying purchases.
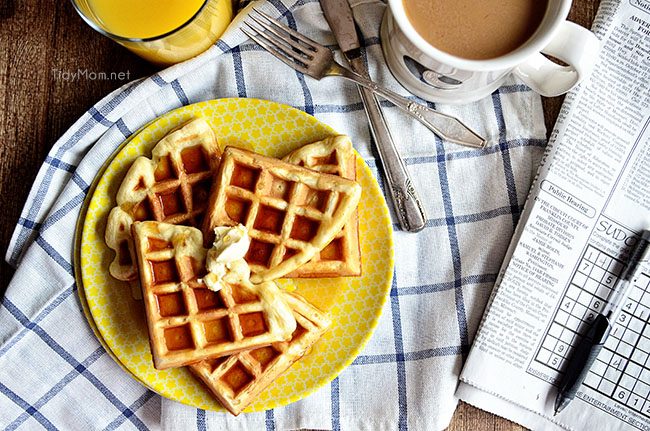
Get the scoop on how to get a crisp on the outside, fluffy on the inside flavorful, golden brown waffle every time. Perfect waffles do exist and you definitely won’t want to miss out on all my favorite tips and tricks!
![]()
Table of Contents
Where Did Waffles Come From?
Fun Fact: Did you know Thomas Jefferson started the waffle craze?
That’s right, in 1789, Jefferson returned to the United States, from France with a long-handled waffle iron, and set off a national waffle craze. Everybody who was anybody began having and attending waffle parties. Attendees could top their waffles and enjoy them with either sweet or savory toppings.
People who attended waffle parties in the South enjoyed their waffles with a hefty side of fried chicken, and a culinary classic was born!
Jefferson may have introduced the waffle iron to the States, but Cornelius Swartwout perfected it – and patented it! General Electric later made the waffle iron a household item by the 1930s, and the waffle iron can still be found in most US kitchens today.
Secrets to Making Perfect Waffles Every Time
Many of us own a waffle iron but don’t know the proper techniques to make a good waffle at home. Let’s take a look at a few tips that can take your waffles from drab and soggy, to fab and crispy!
This post may contain affiliate links. Please read my disclosure policy here.
CHOOSE THE PERFECT WAFFLE MAKER
When purchasing a waffle iron, here are a few things to consider:
* Look for temperature control. An adjustable thermostat allows you to dictate the cooking temperature on your waffle maker. This way you can please anyone, whether they prefer soft, light-colored waffles, or crispy, dark-colored waffles. Not to mention its a must-have if you want to use nonstandard recipes such as whole-grain or oatmeal waffles. This is because the different ingredients all cook differently.
* Opt for cool-touch handles if you have small children. Waffle irons with plastic a handle heat up less than models with chrome or stainless-steel housings.
* Size matters. Consider how much space you have for storing the waffle maker, some can be rather bulky. If you’ll be making waffles for a family or a crowd, consider a model that makes several individual waffles at once. For those with limited space, consider a mini waffle maker that can be easily stored.
Be sure to read the instruction manual for your unit thoroughly. Different waffle makers are designed to cook waffles differently.
DON’T FORGET THE SECRET INGREDIENT
It may seem weird, but surprisingly cornstarch is the perfect secret weapon for a restaurant quality waffle.
The cornstarch along with the flour will guarantee you come out with waffles that are crisp on the outside and tender on the inside.
NOTE: Be sure to check the expiration date on your cornstarch. The date on the container is not a safety date, it is the manufacturer’s estimate of how long the cornstarch will remain at peak quality. Expired cornstarch may not yield the desired results.
SEPARATE EGG WHITES + SUGAR
PERFECT WAFFLES have a light and fluffy interior. To achieve this leave the sugar out of your dry ingredients and separate your eggs.
Once the eggs are separated into yolks and whites, add the yolks to the wet ingredients of your batter. In a separate bowl beat the egg whites to almost soft peaks. Sprinkle in the sugar and continue to beat until the peaks are firm and glossy and gently fold into the final batter using a spatula.
DON’T OVERMIX BATTER
Waffle batter can be a little tricky. It should be smooth enough to flow freely through the dimples of the waffle plate, but, like cake batter, it should never be over-mixed (over-mixing turns the flour into gluten which produces a chewier, less-fluffy texture).
The solution to this chewy disaster is a gentle hand and patience. Grab a rubber spatula and gently mix the wet ingredients of your batter into the dry ingredients. Using a gentle motion mix the batter until smooth. This should take just a few minutes, then you can fold in the egg whites and sugar just until combined.
USE BUTTERMILK AND MILK
A thinner batter generally results in a crisper waffle.
Buttermilk waffles are flavorful, but the batter is thick and the waffles aren’t as crisp. Waffles made with milk, on the other hand, are crisper but less flavorful than buttermilk waffles. Use both buttermilk and milk for a crisp texture full of flavor.
**Use REAL buttermilk for best flavor. But, if you’re in a bind, you can substitute with homemade buttermilk (1-2 tablespoons of lemon juice or vinegar to 1 cup of milk).
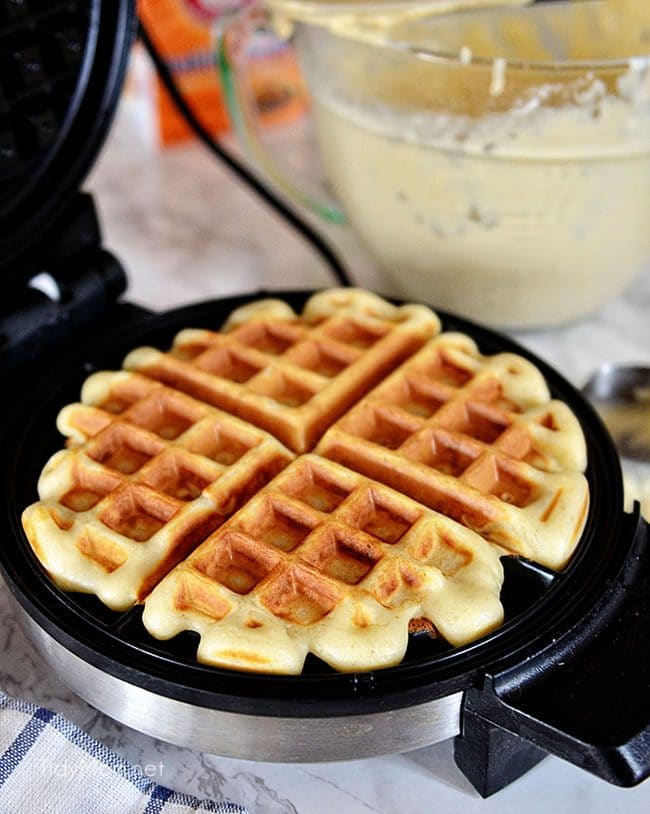
NO PEEKING
Don’t lift the lid too early. It’s usually best to wait until your waffle maker says it’s okay, by way of its indicator light or beeping mechanism. If you lift the lid too soon could cause your waffle to rip, leaving one half of a waffle stuck to the top and the other half to the bottom.
If your iron doesn’t have a beeper or light, check the manufacturer’s instructions for minimum cooking times. Also, watch the steam; it will decrease as the waffle cooks.
Another tip to avoid ripping is to respray the pan after EVERY SINGLE WAFFLE. This may sound tedious, but if you want that picture perfect waffles shape, you’re not going to want to lose half of it to the pan.
CRISP WAFFLES IN OVEN
Once the waffles are cooked, crisp them further in the oven. While making waffles, preheat your oven to 250°F. Before serving, place waffles directly on the oven rack (do not stack) for five minutes.
This allows you to make all the waffles before serving, so everyone can eat at the same and the low heat of the oven reinforces the waffle’s crispness. Don’t stack the waffles or within seconds they’ll turn moist and limp.
FIRST WAFFLE IS THE TESTER
The first waffle is usually a throwaway –or you can snack on it while making the others like I do;). Often that first waffle doesn’t turn out perfectly – simply adjust the amount of batter and the color control settings until you get the results you like. Start with about a 1/2 cup of batter for the smallest irons and 2/3 cup for bigger ones; increase as necessary to fill out waffles.
FIND THE PERFECT WAFFLES (AND TOPPINGS) RECIPE
The perfect waffle doesn’t come without the perfect recipe. Today you’re in luck because I have just the recipe for you.
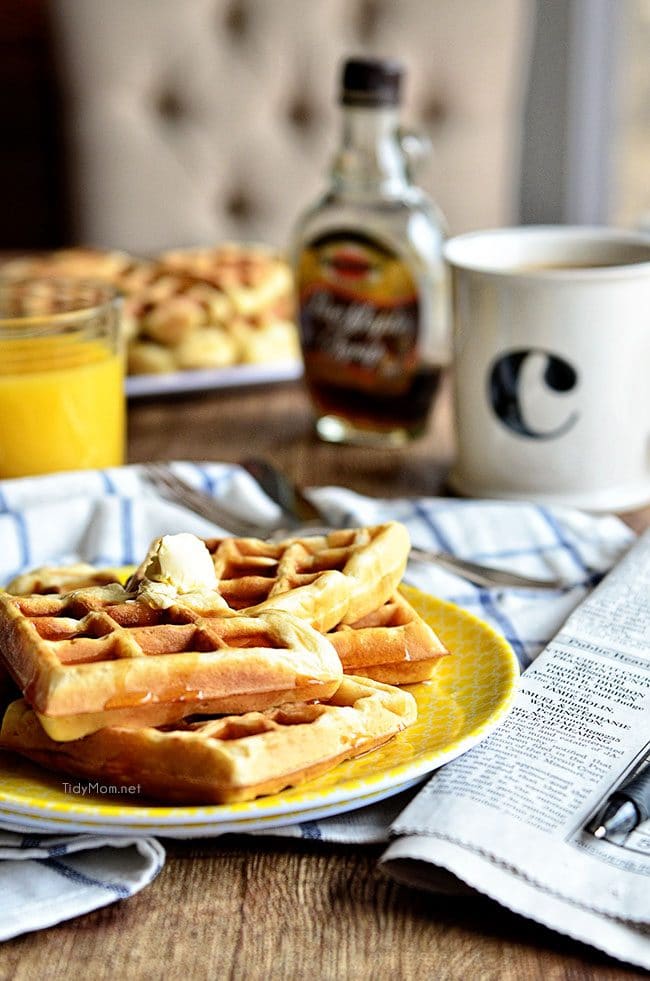
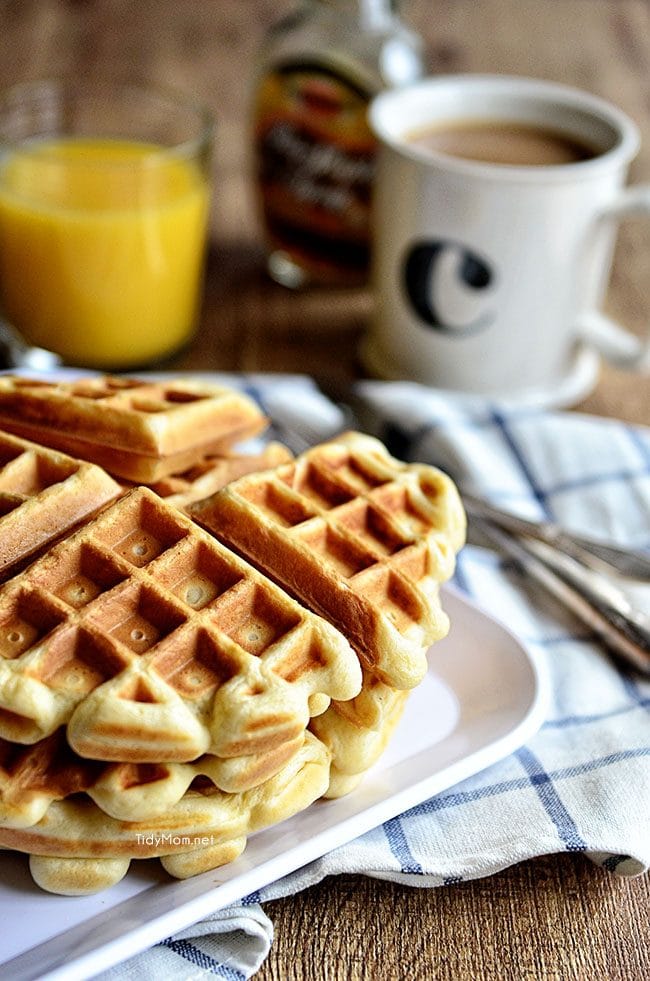
My Buttermilk Waffles Recipe is a breakfast staple in our house and is great for implementing all of these waffle tips and tricks. These waffles will make you want to ditch your breakfast plans and pull out the waffle iron.
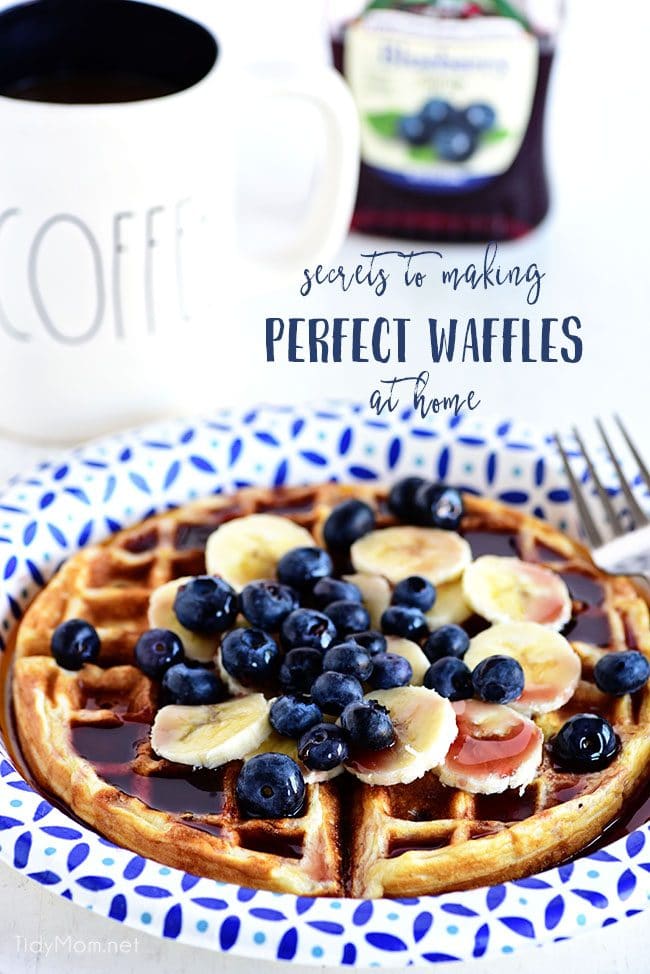
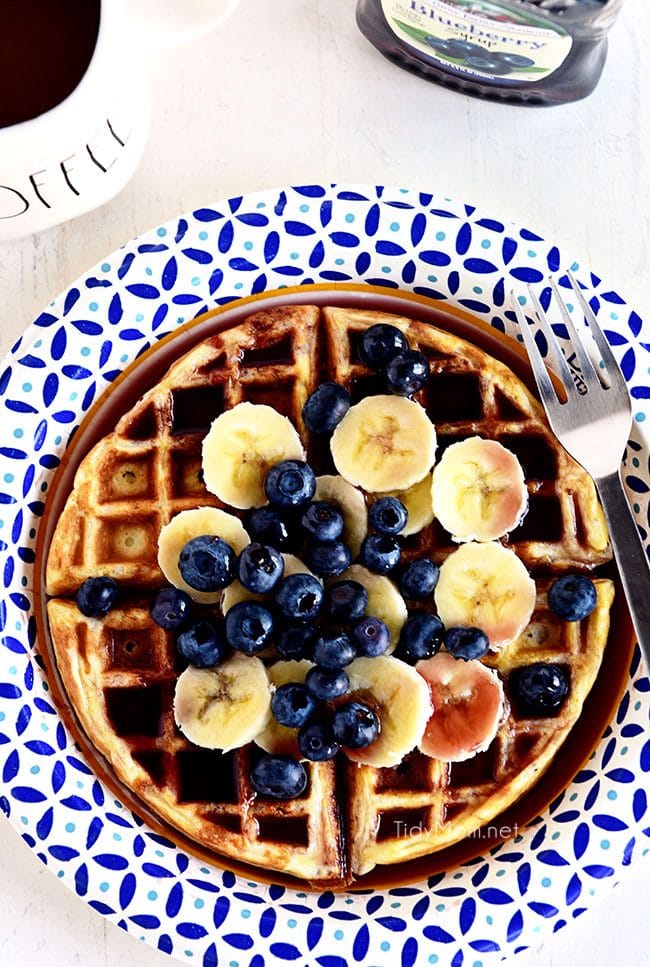
If you want to add even more sweetness to your morning, toppings galore is what you want. Homemade Blueberry Syrup and Roasted Strawberry Sauce are my personal favorites.
For the times you want to make an extra special breakfast for a group try making your own waffle bar at home. It’s perfect for any parties, showers, or special occasions.
MAKE EXTRA Perfect Waffles
Waffles keep well. So I like to make extra and store leftovers in a freezer bag for months and reheat in a 400-degree oven when the waffle-eating mood strikes.
Now that you know how to make perfect waffles at home, break out the waffle iron and make some of these babies for breakfast, lunch or dinner.
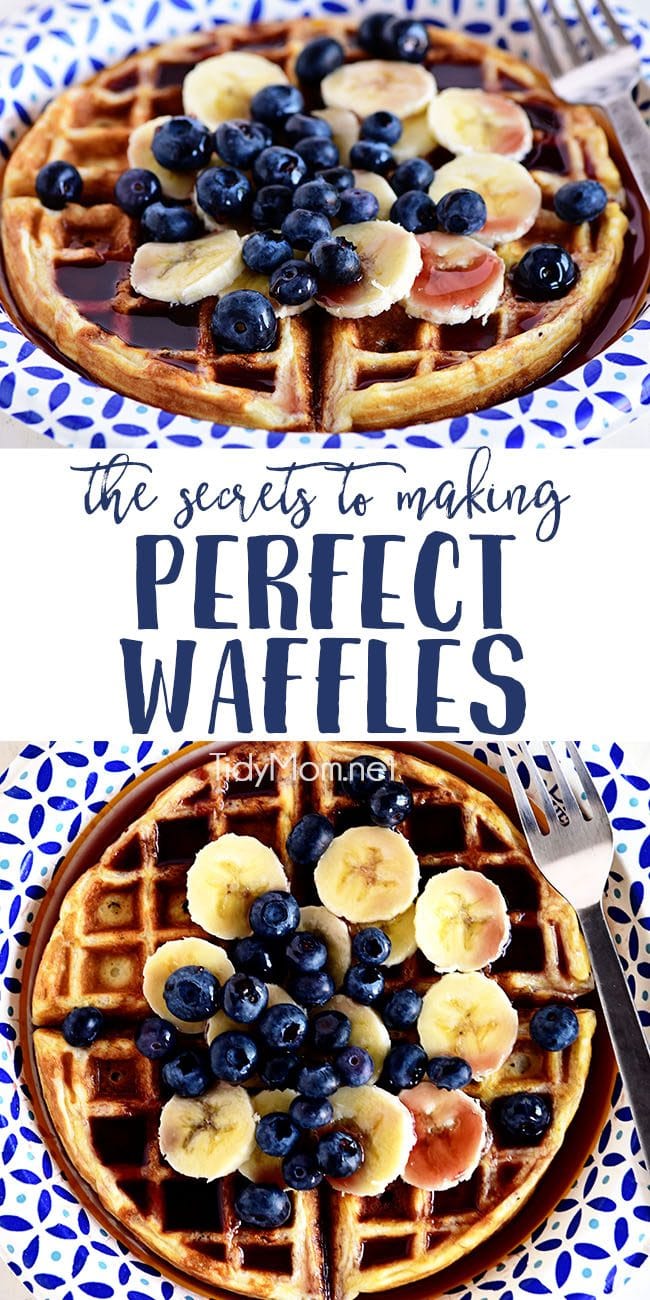
PIN THIS POST TO SAVE IT FOR LATER!
![]()
Hi there, I'm Cheryl!
As a wife, mom, and caffeine enthusiast, my journey has taken me from bustling mornings with my family to sharing delicious recipes, home care tips, and heartfelt decorating insights with wonderful readers like you. My love for baking, photography, and tidiness shines through every post I craft. Dive into my world and discover the art of homemaking, one tidy moment at a time. Read more...
Tidymom is a participant in the amazon services llc associates program, an affiliate advertising program designed to provide a means for sites to earn advertising fees by advertising and linking to Amazon.com.
Please respect my work, recipes and photographs. If you do use a recipe in your own writing, please give proper credit and link back to the original post.
These waffles look amazing, definitely they’re on my mind now for this weeks’ breakfasts! Thank you so much for including a link to my waffle bar, really appreciate that 🙂