DIY Chalkboard Gift Wrap
This post may contain Amazon or other affiliate links. As an Amazon associate, I earn from qualifying purchases.
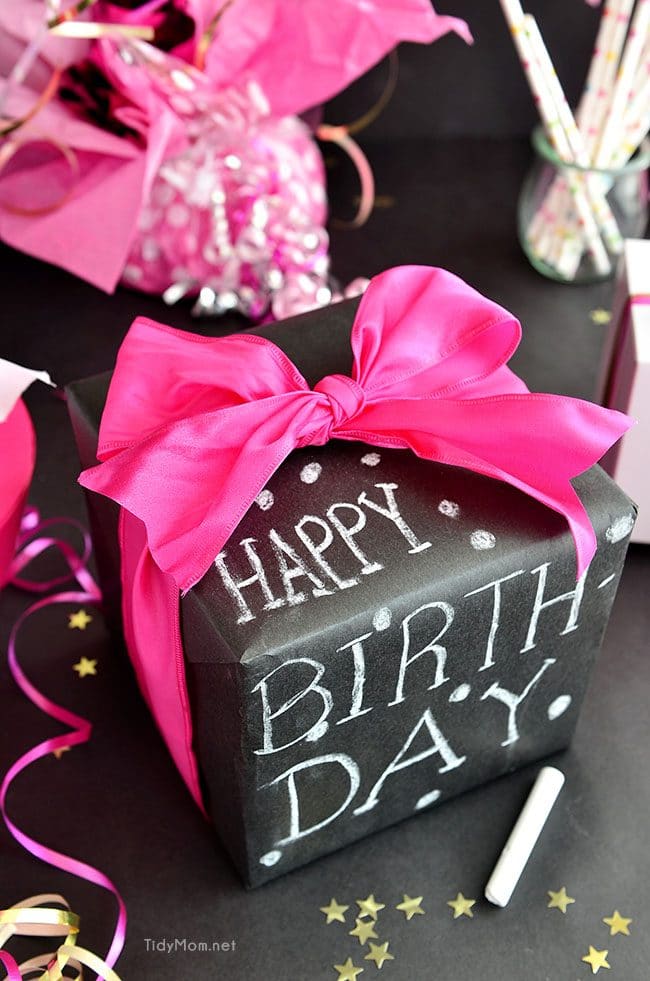
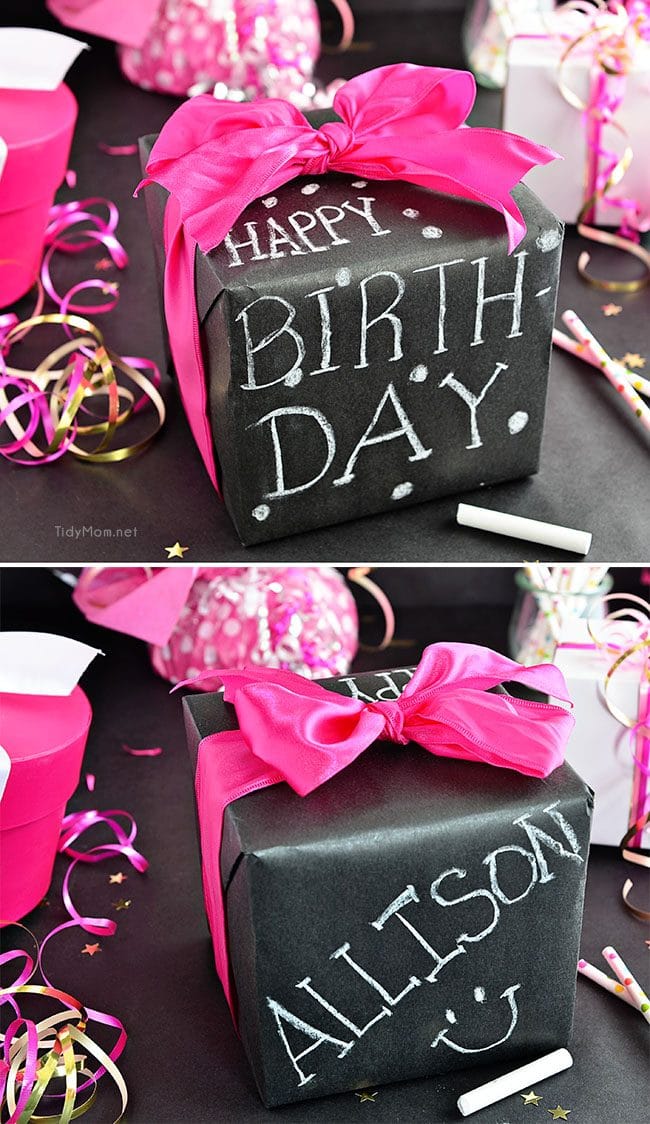
Such a fun inexpensive idea for gifting!! No two gifts will be the same with DIY Chalkboard Gift Wrap.
We’ve been all about birthday’s here the last few months. I shared the Pink Champagne Birthday cake Allison made for my birthday and the Birthday Sugar Cookie Cake I made her. Then I shared the Birthday Party Cart we used for a little celebration for Allison and my mom’s birthdays. Today I want to talk about gift wrap….. DIY Chalkboard Gift Wrap to be exact.
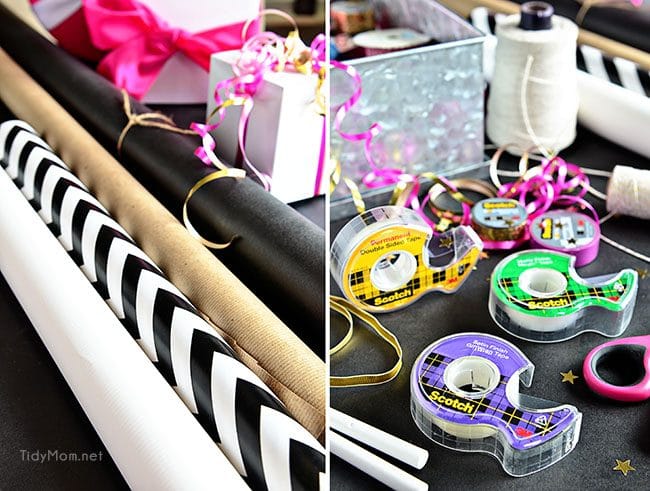
There’s something magical about a beautifully wrapped gift. But, buying and storing tons of wrapping paper every year can be a hassle. Even if you resort to gift bags, they can be expensive and if you’re like us, we never have the right size or style of bag to fit the gift or recipient. I’ve solved that problem by buying a few roles of very generic gift wrap, like white, brown kraft and most recently black kraft paper……… so I can customize them with bows, washi tape, ribbons and other embellishments. The best part is, they work for any holiday or occasion. Bonus Tip: Scotch® Brand makes several varieties of wrapping tape so you can be sure they will notice your beautiful gift wrap, not the tape 😉
Everyone has been obsess with the whole chalkboard craze for the last few years, so I thought why not chalkboard gift wrap?! It would be perfect to personalize. I found a 50′ role of black kraft paper for under $20 on Amazon and it’s perfect for chalkboard gift wrap, and it’s going to last me a long time! just think of the possibilities!
I love how thick the kraft paper is, so it holds up really well, and since it has a matte finish (not shinny) it worked wonderfully with the chalk. The gifts turned out super cute. here’s how i did it:
Materials Needed for DIY Chalkboard Gift Wrap
- black kraft paper
- Scotch Brand Satin Finish GiftWrap Tape
- scissors
- chalk (or you could use chalk pens or white paint pens)
- gift/box
- ribbon (or any embellishments you want)
Step by Step Instructions
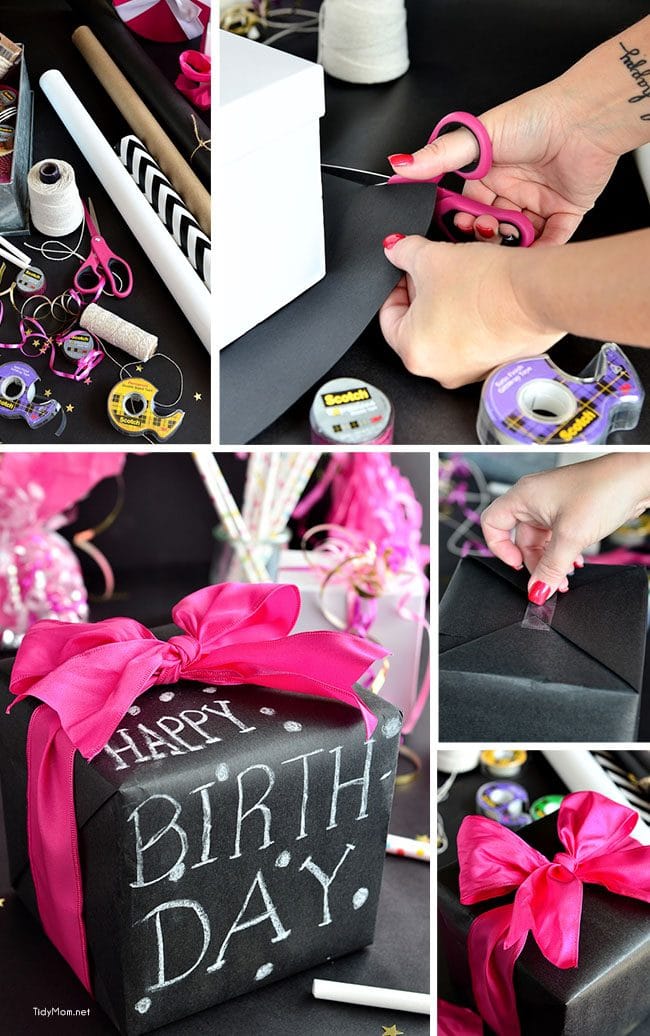
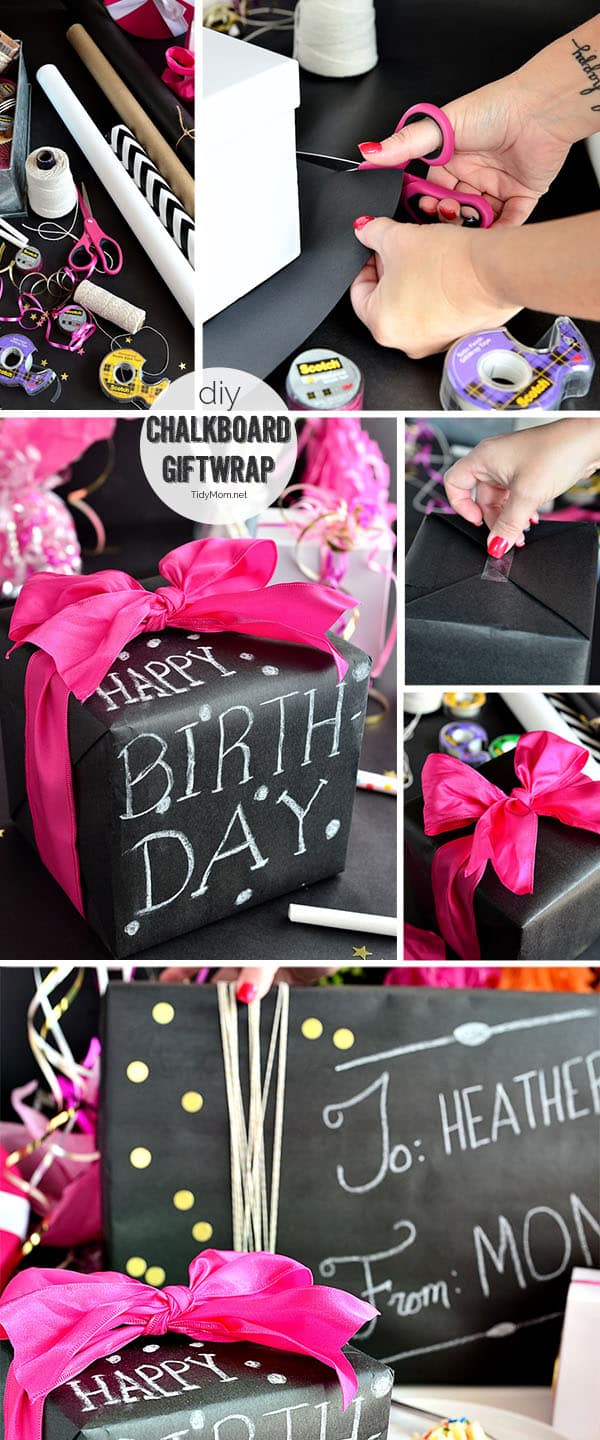
- The first step is to gather your supplies for wrapping as well as your gift(s). Use scissors to cut black gift wrap to fit gift box. Tip: for a beautifully wrapped box you don’t want to use too much paper; it causes bulky, sloppy folds. When measuring, wrap the paper around the box, the ends should overlap just a couple of inches. When folded over the ends, the paper should extend just a little more than halfway.
- Fold the paper around the gift. Place the gift top side down on the center of the piece of gift wrap. On the horizontal side of the paper,wrap the paper around the box and pull the two long edges together so that they meet in the middle. Fold the cut edge (make sure it has a nice smooth crease), pull over the other end and pull it tight and secure with Scotch Brand GiftWrap Tape.
- For the ends of the box, fold one side of the box at a time, giving each fold a good sharp crease. Push sides of paper inward, creating 45-degree angle flaps, then crease along flaps. Fold down top flap and secure with tape. Fold and crease edge on bottom flap, pull up over top flap and tape to secure. Repeat on the other side., you can also use Scotch Brand double-sided tape for less visible seams.
- Measure a piece of ribbon by going around you box twice, and cut using scissors. Set box in the center of piece of ribbon and bring the ribbon up and around the edges to the top of the package. Take the two ends and tie in a bow by first bringing up one end in a loop, pinch at the base, and bring the other ribbon around, under, and through the loop. Pull taut. Now, fluff up and perfect overall look of the bow (this is where wired ribbon is nice), you may need to adjust the loops by tugging on the tails. Clip the tails by folding them in half and trimming at at upward angle.
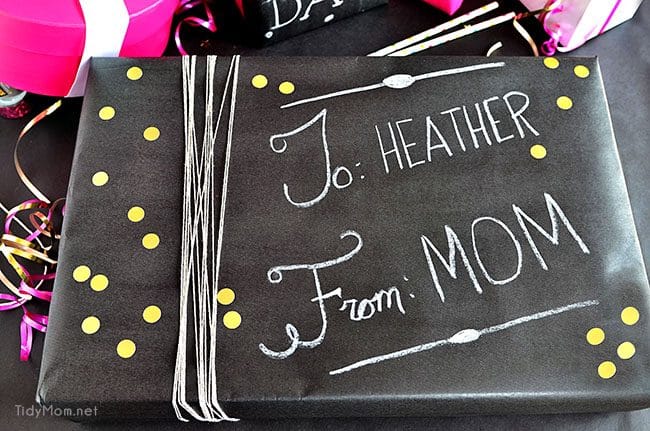
- Use chalk to personalize. Write a message, such as Happy Birthday, Congratulations, Merry Christmas, To and From on the package, or draw items, such as a birthday cake, dots, snowflakes, laurel wreath etc.
DONZO! So easy, right?
The chalkboard gift wrap presents were a big hit! I didn’t have any trouble with the chalk rubbing off, but it does rub off if you try. So if you need to transport or handle the gifts too much, you might want to use the markers.
I can’t wait to chalkboard gift wrap for Christmas gifts! I love that you only buy one roll of paper and none of your gifts will look the same! Think of how much fun it would be for the kids to decorate gift for their grandparents, teachers and friends too!! Or the black wrapping paper would coordinate with gifts wrapped in the brown kraft and white paper if you want to add a little variety. There are so many creative ways of wrapping gifts with a few simple supplies!
linked up to Work it Wednesday
Disclaimer: I have a working relationship with Scotch Brand. As always, all views and opinions are my own. Thank you for supporting the amazing brands who make TidyMom possible!
Tidymom is a participant in the amazon services llc associates program, an affiliate advertising program designed to provide a means for sites to earn advertising fees by advertising and linking to Amazon.com.
Please respect my work, recipes and photographs. If you do use a recipe in your own writing, please give proper credit and link back to the original post.


Clever.
Adorable.
Cute.
PS-I love your tattoo.
😉 thank you!!
Love the idea. Saves money and time. Each decorated beautifully according to the individuals style even. Never thought to do this. Will definitely be doing it now. I agree with you, we never have the right size bag or just the right paper for the age of the recipient of the gift. Thanks. 🙂
Cute and awesome I love these
This is just darling! I especially love the black and pink together!
I love the idea of this paper with lots of pretty ribbon options! I feel like I am ALWAYS buying wrapping paper! Great idea!
Love this! So cute and simple!
so cool! I love this idea! thanks for sharing 🙂
This is such an amazing idea! Thanks for sharing it. I’m Anita visiting from Palooza Link Party.
I absolutely LOVE this idea… such a pretty way to add some fun flair to your wrapping!
I love this idea because it removes the need for gift tags!
I love this idea, especially with your bright, pink ribbon!
This is genius! I’m about to step up my gift game big time!