Greek Chicken Wrap
This post may contain Amazon or other affiliate links. As an Amazon associate, I earn from qualifying purchases.
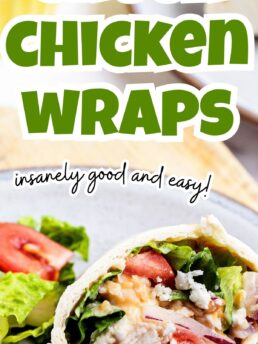

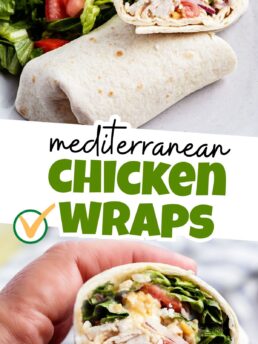
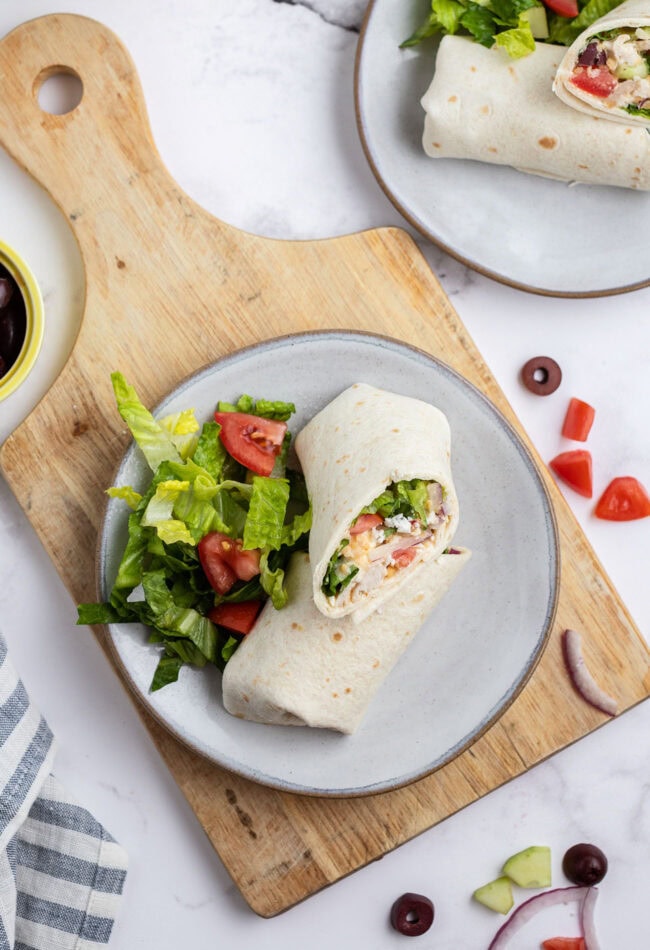
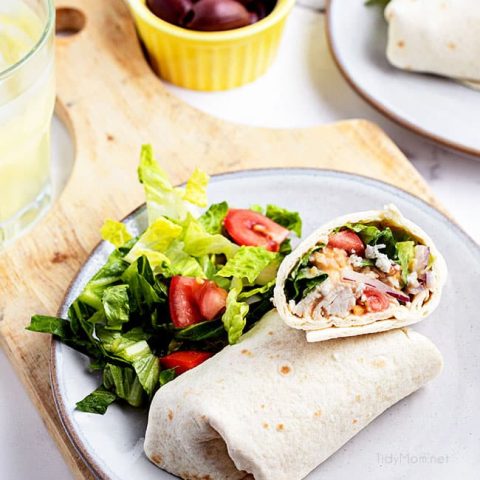
My favorite GREEK CHICKEN WRAP is stuffed with rotisserie chicken, crunchy fresh veggies, crumbled feta, and Kalamata olives topped with a creamy dressing all wrapped tightly in a delicious flour tortilla. Flavortul, quick, and perfect for a Greek-inspired lunch or dinner!
You can never go wrong with a healthy-ish sandwich for a quick meal or snack. Some of our favorites include Roasted Turkey, Apple & Cheddar Sandwich, Sweet Heat Chickpea Avocado Salad Sandwich, and BBQ Ranch Chicken Salad Sandwich.

Table of Contents
Why We Love Greek Chicken Wraps
- Easy meals–we’re talking 30-minutes or less– are lifesavers when life is hectic! This Greek chicken wrap meets all of the criteria for a perfect lunch or dinner that can be prepped and ready to go in no time!
- Serve them with a side of veggies, hummus and fresh fruit. These Greek Chicken Wraps could not be easier to make–especially if you use leftover cooked or rotisserie chicken.
- The filling does keep well in the fridge for a couple of days so you can make it ahead of time and eat it all week. Everyone loves them, and I love how easy they are.
Are Chicken Wraps Healthy?
Not all wraps are created equal. It really depends on what is inside the wrap to determine if it’s a healthy chicken wrap. Cheese, fatty meat, and creamy dressings are usually the biggest culprits in an unhealthy wrap.
A healthy wrap should be stuffed full of veggies. Look for proteins like beans, lean meat like grilled chicken or turkey (not fried), and a thin, vinaigrette dressing instead of a creamy ranch.
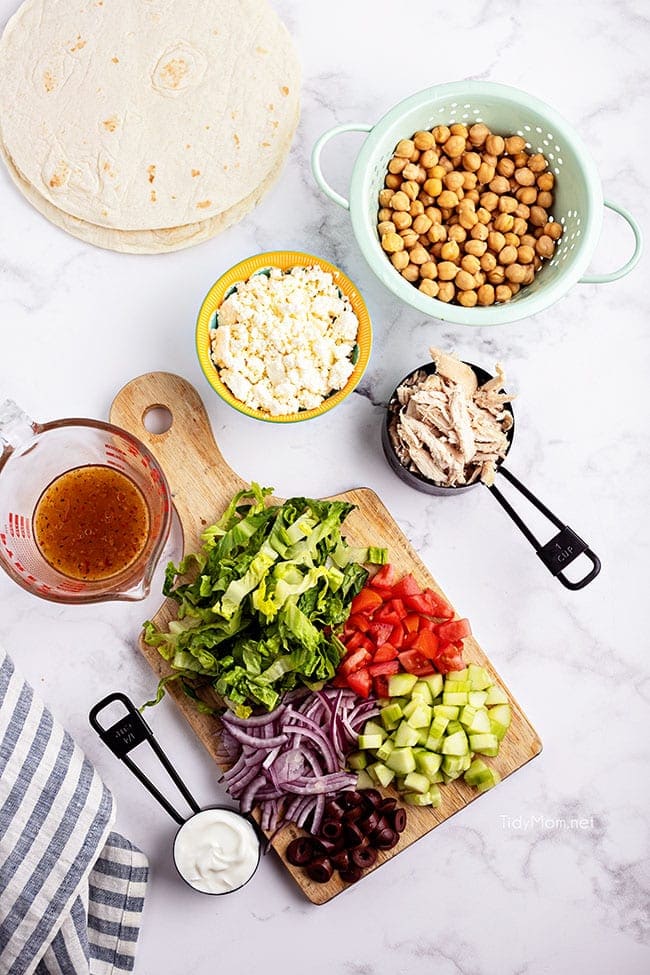
What You’ll Need To Make Greek Chicken Wraps
Make a greek chicken wrap just one time, and you’ll want to make them every week!
- garbanzo beans – Some call them “garbanzos,” some call them “chick peas,” but everyone always calls them delicious! I like to use Bush’s for their flavor and quality.
- flour tortillas – You can substitute for spinach & herb or tomato and basil tortillas or use pita or naan if you prefer.
- lettuce – Shredded lettuce is called for, but spinach is a delicious and healthy alternative!
- Italian dressing – Traditional Italian dressing works best here rather than the creamy version.
- plain Greek yogurt – another great source of protein
- chicken – Cooked and shredded. Although to save time, you can also pick up a rotisserie chicken!
- cucumber – They bring the crispy crunch. FYI: the seeds and skin of cucumbers are the most nutrient-rich parts of the cucumber.
- red onion – they add great color. Soak them in ice water as you prep your other ingredients to make them extra crisp and they will lose the strong taste and become sweeter.
- tomato – I prefer cherry or grape tomatoes, they are tiny and sweet.
- feta cheese – This grainy, salty cheese is a must for any Greek-inspired dish. Feta is often touted to be a healthier cheese. It’s lower in fat and calories than aged cheeses and has more calcium and B vitamins than soft cheeses
- kalamata olives – They have a rich flavor, with a pang of fruitiness that sets them apart from most other types of olives. Bonus: Kalamata olives are considered to be the overall healthiest type of olives, and they are also one of the healthiest foods in general.
For specific amounts, please refer to the printable recipe card at the bottom of the post.
Substitutions and Swaps
Looking to switch things up? If garbanzo beans aren’t your thing (or you just want to try something new), here are a few protein-packed swaps worth tossing in:
- Lentils – Hearty and hold their own in a wrap.
- Tofu – Crumbled or grilled, it soaks up flavor like a champ.
- Tempeh – A little nutty, super filling, and great with Greek flavors.
- Quinoa – Light, fluffy, and sneaks in extra protein.
- White beans – Creamy, mild, and always a solid choice.
How To Make Greek Chicken Wraps
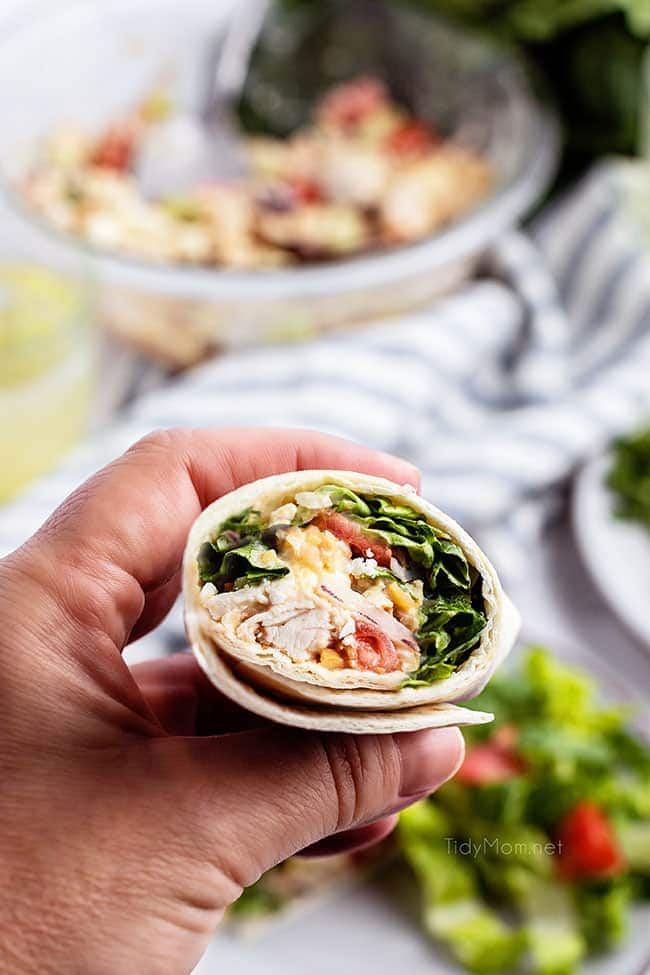
The Greek-inspired flavors of the feta cheese. Garbanzo beans and kalamata olives really make these wraps stand out!
- Step 1: Heat to warm and lightly mash half the garbanzo beans, then stir in the rest. Cover and set aside.
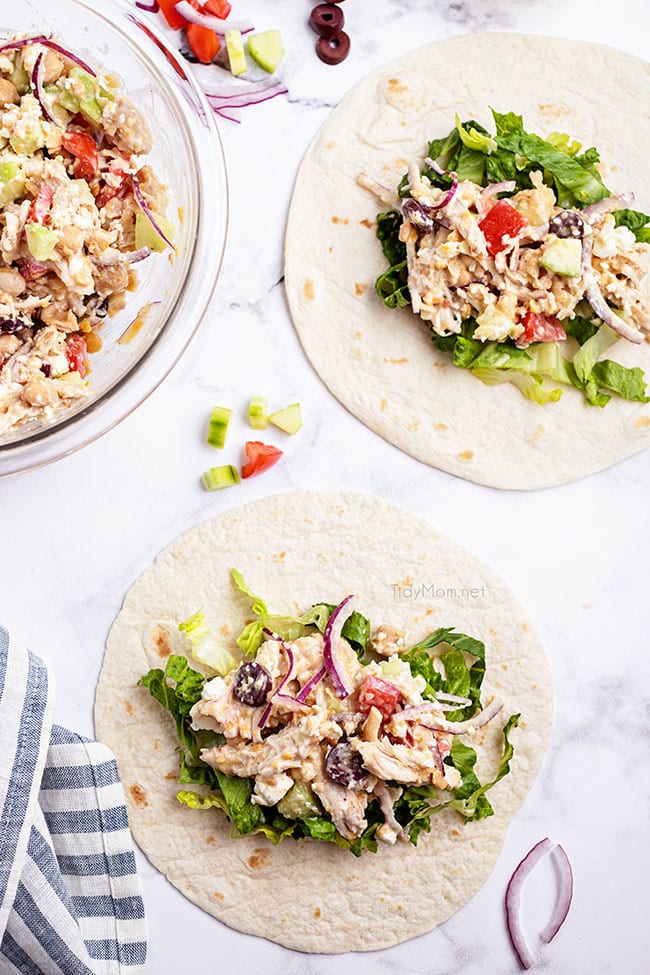
- Step 2: Lay out tortillas and add lettuce to each. Mix yogurt and dressing in a small bowl.
- Step 3: Combine the bean mixture with the remaining ingredients. Add the yogurt mix and stir.
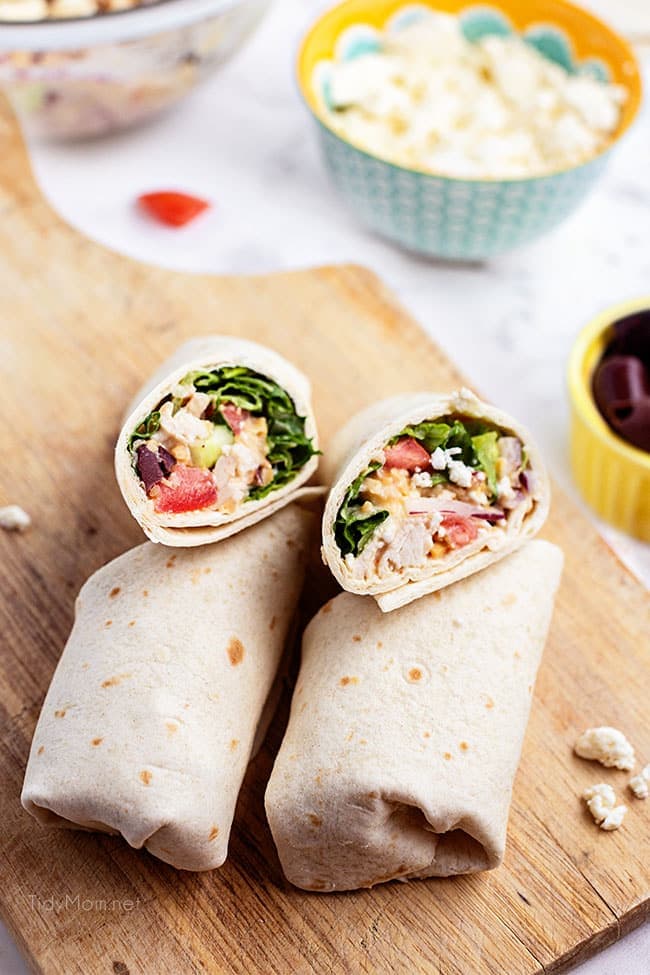
- Step 4: Spoon filling onto tortillas, fold, and roll up. Serve warm or cold!
When you are making this recipe, you’ll want to use the full recipe at the bottom of the page.
Tips For Easy Greek Chicken Wraps
- For a vegetarian option, switch out the chicken for tofu or leave it out completely.
- Try adding a bit of hummus to the wrap for extra flavor!
- Skip the wrap and turn this into a mouthwatering salad. Instead of mixing the ingredients into the yogurt and dressing mixture, toss the ingredients in with a bed of spinach and drizzle the yogurt and dressing mixture over top.
- If making ahead of time, I suggest making the filling and keeping it separate from the tortillas until ready to eat so the dressing mixture doesn’t make the tortilla too soggy.
- For another time-saving tip, make the shredded chicken or use a rotisserie chicken and freeze it. That way, you have some on hand and can whip these wraps up all year long when those lazy, crazy days get the best of you!

Whether you’re packing lunch or pulling together a quick dinner, these wraps bring the flavor without the fuss. They’re proof that easy meals don’t have to be boring!
Greek Chicken Wrap
Garbanzo beans, chicken, feta cheese, tomatoes, and cucumbers are rolled in tortillas for a quick Greek-inspired lunch or dinner.
Ingredients
- 1 (16 ounce) can garbanzo beans, drained
- 4 - 6 (8-inch) flour tortillas
- 1 cup lettuce, shredded
- ¼ cup Italian dressing
- ¼ cup plain Greek yogurt
- 1 cup chicken, cooked and shredded
- 1 small cucumber, diced (about 1/2 cup)
- ¼ cup red onion, thinly sliced
- 1 small tomato, chopped (about 1/2 cup)
- ½ cup crumbled feta cheese
- 6 Kalamata olives, pitted and chopped or sliced
Instructions
- Place half the beans in a saucepan; mash gently with a potato masher or the back of a fork. Stir in remaining whole beans; heat through. Cover and set aside.
- Arrange tortillas on the counter, place lettuce evenly in the center of each. Mix yogurt and dressing in a small bowl.
- Combine remaining ingredients with bean mixture, adding the yogurt and dressing mixture last.
- Divide mixture onto prepared tortillas. Fold in sides of tortilla and roll up tightly. Serve warm or cold.
Notes
STORAGE:
To keep the wraps fresh longer, store them tightly wrapped in plastic wrap or foil, and place them in an airtight container in the fridge. If you plan to store them for more than a day, consider keeping the filling and wraps separate to prevent sogginess. When ready to eat, just assemble and enjoy!
To keep the veggie ingredients extra crisp, try this:
- Store veggies separately: Keep lettuce, cucumbers, and other crisp veggies in a separate container. This prevents them from releasing moisture onto the wraps.
- Use a paper towel: Place a paper towel inside the container with the veggies to absorb any excess moisture.
- Add veggies just before eating: If possible, assemble the wraps right before serving to keep everything crunchy.
This should help keep the veggies fresh and crisp until you're ready to enjoy!
Nutrition Information:
Yield: 6 Serving Size: 1Amount Per Serving: Calories: 280Total Fat: 11gSaturated Fat: 4gTrans Fat: 0gUnsaturated Fat: 7gCholesterol: 33mgSodium: 410mgCarbohydrates: 30gFiber: 4gSugar: 4gProtein: 14g
Nutrition information is estimated based on the ingredients and cooking instructions as described in each recipe and is intended to be used for informational purposes only. Please note that nutrition details may vary based on methods of preparation, origin, and freshness of ingredients used and are just estimates. We encourage, especially if these numbers are important to you, to calculate these on your own for most accurate results.
Originally posted in March 2014. We have since spiffed up this post with more info and better pictures! No changes to the original recipe.


Hi there, I'm Cheryl!
As a wife, mom, and caffeine enthusiast, my journey has taken me from bustling mornings with my family to sharing delicious recipes, home care tips, and heartfelt decorating insights with wonderful readers like you. My love for baking, photography, and tidiness shines through every post I craft. Dive into my world and discover the art of homemaking, one tidy moment at a time. Read more...
Tidymom is a participant in the amazon services llc associates program, an affiliate advertising program designed to provide a means for sites to earn advertising fees by advertising and linking to Amazon.com.
Please respect my work, recipes and photographs. If you do use a recipe in your own writing, please give proper credit and link back to the original post.
That wrap looks so good! We love garbanzo beans here! Great recipe! have a lovely week! Angie xo
This is so my kind of lunch! Love it!
This looks delicious. I have a son graduating this year so I know what you mean in terms of it being a busy time of year. I’m having a hard time even thinking that far ahead. I will be at the SNAP conference and I hope I get to meet you. I live in KC and my friend I’m going with is originally from St. Louis. Have a great time at Stitch Fix!
I think these photos mark the first time I’ve ever seen the inside of a chickpea. Hehe. But in all seriousness, this looks like just the type of sandwich I could eat for lunch every single day and never get tired of it!
This looks so good, I will be adding this wrap to my next weeks meal plan! Pinned 🙂
This looks so delicious! I’ll be traying this ASAP.
this looks amazing!!! i know my husband & i will love this! perfect NEW lunch idea!
This is my kind of lunch! they look delicious!!
Happy Belated Birthday! Great wrap recipes! Wraps are one of my “go-to” meals when we go out! I need to make them at home more!
Happy belated Birthday Cheryl! You are one busy gal. Love the idea of this protein packed Greek Chicken Chickpea Salad in a wrap!
Love this! I need more of these “fix it and forget it” meal ideas in my life. (P.S. Happy belated bday, Cheryl!)
I love Greek foods. I will have to make this soon.