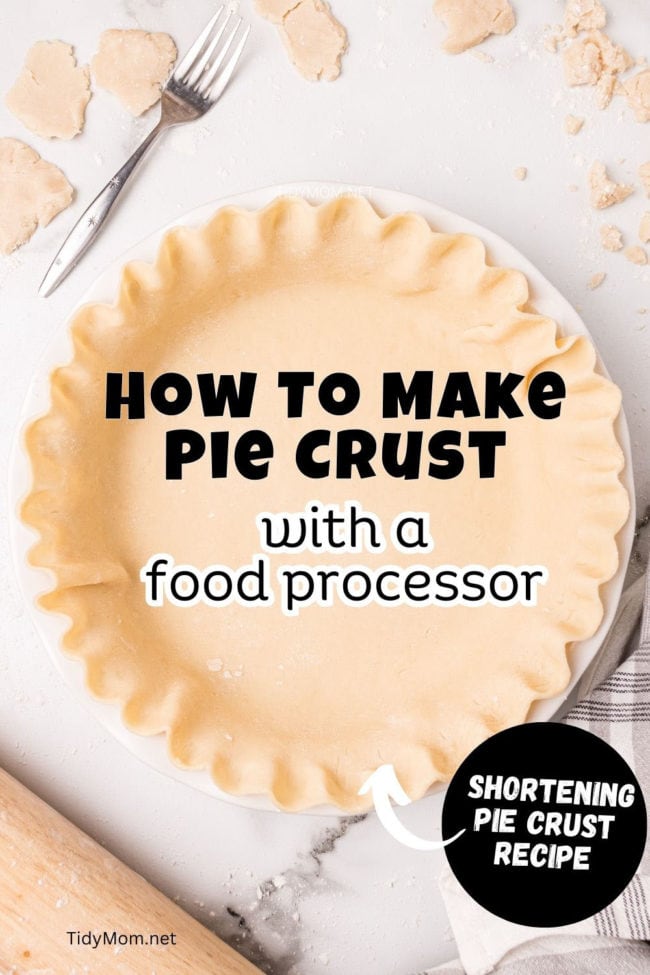
How To Make Pie Crust With Shortening In Food Processor
This post may contain Amazon or other affiliate links. As an Amazon associate, I earn from qualifying purchases.
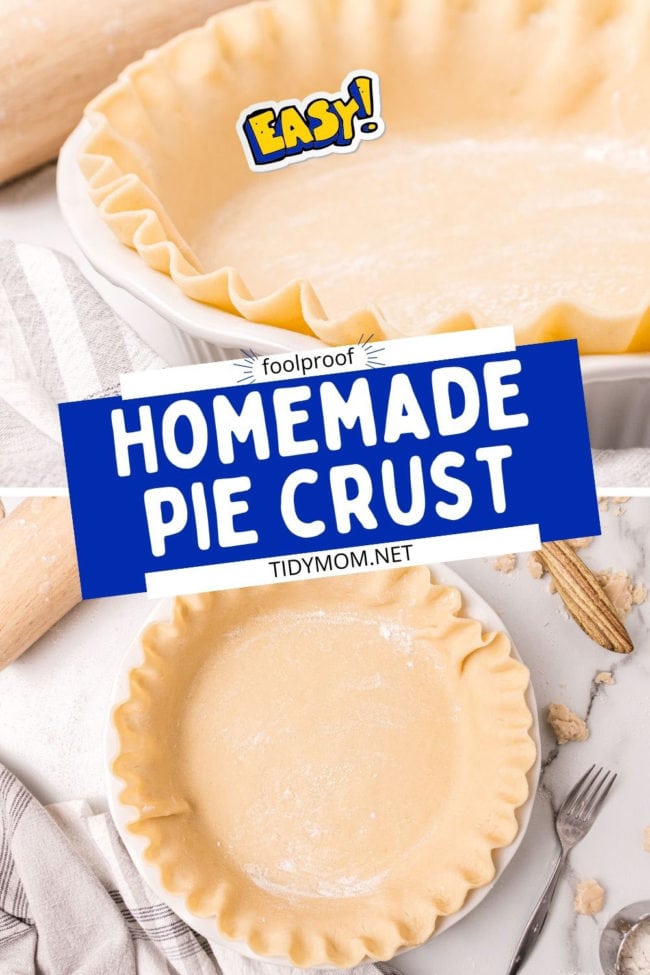
Learn how to make a flaky and delicious pie crust using shortening and a food processor. Our step-by-step guide will help you create a foolproof crust every time! Perfect for making pie crusts to freeze, so no more store-bought pie crusts!
This easy homemade pie crust recipe will yield the perfect pie crust every time. What pie recipe are you going to make first?! Homemade Blueberry Pie with lattice crust, everyone’s favorite Upside-Down Apple Pecan Pie, easy Meyer Lemon Pie, or a holiday Pumpkin Pie are all great places to start.
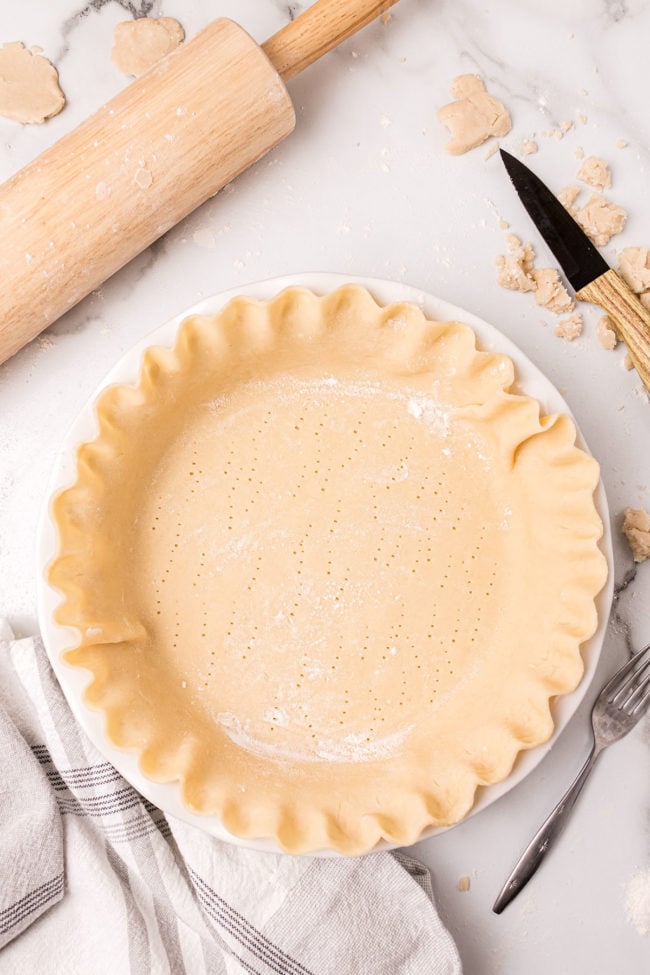
Table of Contents
Why We Love This Pie Crust Recipe
I featured this shortening pie crust recipe as a guest post from my friend Shaina back in 2011. It still makes the best pie dough today, just as it did over a decade ago!
- Even novice bakers have success with a food processor pie crust.
- Easy-to-follow, step-by-step recipe instructions
- Helpful tips and notes with pictures
- Using a food processor distributes ingredients more evenly
- Removes the guesswork out of making pie crusts
- Golden, flakey homemade pie crust you made yourself!
Things To Know When Making Homemade Pie Crust
We all know that person who turns out perfect, golden pie crusts “in their sleep.” Just remember, all of them started from ground zero. Not one of them made a perfect pie crust without making a homemade pie crust!
Arguably, the most crucial pie component is a golden, flaky pastry crust that highlights your pie filling. You can have the best apple pie filling in the world, but it’s noticeable if your pie crust is lackluster.
A pie without crust is, well, hardly pie. The beauty is that a homemade pie crust doesn’t have to be difficult. In fact, it can be rather easy, especially with a food processor pie crust, and you barely have to get your hands dirty!
The art of making pastry pie crust is in the doing, over and over. There is a bit of precision involved in making a shortening pie crust, but once you get past that, you’ll be well on your way to turning out successful pie crusts each and every time.
Baker’s Note: Pastry pie crusts can be made with various flours and shortenings. You’ll find staunch advocates of any of them: vegetable shortening pie crust (like Crisco), all-butter pie crust, lard pie crust, or a combination of these fats.
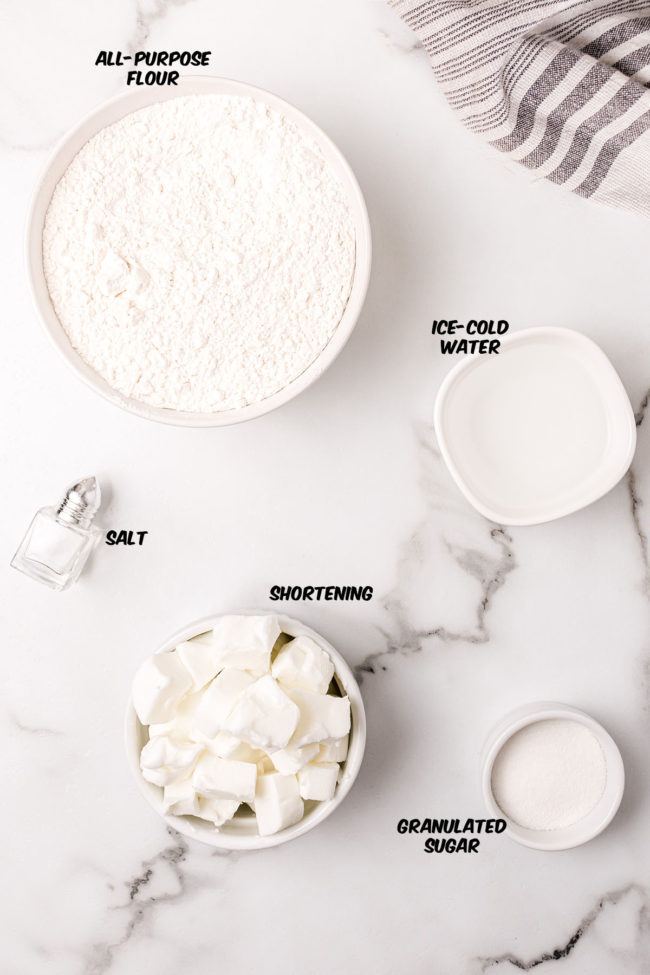
Ingredients For Homemade Pie Crust With Shortening
For specific amounts, please refer to the printable recipe card at the bottom of the post.
- All-Purpose Flour – carefully measured. If you don’t have a food scale (333.33g), use the “fluff,” spoon, and level method.
- Granulated Sugar – only if making a sweet pie crust. Sugar can be omitted based on preference or dietary needs.
- Salt
- All-Vegetable Shortening – divide shortening into ¼ tablespoon-sized pieces and chill.
- Water – put a glass of water with ice in the refrigerator until you are ready to use it. Strain out any remaining cubes.
How To Measure Flour Properly: Did you know THE WAY you measure flour matters? The most precise way to measure your flour is by weight using a digital kitchen scale. 1 cup of flour weighs 125 to 130 grams. If you don’t have a scale measure your flour by scooping flour with a spoon into the cup. Don’t use your measuring cup as a scoop, as it packs the flour down and gives a different measure.
Equipment Needed
This post may contain affiliate links. Please read my disclosure policy here.
- Food Processor
- Standard S-Blade for food processor
- Plastic wrap
- Pastry Board, Silicone Pastry Rolling Mat, or clean countertop
- Rolling Pin
- Metal/Aluminum Pie Pan
How To Make Pie Crust In A Food Processor
With the food processor pie crust method, the food processor does the work for you! You can use your preferred shortening, Crisco, butter, or lard, but the key is in the “cold.” Aiming for uneven butter chunks rolled into thin flat sheets of fat, creating light, flaky layers.
When you are making this recipe, you’ll want to use the full recipe at the bottom of the page.
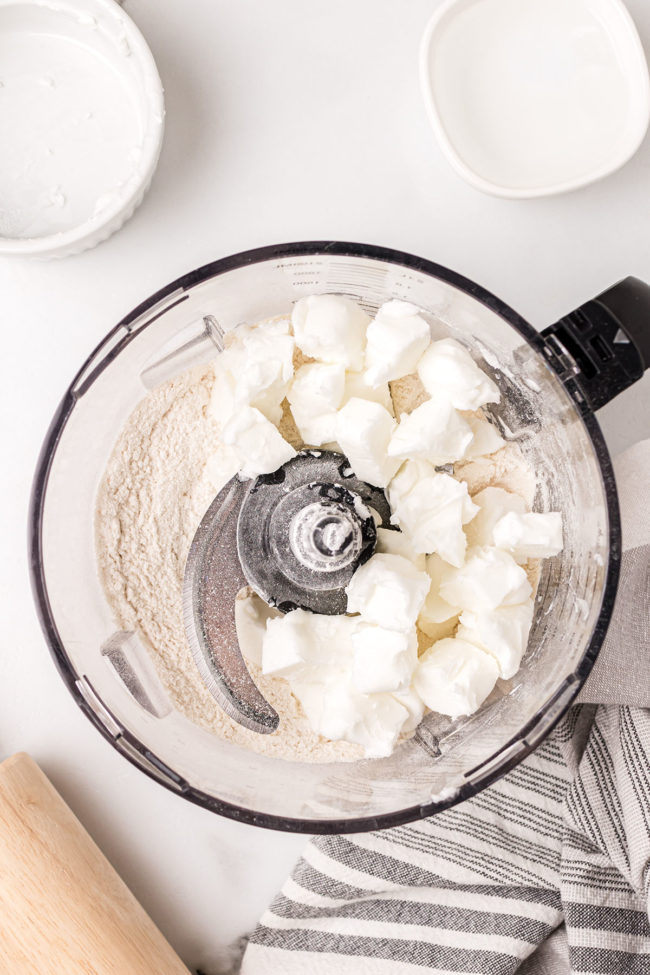
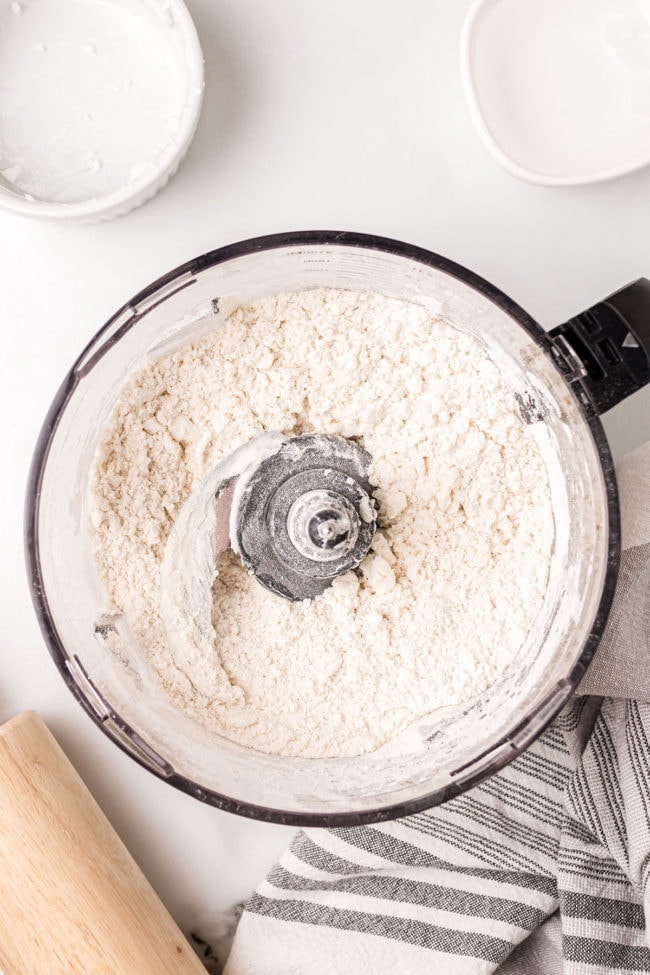
- Measure and chill the pie dough ingredients accordingly, then add the flour, sugar, and salt to the food processor and pulse to mix.
- Evenly distribute pieces of cold shortening around the bowl and pulse 3-4 times, looking for pea-sized chunks.
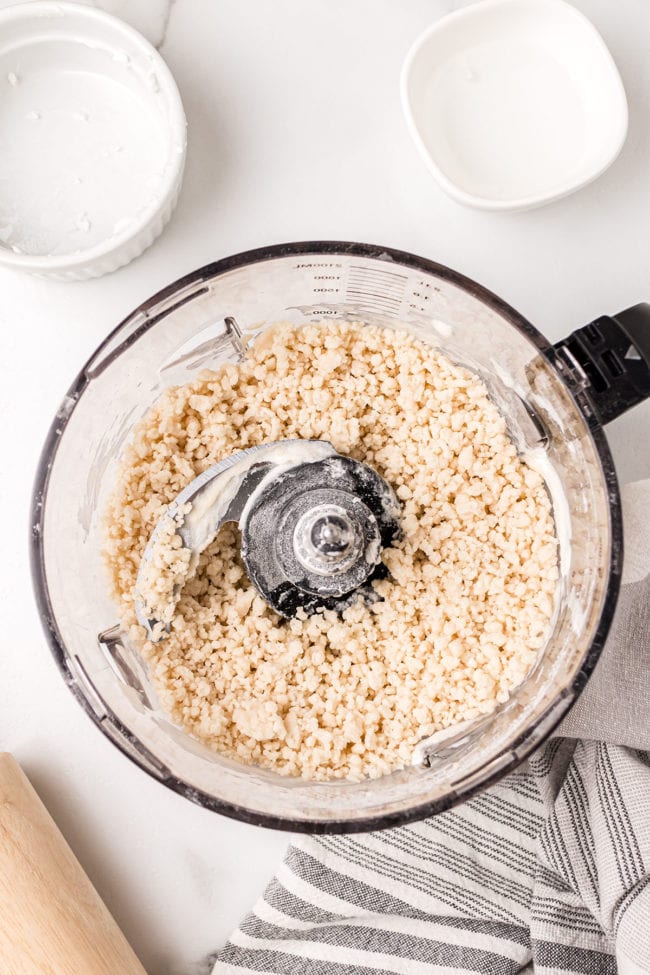
- Sprinkle in 4-5 tablespoons of water and pulse a couple of times. Add one tbsp, pulse once, and continue until the dough looks moist enough to hold together.*
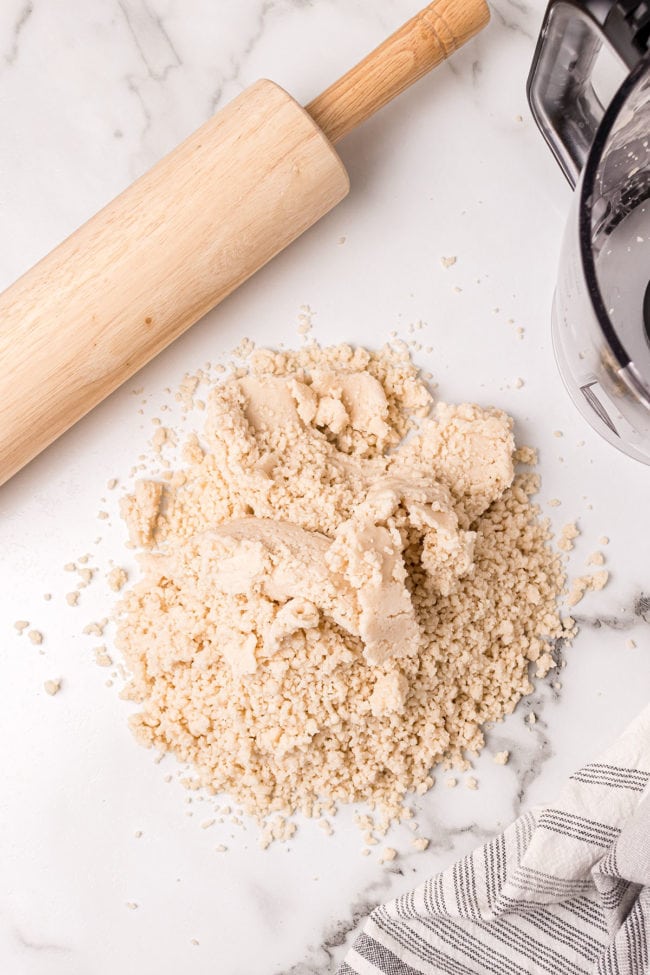
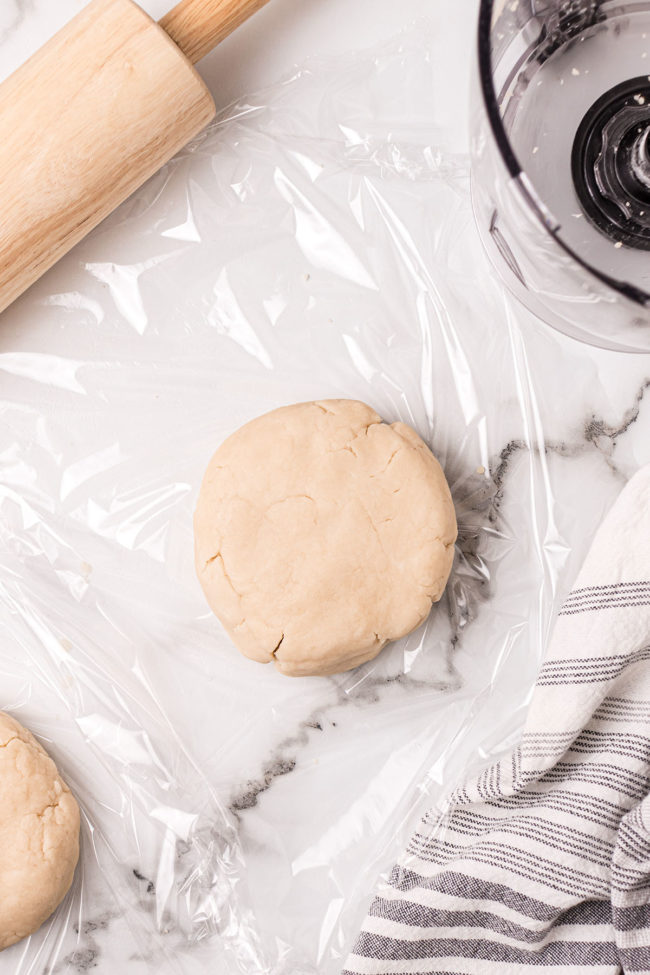
- When your pie dough is finished, gently wrap it as a disc and let it chill. (You can make pie dough a day or two in advance or freeze it for up to a month.)
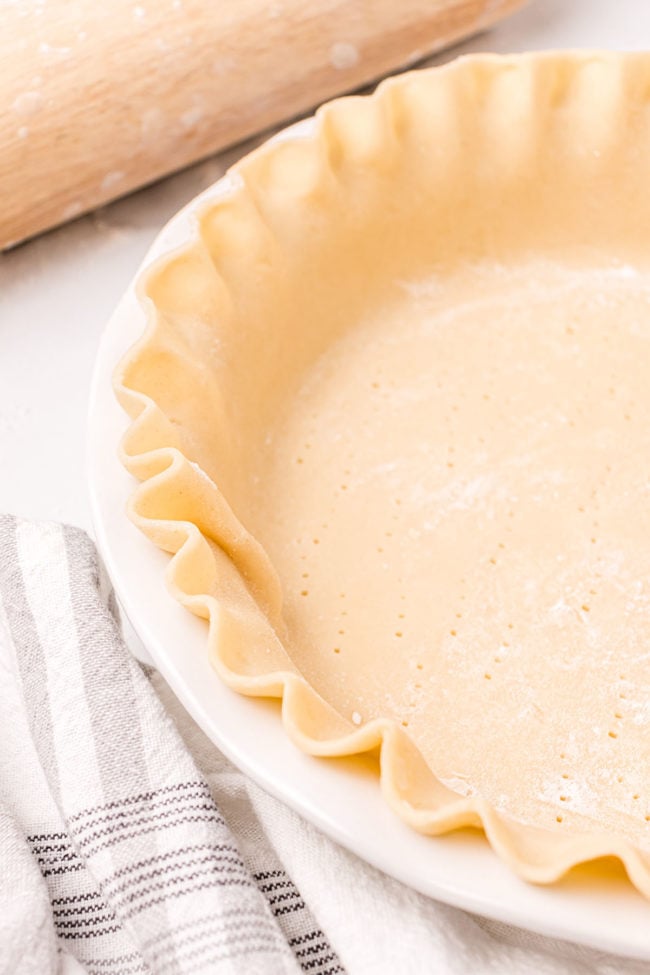
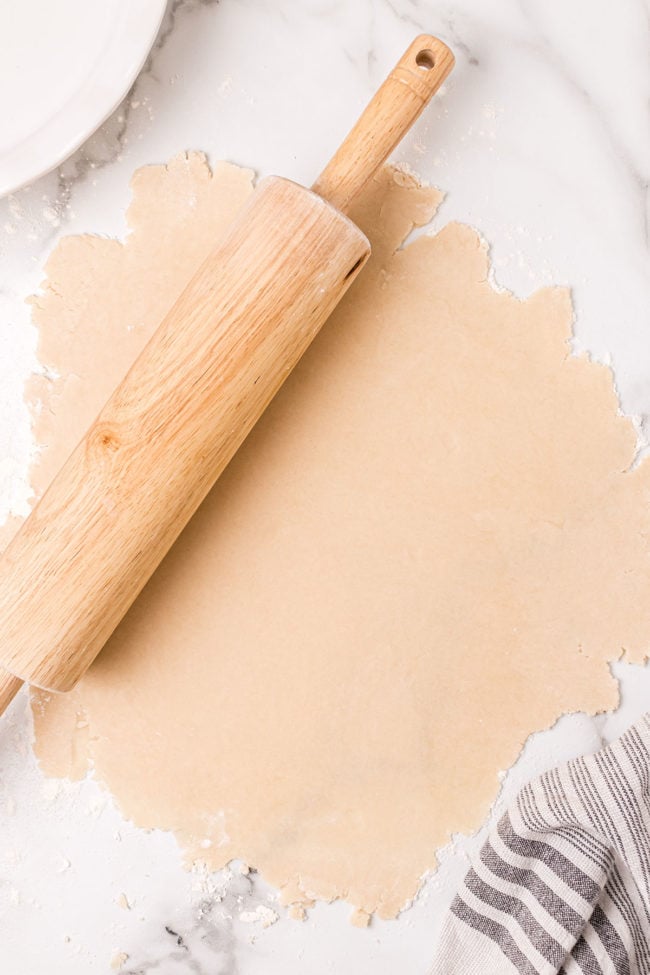
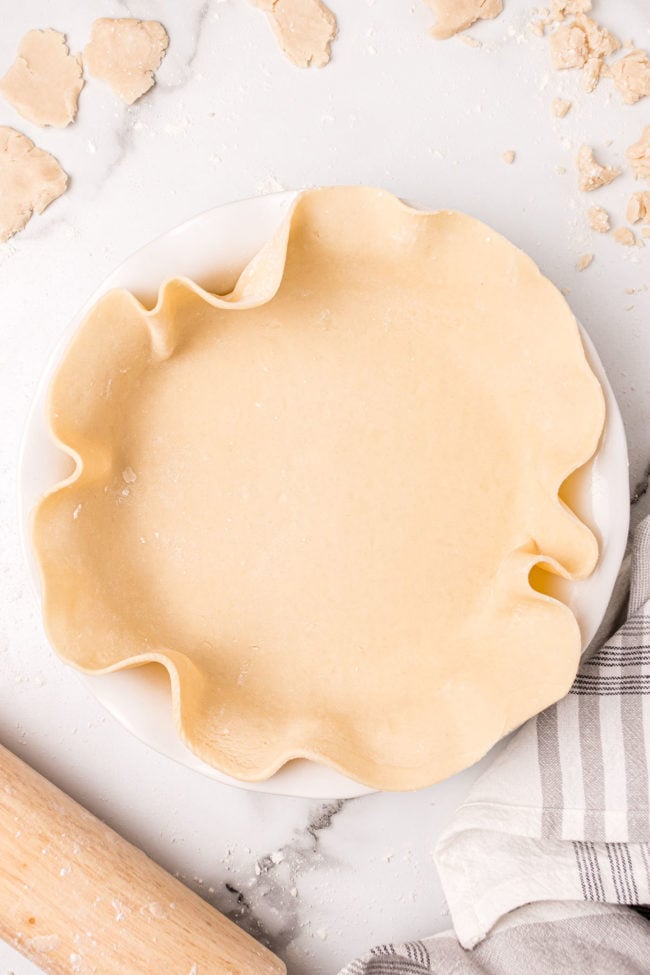
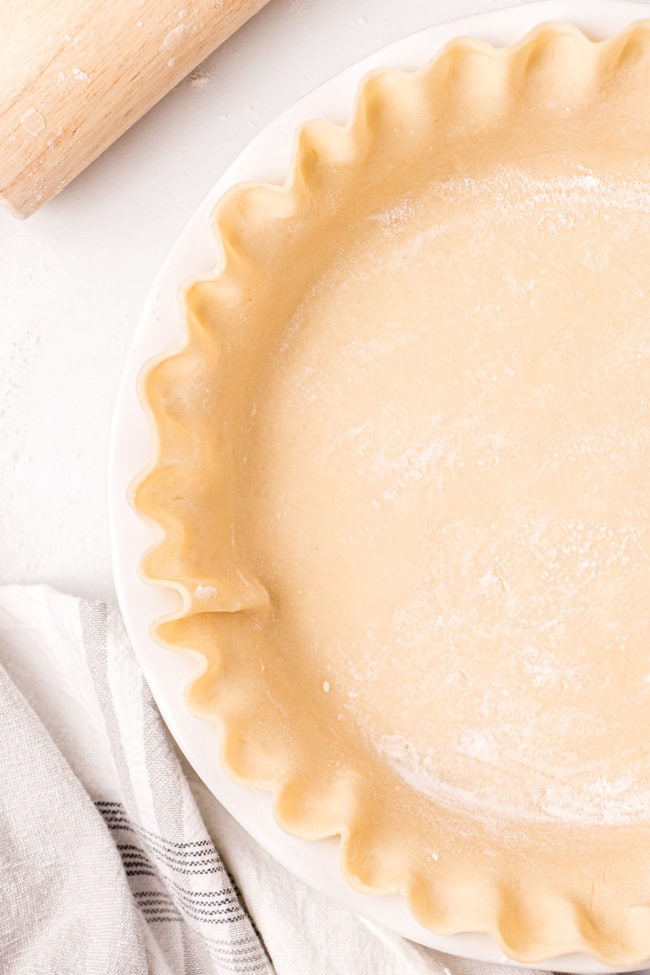
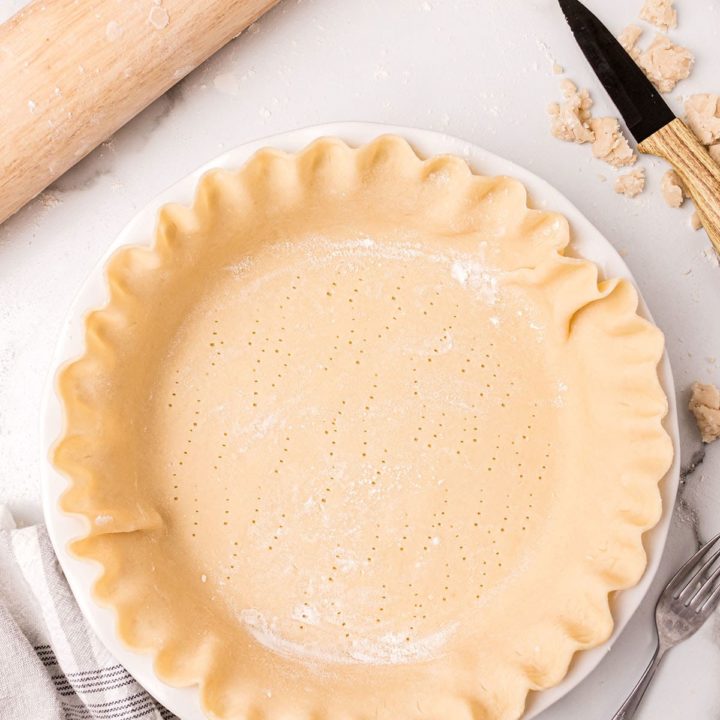
- When ready, remove one pie dough disc at a time, rolling* it into a circle a little bigger than the pie plate. Transfer the pie dough to the pan and press into place without stretching. Refrigerate while rolling out the second disc.
- Fill your homemade pie crust according to your recipe.
*A good rule of thumb is to continue adding water until a small clump of the pie dough will hold together without crumbling apart.
Professional Baker’s Note: Rolling a homemade pie crust with shortening between two pieces of parchment paper prevents it from sticking, avoids working the dough too much, and keeps the flour and shortening ratio. Viola! Tender, flaky, golden pie crust!
Recipe Notes & Tips
- The best tip for a flakey, melt-in-your-mouth pie crust is to reiterate the importance of properly measuring the flour. Pie crusts made from scratch recipes are carefully calculated with flour:fat:water ratios.
- Skip a learning curve and bless yourself with a good food scale to measure ingredients by weight instead of volume. The difference is crazy once you start using it.
- Okay, tied for the “best tip” about making pie crust is cold, cold fat throughout the process. Besides the tender flake factor, firmer fat means less sticking while rolling out the dough. (Plus, adding less flour and overworking.)
- Chilled pie crust ingredients mean the fat will take longer to melt while baking, producing those flaky pockets of crispness. Chill pie crust for 30 minutes; an hour is optimum.
- If you “live” in a warm kitchen, you can go as far as chilling your bowls and equipment. Using a cold marble pastry board helps to keep the pie dough/shortening cold while it is being worked. (FYI, marble pastry boards are effective but should not be used as a cutting board.)
Professional Baker’s Tip: If your crust feels warm to the touch once it is rolled and crimped, re-chill in the fridge for 15 minutes.
How To Store Homemade Pie Crust For Later
I know someone who spends an afternoon rolling out half a dozen homemade pie crusts. She forms them into disposable pie pans, lays plastic wrap over each one, and freezes. Once completely frozen, they are nested together and pulled as needed.
Refrigerate/Leftovers
You can keep a wrapped pie crust ball/disc in the fridge for up to 3 days and roll it out when ready.
Freeze
A food processor pie crust is perfect for making ahead and freezing as a portioned pie dough discs or rolled and formed into a pie pan. Use your from-scratch pie crust within 3-4 months. When you’re in the mood for Homemade Blueberry Pie with a lattice crust, thaw the pie crust overnight in the refrigerator before filling.
Frequently Asked Questions
The “yea’s” have it! Pulsing with a food processor will cut almost-frozen butter quickly and more uniformly into flour than by hand. Also, seeing the consistency of your pie dough makes a huge difference in avoiding overworked gluten strands. (Even diehards, who can make shortened pie crusts “in their sleep,” have jumped on the food processor bandwagon.
The standard s-blade will help you create the flakey, golden crust you want. While many food processors have a blunt dough blade included or available, the shorter arms are better suited for recipes with over 3 cups of flour.
You can keep a pie crust from getting soggy in several ways. Blind baking, pre-baking before filling, or brushing the crust with beaten egg or corn syrup to “seal” the crust are great methods to keep it from getting soggy.
Like This Recipe?
I’d love to hear what you think! Leave a review below and let me know how you liked the recipe!
Originally posted in November 2011. UPDATED May 2023. We spiffed up this post with more info and new photos.
Perfect Pie Crust With Shortening
Learn how to make a flaky and delicious pie crust using shortening and a food processor. Our step-by-step guide will help you create a foolproof crust every time! Perfect for making pie crusts to freeze!
Ingredients
- 2 ⅔ cups all-purpose flour
- 2 tablespoons granulated sugar (for sweet pies)
- 1 teaspoon salt
- 1 cup all-vegetable shortening (butter flavored, if desired), cut into 1/4-tablespoon-sized pieces and chilled
- 6-10 tablespoons ice-cold water
Instructions
- Add the flour, sugar and salt to the bowl of a food processor fitted with a metal blade. Pulse lightly until mixed. Add in cold shortening pieces and pulse just until crumbs start to form, 3-4 pulses. You should see a mixture of pea-sized crumbs and small crumbs.
- Sprinkle the first 4-5 tablespoons over the crumbs and pulse twice. Add in water a tablespoon at a time until the flour appears slightly moistened. Try to avoid using all the water, and only pulse once in between each tablespoon addition.
- Turn the dough out onto a piece of plastic wrap and form into two discs. Wrap each disk and refrigerate for at least 30 minutes.
- When time to make your pie, remove the crust discs from the refrigerator and transfer to a lightly floured surface. Sprinkle a small amount of flour on top and flour a rolling pin. Roll the disc into a circle, being careful to work quickly and not handle the dough too much. When the dough is approximately 1-2 inches larger than the pie plate, transfer the dough to the plate and gently press into place. Try not to stretch the dough, as this disrupts the fat pockets that give pie crust its flaky texture.
- Fill and bake as directed for your pie.
FOR BAKED FILLINGS (apple, pumpkin etc.)
- Add filling to unbaked shell.
- Use the second crust to create a top crust or lattice.
- Bake according to your pie recipe.
FOR UNBAKED FILLINGS (pudding, strawberry creme etc.)
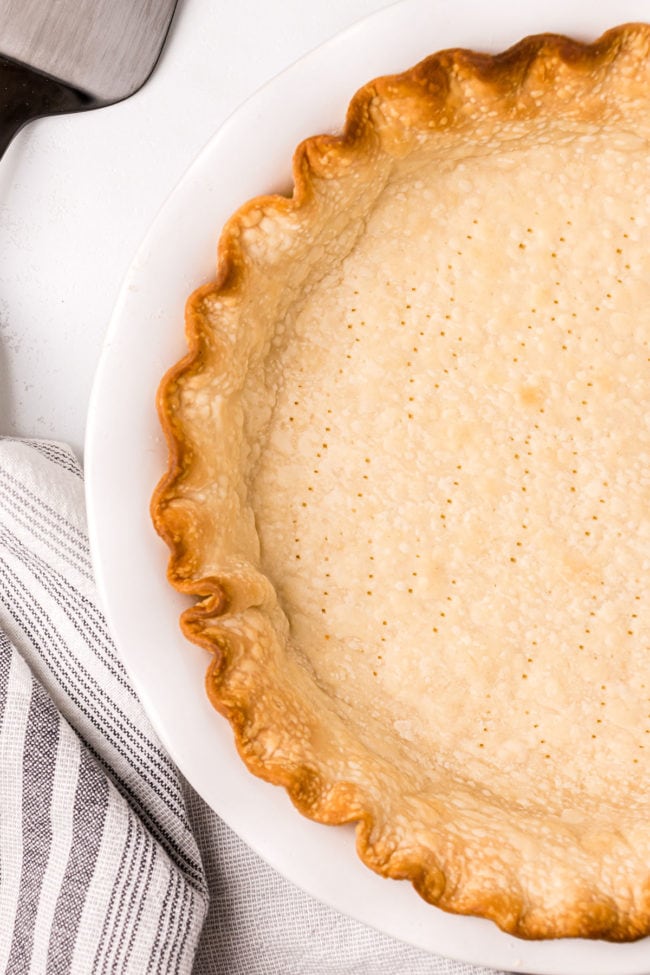
- Line your cold unbaked crust with aluminum foil and fill with pie weights of choice (beans, rice, or granulated sugar - recommended by Stella Parks at Serious Eats)
- Bake bottom crust at 350° F for 45-50 until just starting to brown for pies that need additional baking, like blueberry pie - or 1 hour until even brown and crisp for pies that need no further baking, like cream pies
- Cool completely then add filling.
- Store the other half of dough for another time if needed. Freezes wonderfully.
Notes
If you don't have a food processor, you can use a pastry cutter and a large bowl.
STORING HOMEMADE PIE CRUST
Roll out half a dozen homemade pie crusts and form them into disposable pie pans, lay plastic wrap over each one, and freeze. Once completely frozen, they can be nested together and pulled as needed.
Refrigerate -
You can keep a wrapped pie crust ball/disc in the fridge for up to 3 days and roll it out when ready.
Freeze -
A food processor pie crust is perfect for making ahead and freezing as a portioned pie dough discs or rolled and formed into a pie pan. Use your from-scratch pie crust within 3-4 months. When you're in the mood for pie, thaw the pastry overnight in the refrigerator before filling.
RECIPE written by Shaina Olmanson (Nov 9, 2011)
Nutrition Information:
Yield: 16 Serving Size: 1Amount Per Serving: Calories: 197Total Fat: 13gSaturated Fat: 5gTrans Fat: 0gUnsaturated Fat: 7gCholesterol: 7mgSodium: 134mgCarbohydrates: 17gFiber: 1gSugar: 2gProtein: 2g
Nutrition information is estimated based on the ingredients and cooking instructions as described in each recipe and is intended to be used for informational purposes only. Please note that nutrition details may vary based on methods of preparation, origin, and freshness of ingredients used and are just estimates. We encourage, especially if these numbers are important to you, to calculate these on your own for most accurate results.

Hi there, I'm Cheryl!
As a wife, mom, and caffeine enthusiast, my journey has taken me from bustling mornings with my family to sharing delicious recipes, home care tips, and heartfelt decorating insights with wonderful readers like you. My love for baking, photography, and tidiness shines through every post I craft. Dive into my world and discover the art of homemaking, one tidy moment at a time. Read more...
Tidymom is a participant in the amazon services llc associates program, an affiliate advertising program designed to provide a means for sites to earn advertising fees by advertising and linking to Amazon.com.
Please respect my work, recipes and photographs. If you do use a recipe in your own writing, please give proper credit and link back to the original post.
Great post!! I am pie crust challenged!!! I will be printing this post and giving it another try!
Great post Shaina! After this and our lesson last week I really have no excuse 🙂
I am hopeless when it comes to pie. I cant make a good one to save my life. BUT! Now that I have read this there is hope for me!! I cant wait to try this, thanks so much Shaina and Cheryl!
I’m going to make you come to my house and make pie.
lol………do it Shaina!! Amanda is always making those fabulous designs inside a cake, but trys to tell me that pie is too hard to make!haha
I will give this one a try for sure!
I love pie, hate making the crust, but will keep this in mind for my next attempt.
Woo hoo! Shaina’s a great person to lead us into the pie party well equipped with a reliable pie crust recipe. Great post!
Thanks for sharing these fabulous tips . I am baking a lot of pies for the holidays and look forward to giving this a try.
Great post! I LOVE pies, but hate making crust. This is very helpful for those who struggle:-)
Thanks, Amy! My first memory ever from when I was a year old was watching my mom try to get a pie crust to come together during a tornado. What’s funny is that is the only memory I have of her making a pie crust.
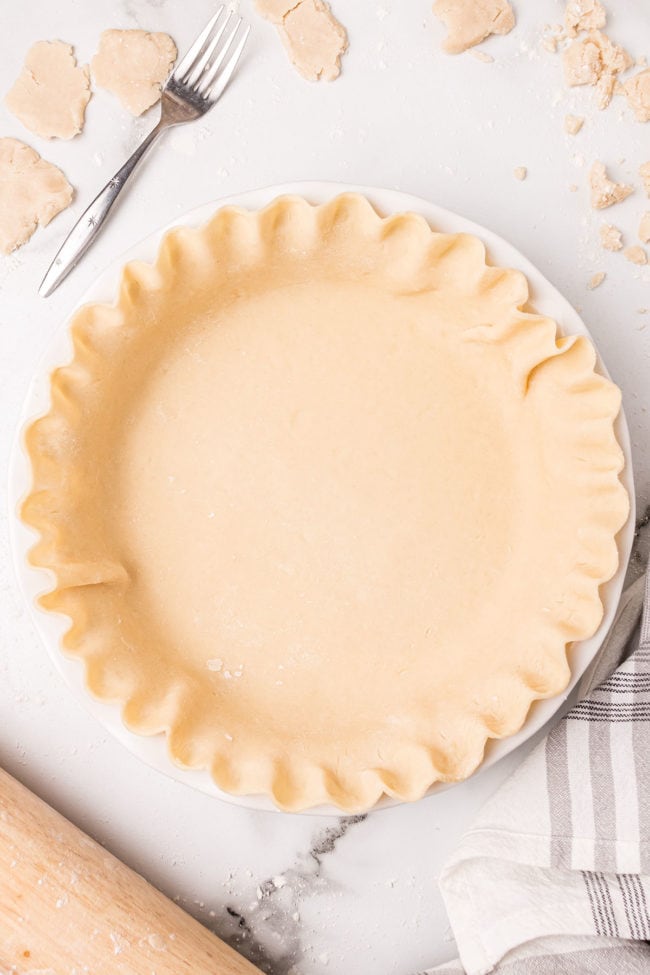
Love the post, crusts are still a challenge to me. One problem I have is to know how much crust to leave around the edge for crimping and to get a pretty crimped edge…………..can you help us a little further?? TIA!
Sure, Catherine. I’ll do a tutorial this week and put it up on my blog.
YAY!!! Shaina you are a pie making machine!!
Pie crust produces an irrational fear in me, but you really do make it look so easy. Great post, Shaina!
don’t be afraid of pie Dara!! lol
You have the perfect crimp on your pie crust. I have to admit, I’m slightly jealous.
Great post, Shaina – I’ve always been a little afraid of pie crusts, so I’ll definitely have to try this method. Now you can you do a post on that perfect crimp?
Terrific post! I’m definitely pinning this one to try soon!
Hugs,
Pam
Great tutorial! My mom makes a shortening pie crust, though I almost always opt for an all butter crust. Might have to give this one a try, though. One can never make too much pie. 🙂
you should do one of each to compare Jen!!…….you know, for the sake of a blog post! hehe
This year (while I was on Maternity leave) I said I was going to “perfect the pie”.
Unfortunately, It did not happen. I have managed to get a few pies out but nothing fantastic. This is a great post… I will have to take a shot at the food processor next. Thanks for sharing.
Great post! I love a good flaky pie crust. I use leaf lard and butter mixture but this looks tasty too!
I usually shy away from making my own crust but thanks to Miss Shaina, I fear the crust no longer!! Can’t wait for all the pie goodness!
Thank you for this wonderful tutorial….just in time for all the pie making for this holiday season. 🙂
The recipe I use has a tablespoon of vinegar — some how it works like magic and really helps the dough roll out nice. Do you have any tips for preventing the juice inside the pie from leaking out? I try to pinch the seams and use water, but sometimes I still get leakage. 🙁 How do you seal the top and bottom crusts together?
I tried your recipe and it was a big hit with the wife and kids. I am going to make it for the extended family for my Thanksgiving pies. The smell while cooking was a pleasant torture, but the final product was well worth the wait. Thank you so much for sharing. I used a combination of shortening and butter and it was great. Should I par-bake the crusts for pumpkin?
Hi, Woody. I’m so glad you enjoyed the crust! For pumpkin pies and most custard pies, crusts are often par-baked. You can cut a square of parchment and fill it with dry beans or pie weights before baking (350 degrees for about 10 minutes), and I usually cover the edges with foil so they don’t get too brown in the final baking. Many recipes will also specify whether they want the crust par-baked, too.
Enjoy your Thanksgiving!
I will try that. Once again, thank you so much.
I made my first pie in 17 yrs last month, can you believe it!? I am now smitten so I can’t wait to try out this crust recipe.
Looks great! The way you crimped the edges is my new favorite way to do pie crusts! It’s so easy, but comes out beautifully everytime!
Thanks for sharing!
Willa
I always do the cheater crust – busted! This looks less threatening than what I had imagined for making a pie crust though. I think I’ll be trying it soon! Thanks!
Shaina, do u happen to have a video on how to make a crust? With your recipe, is it enough to make a top, too?
re: Vegetable shortening Pie Crust
How long can it be stored in the fridge?
Can it be frozen and for how long?
This was my mom’s recipe except for sugar. She never used ice water. Her pie crusts were light and flakey, To this day, mine never turn out as good as hers. She fed a family of 6 and made at least 2 pies every Sunday. I need to practice more.
Thanks for the post. I’ll keep trying!