Waterless Snow Globes {tutorial}
This post may contain Amazon or other affiliate links. As an Amazon associate, I earn from qualifying purchases.
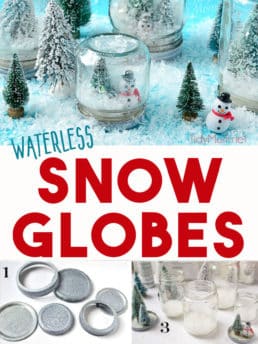
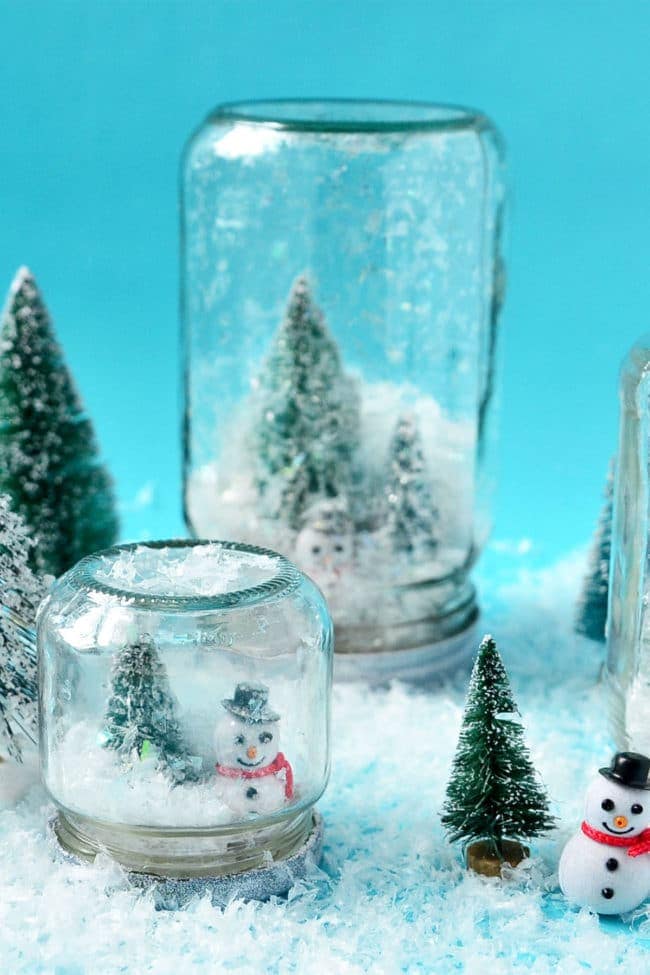
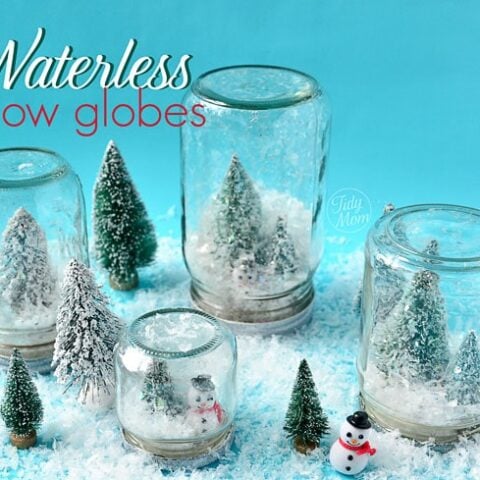
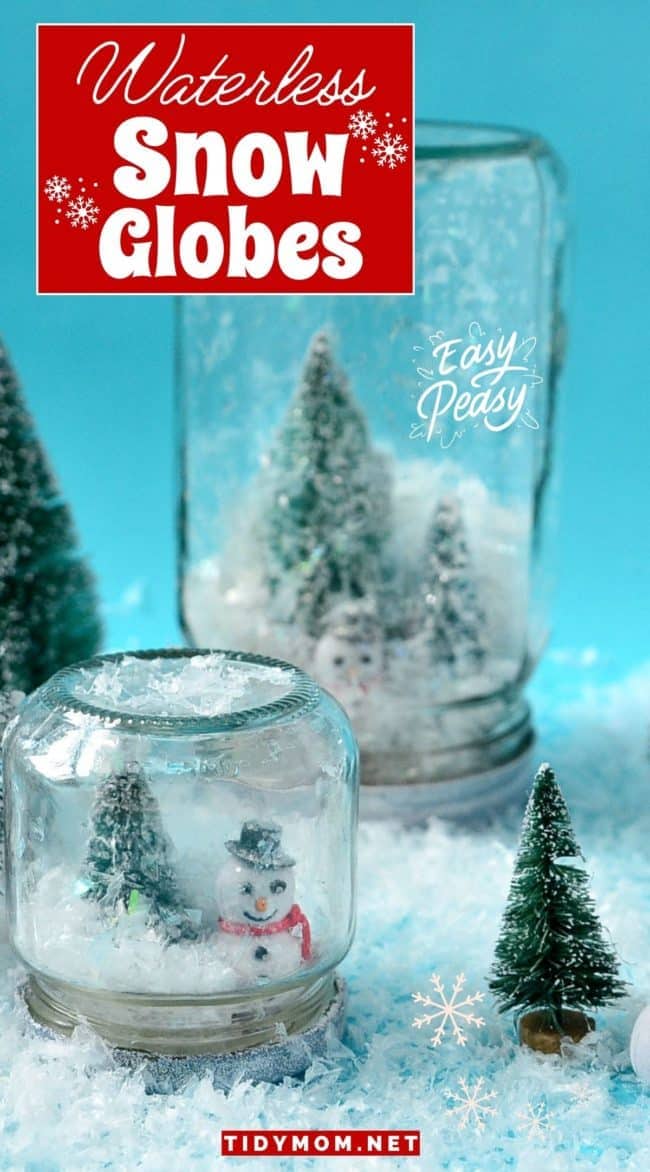
A fun twist to a traditional winter craft. Learn how to make waterless snow globes.
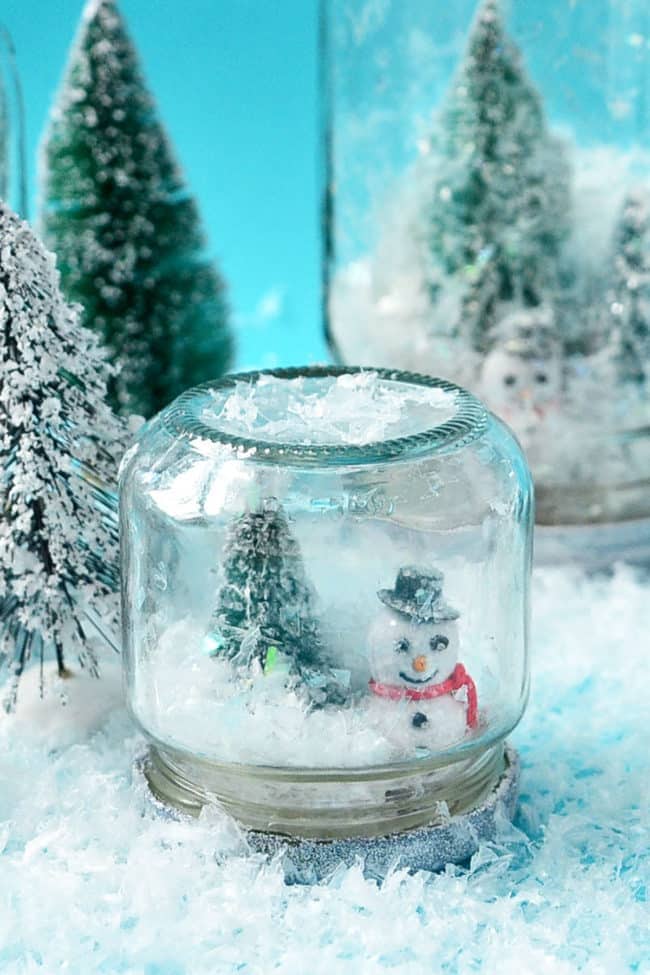
I’ve been meaning to make these for the last few years! It’s such an easy craft anyone can make them and the possibilities are endless!
Make it a party and serve a plate of snowman cookies, marble Christmas cupcakes, and Red Velvet Hot Chocolate to enjoy while you’re crafting!!
And don’t forget the Christmas music!! Click here to listen to my Spotify Merry & Bright Christmas Playlist
Table of Contents
How To Make Waterless Snow Globes
Waterless snow globes are fun to shake and are so easy to make, even the kids can do it!
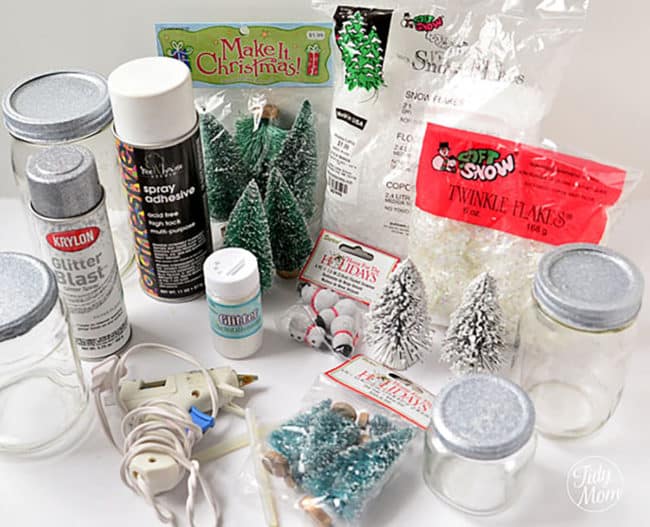
First, Gather Your Supplies
This post may contain affiliate links. Please read my disclosure policy here.
*you can find all of these supplies at a local craft store like Michaels or Hobby Lobby, or Amazon (click the links to find them on Amazon)
- Glass jars (varying sizes look best for a collection)
- Artificial Snow (I used Snow Flakes and Twinkle Flakes)
- Hot glue gun and glue
- Assorted mini Christmas Trees and mini snowmen
- Spray Adhesive (optional)
- glitter (optional)
- Krylon Glitter Blast (or white spray paint)
Now, Let’s Make Waterless Snow Globe
(full printable directions at the end of this post)
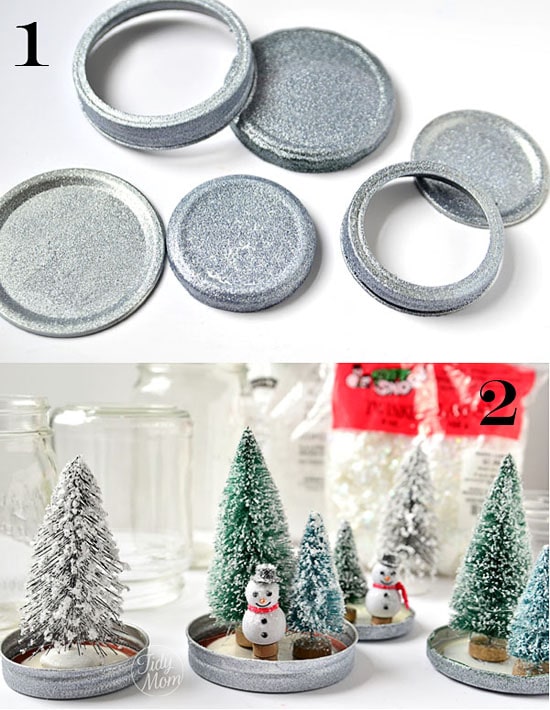
Start by removing the lids and painting them with spray paint. I used the Krylon Glitter Blast in silver, but white would work just as well.
Next, and this is totally optional (step not shown) – I sprayed the trees and snowmen with spray adhesive and then sprinkled them with glitter for a little extra sparkle.
Now you are ready to hot glue your trees and snowmen to the lids (I also glued the canning lids together).
Now for the fun part!
It’s time to add the snow. Fill jars with just a little snow. You don’t need much, you don’t want the snow to bury your snowmen or trees. Just add enough snow to cover the bottom of the jar.
Time to put it all together!!
Since your trees and snowmen are glued to the lid, you can now pick up the lids and screw them back on to the jar.
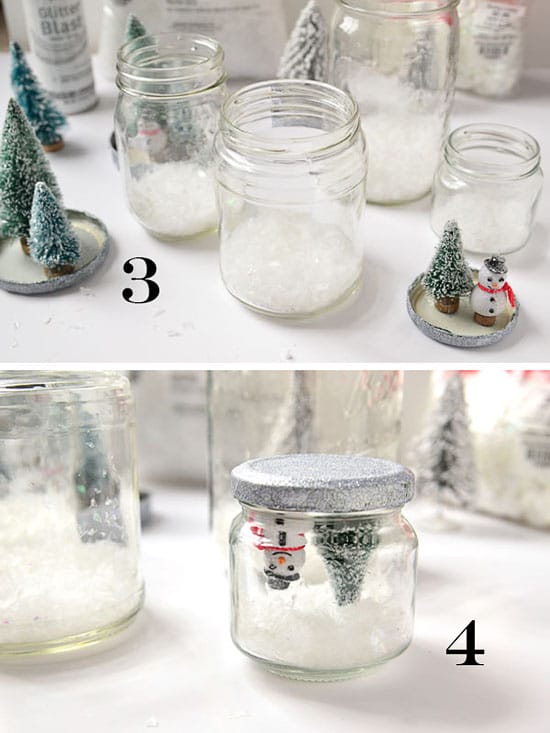
Turn them over and you’re done!
LET IT SNOW, LET IT SNOW……LET IT SNOW!
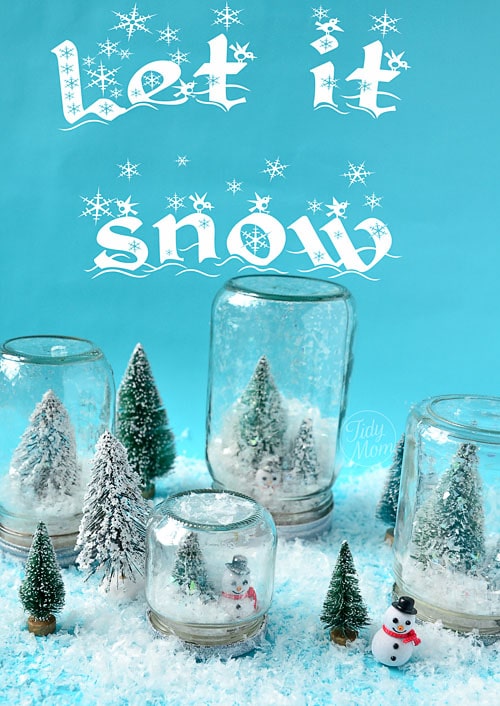
They are perfect for a centerpiece, on a mantel, on a window sill, or little kids’ hands 😉
Go ahead and shake them up and watch the magic in their eyes!
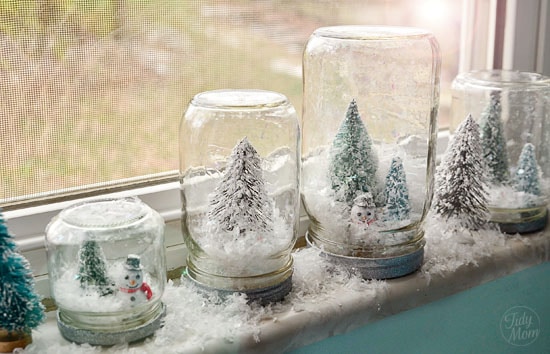
These are just too fun and easy to make – after waiting for my lids to dry, I made all 4 of these in under a half hour. It’s a great holiday craft to do with the kids!
Have fun!
More Fun Waterless Snow Globe Crafts and Winter Decor
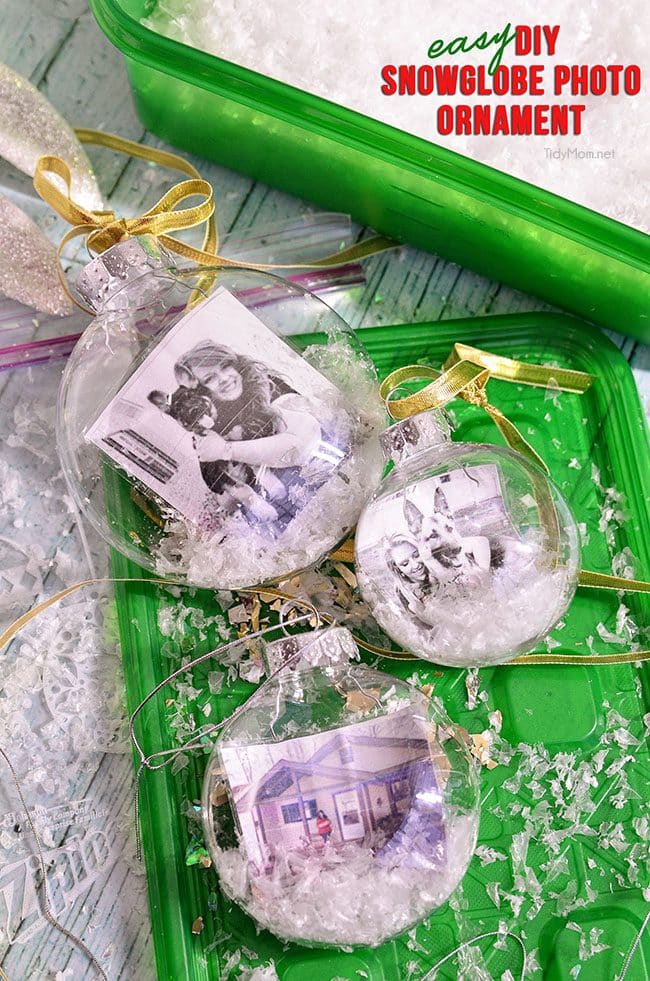
Easy DIY photo snowglobe ornaments are a fun easy project and will make a wonderful personalized gift, addition to any tree, or tie one onto a gift for extra special gift wrapping.
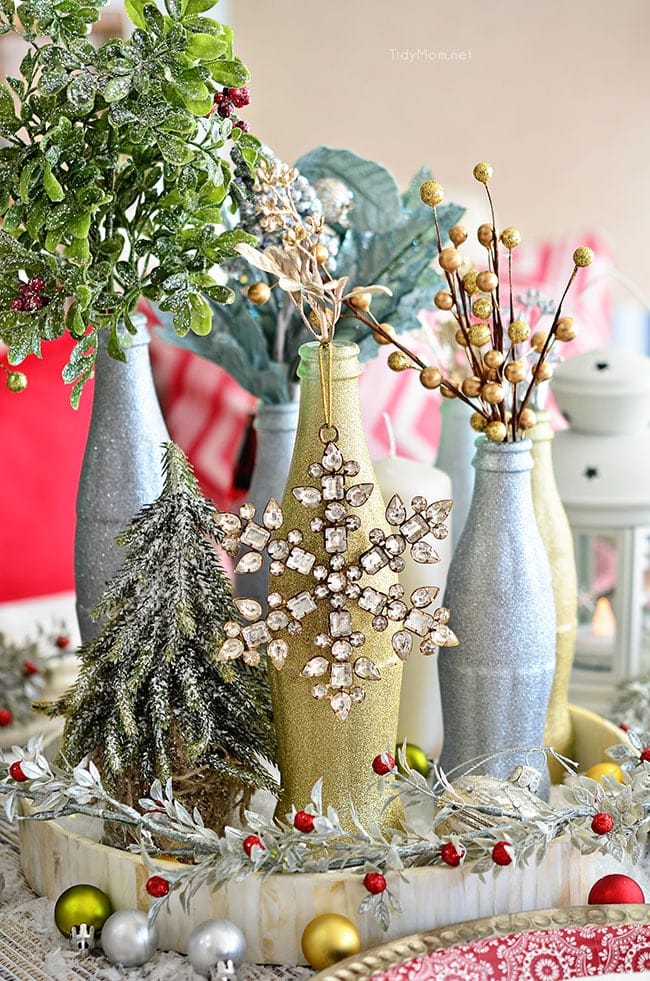
Want something a little more grown-up and elegant, but full of holiday glitter? Use empty Coca-Cola bottles to make a pretty holiday table centerpiece. Just paint with glitter spray paint and add some holiday florals, and arrange them on a tray. Easy and costs almost nothing!
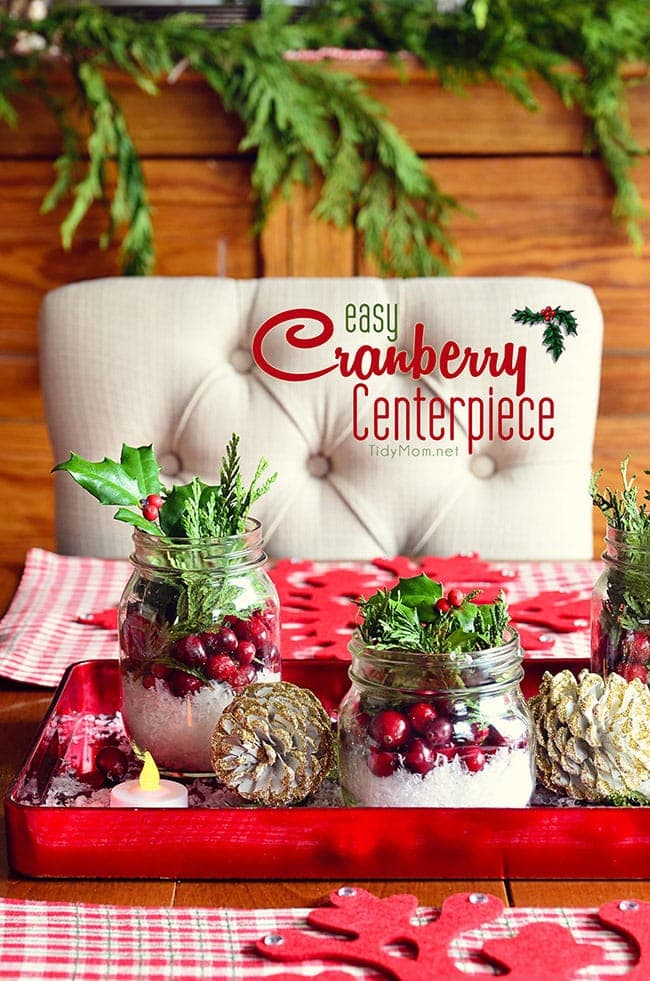
Or go REALLY simple. There is something magical about bringing the outside in, with this Easy Cranberry Centerpiece for the holidays.
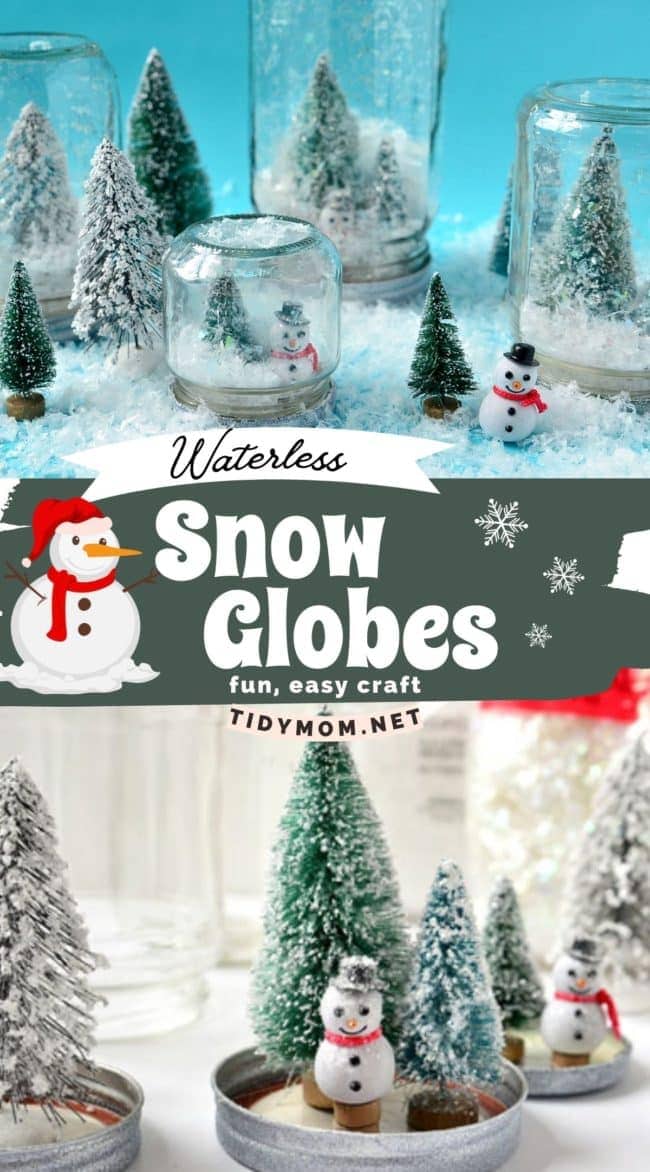
Like This Easy Waterless Snow Globe Craft? Pin It!
Waterless Snow Globes
A fun twist to a traditional winter craft. Learn how to make waterless snow globes.
Materials
- Glass jars (varying sizes look best for a collection)
- Artificial Snow (I used Snow Flakes and Twinkle Flakes)
- Assorted mini Christmas Trees and mini snowmen
- Spray Adhesive (optional)
- glitter (optional)
- Krylon Glitter Blast (or white spray paint)
Tools
- Glue gun and glue
Instructions
- Start by removing the lids and paint them with the spray paint. I used the Krylon Glitter Blast in silver, but white would work just as well.
- Next, and this is totally optional (step not shown) – I sprayed the trees and snowmen with spray adhesive then sprinkled with glitter for a little extra sparkle.
- Hot glue your trees and snowmen to the lids (if using canning jars glue the lids to the rings).
- Fill the jars with just a little snow. You don’t need much, you don’t want the snow to bury your snowmen or trees. Just add enough snow to cover the bottom of the jar.
- Since your trees and snowmen are glued to the lid, you can now pick up the lids and screw them back on to the jar.
- Turn them over and you’re done!
Notes
Step-by-step photos can be found in the blog post.
For artificial snow I used Snow Snow Flakes and Twinkle Flakes
You can add any small seasonal figures you'd like, such as snowmen, lamp posts, deer, santa. Use larger jars for larger objects.
Recommended Products
As an Amazon Associate and member of other affiliate programs, I earn from qualifying purchases.

Tidymom is a participant in the amazon services llc associates program, an affiliate advertising program designed to provide a means for sites to earn advertising fees by advertising and linking to Amazon.com.
Please respect my work, recipes and photographs. If you do use a recipe in your own writing, please give proper credit and link back to the original post.

