

No-Churn Cherry Garcia Ice Cream
This post may contain Amazon or other affiliate links. As an Amazon associate, I earn from qualifying purchases.
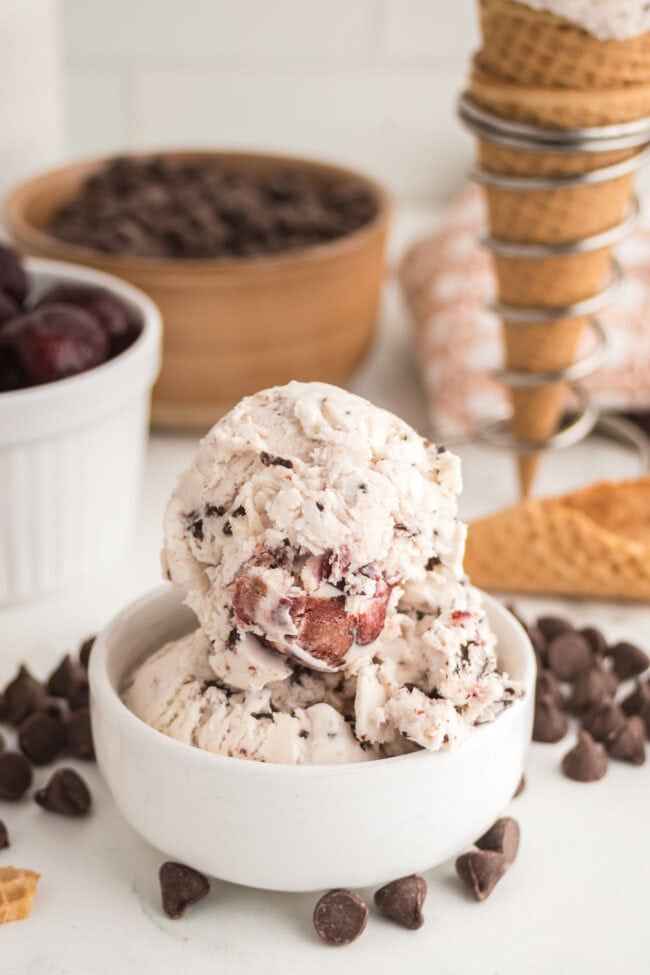
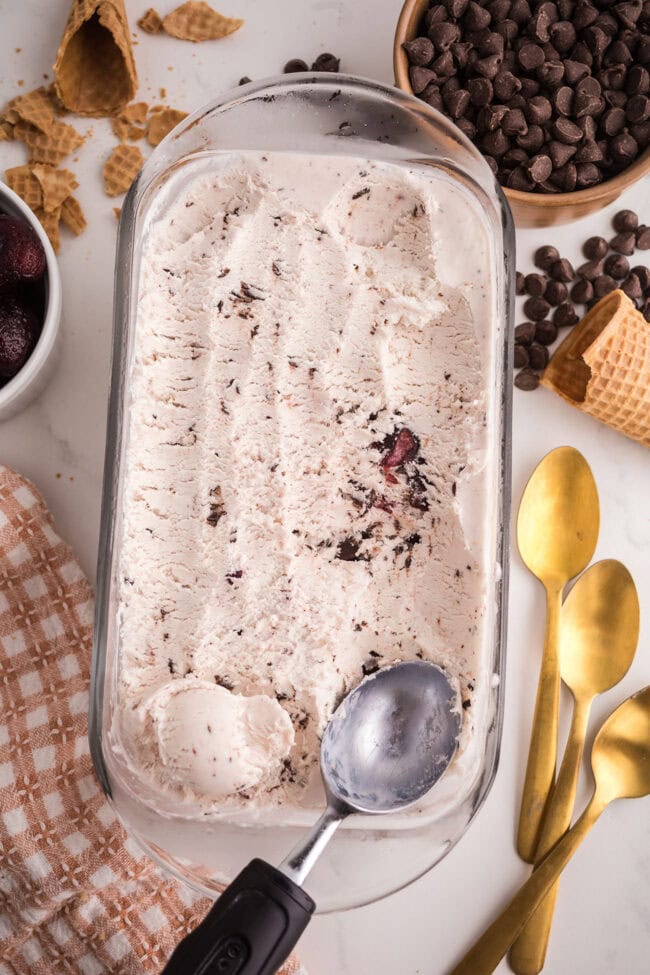
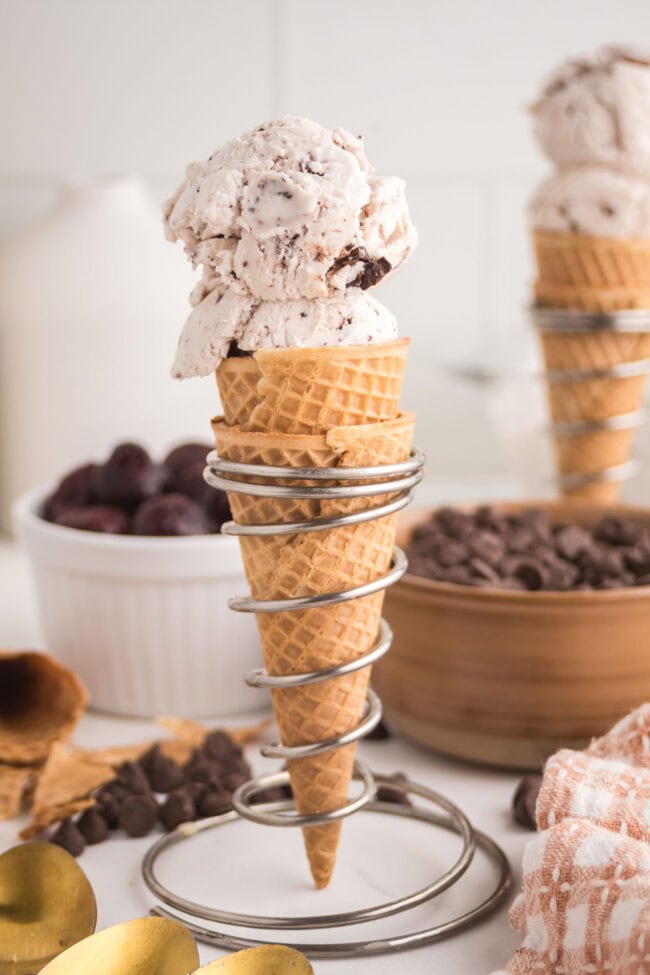
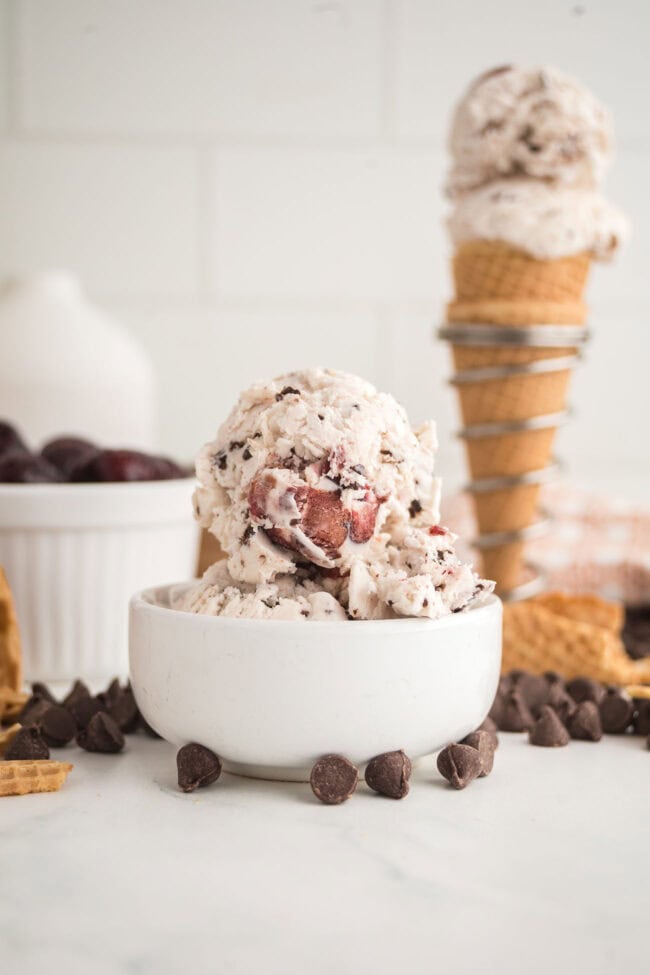
This No-Churn Cherry Garcia Ice Cream is creamy, loaded with sweet cherries and chocolate chunks, and ridiculously easy to make at home, no ice cream maker needed.
If you love that classic cherry-and-chocolate combo, this homemade version delivers all the nostalgic ice cream shop vibes with just a handful of simple ingredients.
Chocolate and cherry desserts are always a favorite around here, so don’t miss my Cherry Garcia Cookies, Brownie Cherry Cheesecake, and Chocolate Cherry Cake, too.
Table of Contents
Why Is It Called Cherry Garcia?
Cherry Garcia became famous thanks to the iconic Ben & Jerry’s flavor named after Grateful Dead guitarist Jerry Garcia. The combination of sweet cherries and rich chocolate chunks quickly became a fan favorite, and honestly, it’s easy to see why.
Why You’ll Love This No-Churn Ice Cream
- Creamy, scoopable texture
- Loaded with sweet cherries and chocolate chunks
- Easy make-ahead summer dessert
- Made with just a handful of simple ingredients
- Perfect for keeping in the freezer all summer long
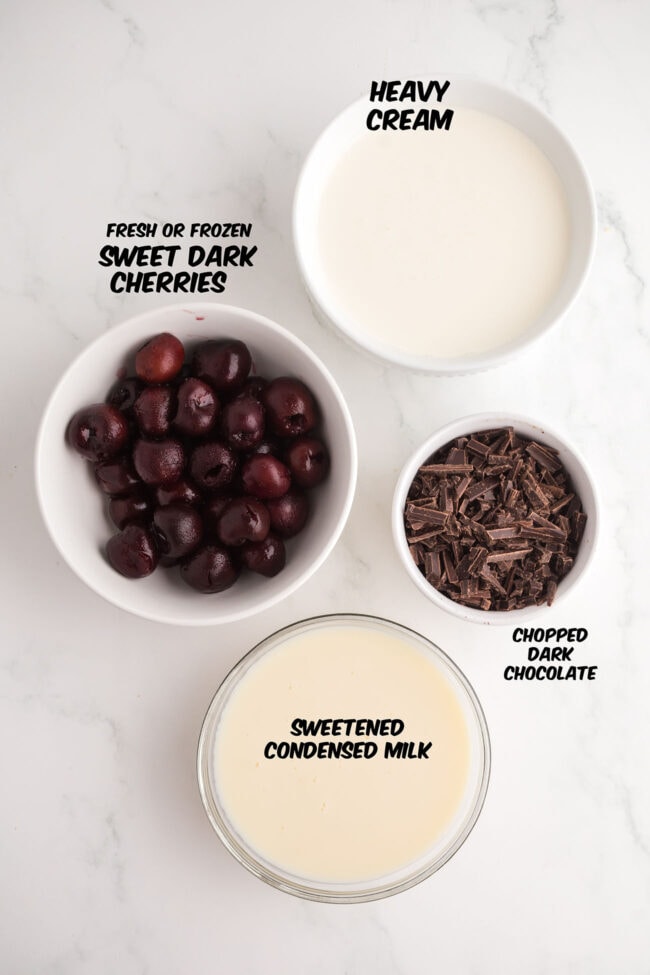
What You’ll Need
For specific amounts, please refer to the printable recipe card at the bottom of the post.
- Heavy whipping cream
- Sweetened condensed milk
- Sweet dark cherries
- Dark chocolate or chocolate chunks
How To Make No-Churn Cherry Garcia Ice Cream
When you are making this recipe, you’ll want to use the full recipe at the bottom of the page.
Whip The Cream
Use a hand mixer to whip the heavy cream until stiff peaks begin to form. That light and fluffy whipped cream is what gives this ice cream such a smooth, creamy texture.
Fold In The Mix-Ins
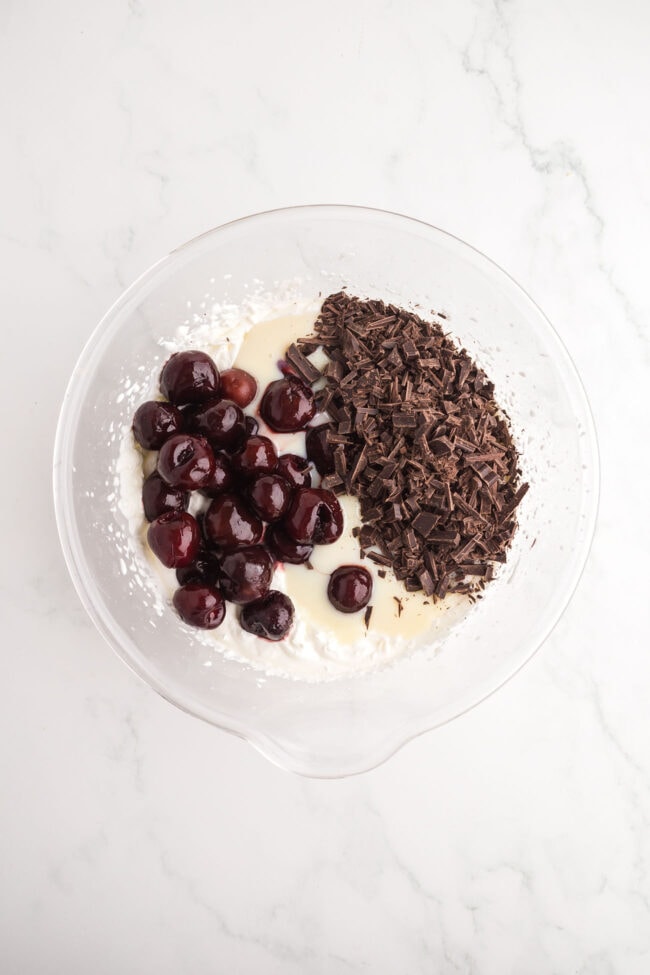
Gently fold in the sweetened condensed milk, chopped chocolate, and cherries until combined. Be careful not to overmix because knocking too much air out of the whipped cream can leave the ice cream dense instead of creamy.
Freeze
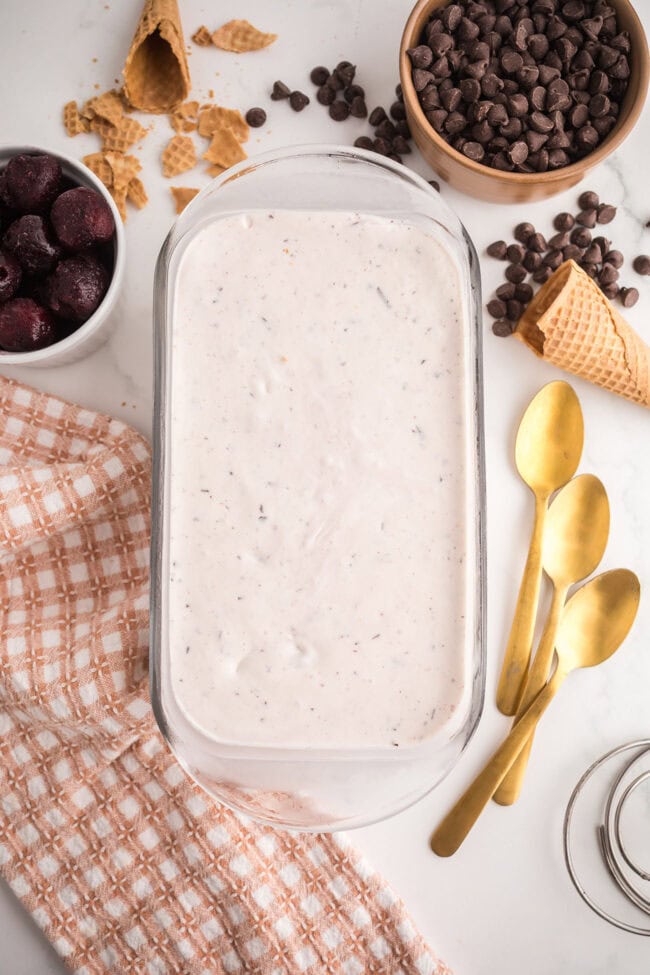
Spread the mixture into a loaf pan, cover tightly, and freeze until firm. Depending on your freezer, this usually takes about 4 to 6 hours, but when I have the time, I always make it the night before so it can freeze overnight.
Scoop & Serve
Let the ice cream sit on the counter for a few minutes before scooping for the creamiest texture.
TidyMom Tips
⭐ I tend to use frozen sweet cherries that have been thawed. They get softer and juicier, which helps release more cherry flavor and gives you better cherry distribution throughout the ice cream.
⭐ Make sure you’re using sweet dark cherries here — not maraschino cherries.
⭐ Be gentle when folding everything together so the whipped cream stays light and airy.
⭐ Keep the ice cream tightly covered to help prevent freezer burn.
Frequently Asked Questions
Absolutely. I actually prefer them here because they soften beautifully and add even more cherry flavor and color.
Anything from dark chocolate chunks to semi-sweet chocolate chips works well, so use your favorite.
Keep it tightly covered, and it’ll stay good in the freezer for up to 2 months, although around here it disappears long before that 😄
Homemade ice cream freezes firmer than store-bought varieties. Let it sit on the counter for a few minutes before scooping.
This is one of those desserts that’s almost impossible to stop at one scoop. Between the sweet cherries, chocolate chunks, and creamy texture, it’s a summer treat everyone gets excited about. If you give it a try, I’d love to hear what you think!

No-Churn Cherry Garcia Ice Cream
Creamy no-churn Cherry Garcia Ice Cream made with sweet cherries, rich chocolate chunks, and simple ingredients for an easy homemade frozen dessert everyone loves.
Ingredients
- 2 cups heavy cream
- 1 (14 ounce) can sweetened condensed milk
- 1 ¼ cups chopped dark chocolate
- 2 cups sweet dark cherries, fresh or frozen , fresh or frozen.
Instructions
- If you are using frozen cherries, place them in a bowl of cool water and let them thaw in the fridge for 10-15 minutes.
- Use an electric hand mixer to whip your cream for about 3-5 minutes, or until stiff peaks begin to form.
- Gently whisk in the condensed milk, chocolate, and cherries. Make sure the condensed milk is fully incorporated with the whipped cream.
- Spread your ice cream mixture into a 9x5 inch loaf pan and cover it with plastic wrap. Let your ice cream freeze for about 5 hours, or until firm to the touch.
- Scoop, serve, and enjoy!
Notes
Nutrition Information:
Yield: 8 Serving Size: 1Amount Per Serving: Calories: 66Total Fat: 5gSaturated Fat: 3gUnsaturated Fat: 2gCholesterol: 10mgSodium: 9mgCarbohydrates: 6gFiber: 0gSugar: 5gProtein: 1g
Nutrition information is estimated based on the ingredients and cooking instructions as described in each recipe and is intended to be used for informational purposes only. Please note that nutrition details may vary based on methods of preparation, origin, and freshness of ingredients used and are just estimates. We encourage, especially if these numbers are important to you, to calculate these on your own for most accurate results.
Hi there, I'm Cheryl!
As a wife, mom, and caffeine enthusiast, my journey has taken me from bustling mornings with my family to sharing delicious recipes, home care tips, and heartfelt decorating insights with wonderful readers like you. My love for baking, photography, and tidiness shines through every post I craft. Dive into my world and discover the art of homemaking, one tidy moment at a time. Read more...
Tidymom is a participant in the amazon services llc associates program, an affiliate advertising program designed to provide a means for sites to earn advertising fees by advertising and linking to Amazon.com.
Please respect my work, recipes and photographs. If you do use a recipe in your own writing, please give proper credit and link back to the original post.