Mod Podge Frame tutorial
This post may contain Amazon or other affiliate links. As an Amazon associate, I earn from qualifying purchases.
I stick with SIMPLE projects.
But I learned something this week…….
***I CAN be crafty!***
I have found a new SIMPLE project that I had a lot of fun with over the weekend!
I made some fun easy Valentine picture frames!
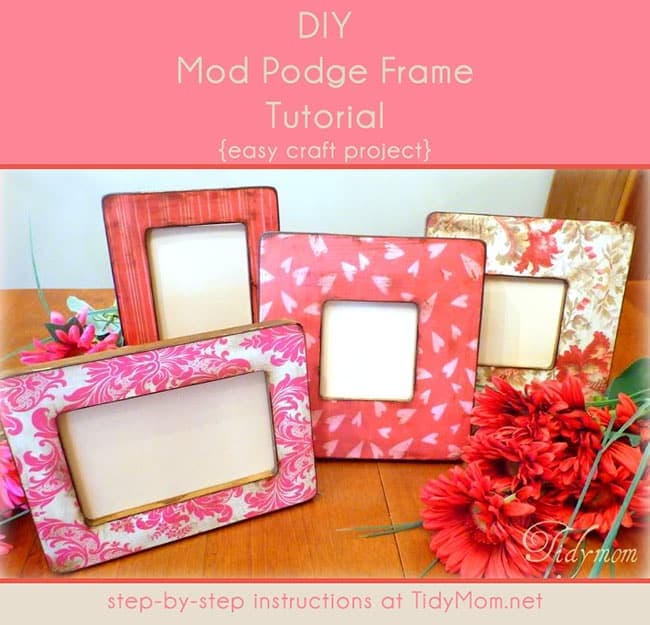
and NON-Valentinesy (yes, I made up that word lol) frames
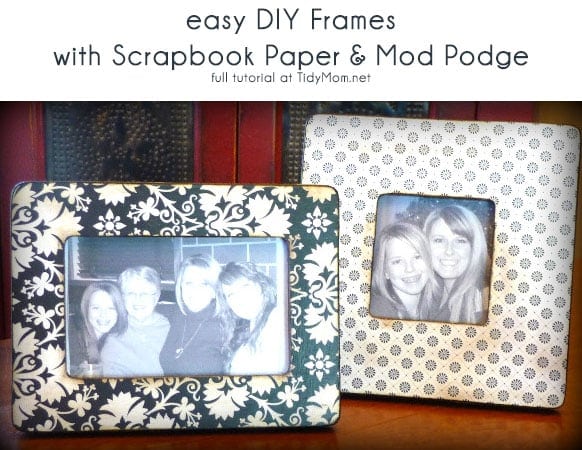
I can’t wait to make more of these (and I will certainly be doing these for Christmas this year!)
Like I said, these are really easy (and cheap).
But since some of you may be a little “crafty challenged” like I am, and like “visuals”, I made a tutorial to so you can make your own!
Mod Podge Picture Frames Tutorial
Supplies:
Frame(s) – I got these for $1.00 each at Michaels
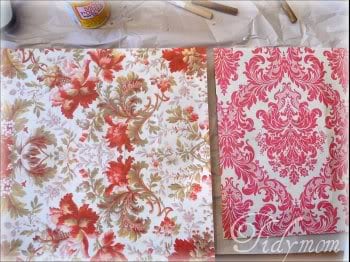
Scrapbook paper
Mod Podge
Stain Ink
sand paper
sponge applicator/brush
Exacto knife
Instructions
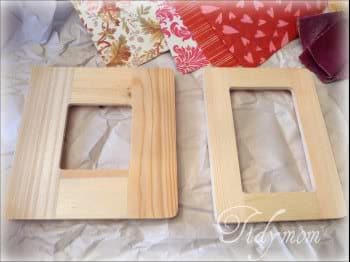
1) gather your unfinished wood frames
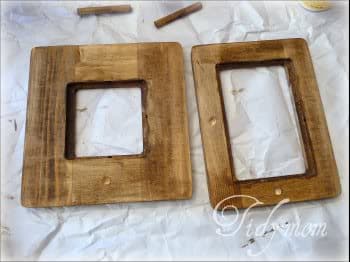
2) Stain the parts that will not be covered by paper. That means, the back, the inside and outside edges and the little doll rod.
Let the stain dry.
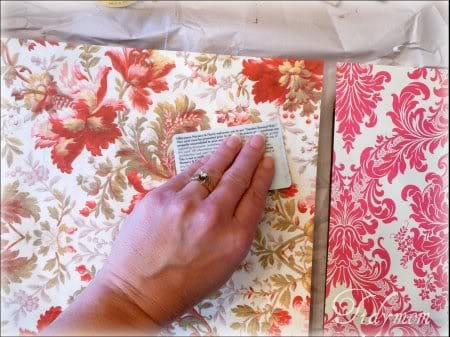
3) I forgot to take a picture of the next step – but you want to cover the front of the frame with a nice layer of ModPodge using your sponge brush. Let it “set” for about 30 seconds, then apply another layer of Mod Podge. Next place your scrapbook paper on top and smooth out bubbles.
I used a card to smooth out the bubbles really good.
Rub the card all over the frame.
4) Now you want to lay the frame face down and cut the paper around the frame, and the center.
Don’t worry, it doesn’t have to be perfect – we’re going to sand the edges next.
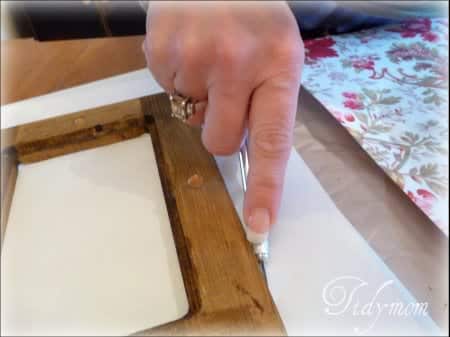
Here you can see how rough my cut edges are.
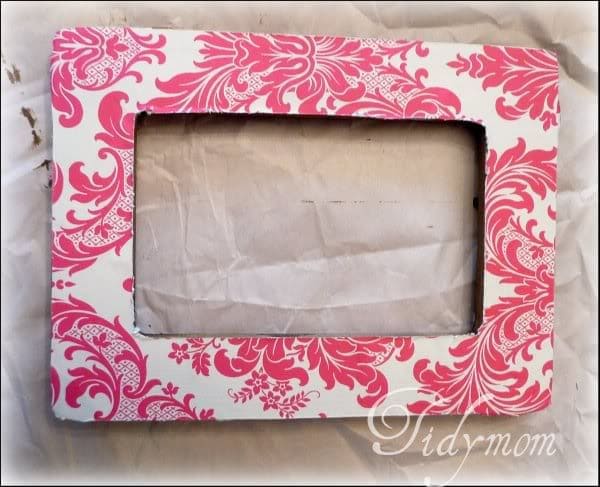
5) Now use your sandpaper to smooth out all of the sides/edges. For the inside corners I fold my sandpaper and rub up and down to get the corners sanded.
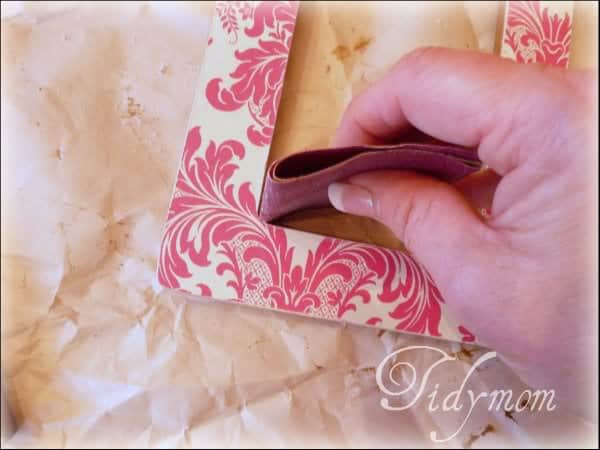
6) Next you want to use your ink/stain pad to cover up all of the white edges you got from sanding.
Run the stain pad over the edges, you can play with this part and stain as much or as little as you wish. If you tilt the pad, you will get more stain on the frame.
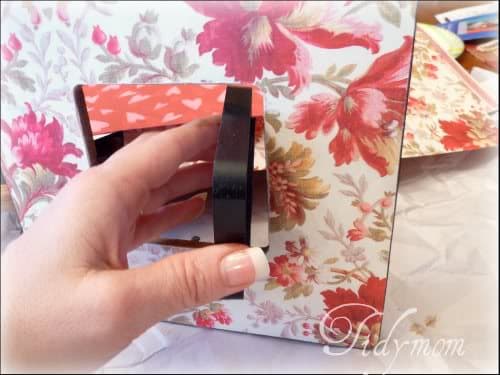
You can use a cloth or paper towel to get into the corners or to spread the stain over the paper.
I like to dab my cloth in the ink and wipe the whole paper with ink.
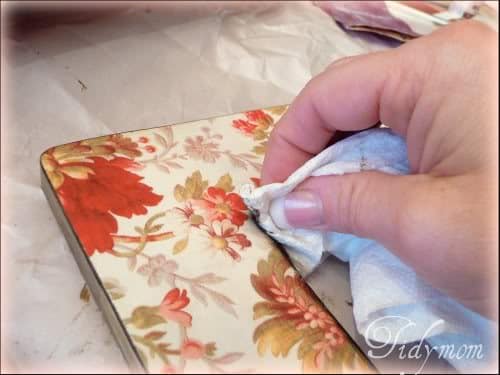
I then take the pad and wipe it on some spots and corners to make the ink darker in sporadic spots.
See how it’s dark and “worn” looking in some spots?
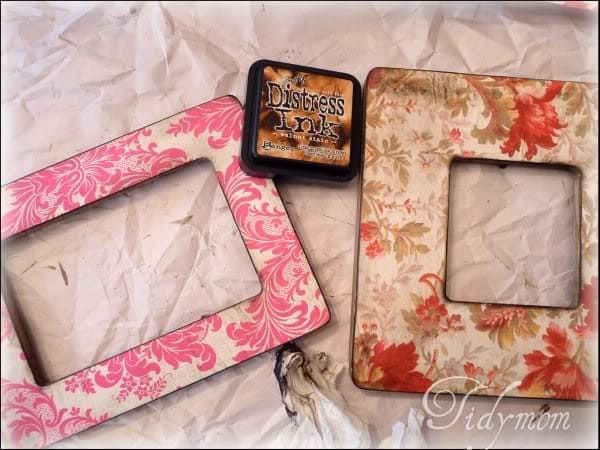
7) The final step, cover your frame, including sides, with 3 more layers of Mod Podge. Let it dry about 10-15 mins. between each coat.
Then……there you go! some great lookin’ frames! Easy Peasy!
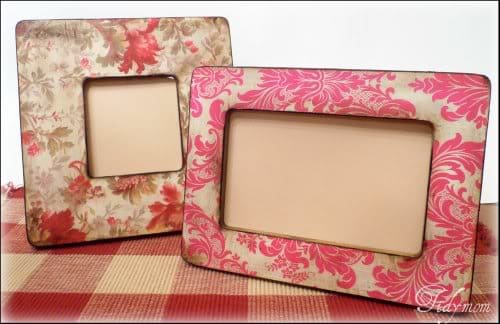
These only took about an hour and 15 mins to do 2 of them, that includes the drying time between coats.

Tidymom is a participant in the amazon services llc associates program, an affiliate advertising program designed to provide a means for sites to earn advertising fees by advertising and linking to Amazon.com.
Please respect my work, recipes and photographs. If you do use a recipe in your own writing, please give proper credit and link back to the original post.


Thanks for sharing – that is something I can totally do. Would make cute teacher gifts…for any occasion.
Thanks for sharing – that is something I can totally do. Would make cute teacher gifts…for any occasion.
what a great craft! Thanks for sharing.
what a great craft! Thanks for sharing.
Cute!
Cute!
Omigosh. From one craft-challenged gal to another, I am SO impressed. I don’t think I’d dare tackle that one, but those are GORGEOUS. What fun and lovely and yet practical gifts!
Omigosh. From one craft-challenged gal to another, I am SO impressed. I don’t think I’d dare tackle that one, but those are GORGEOUS. What fun and lovely and yet practical gifts!
I LOVE these!! I am going to try this out! I love *simple* projects!
I LOVE these!! I am going to try this out! I love *simple* projects!
What fun it is to click over here and get a TUTORIAL too!
Those frames are awesome! I will definitely be making some soon.
What fun it is to click over here and get a TUTORIAL too!
Those frames are awesome! I will definitely be making some soon.
those are great! I am going to try this myself;)
those are great! I am going to try this myself;)
those are so pretty! Way to go! And by the way, the puppet thing would have sent me off my rocker!
Off to read more.
Terra
those are so pretty! Way to go! And by the way, the puppet thing would have sent me off my rocker!
Off to read more.
Terra
Those are incredible. I’ll have to look at that better later. I am so impressed.
Those are incredible. I’ll have to look at that better later. I am so impressed.
Love those, very pretty! Thanks for the directions, too!
Last year I painted a frame and added a “Princess” sign to it and some fluffy fringe and framed my great-niece’s photo in it…but when I turned the frame around it was still bare…with black paint drops and smudges on it…very tacky! lol I’m so amateur when it comes to crafts! 😉
I am going to stumble this post for you, too 🙂
Gorgeous frames! Love the papers you used.
Gorgeous frames! Love the papers you used.
What a beautiful idea! You crafty types always amaze me. I love it!
What a beautiful idea! You crafty types always amaze me. I love it!
Those are really pretty! Great job! Hugs, Bobbi Jo
Those are really pretty! Great job! Hugs, Bobbi Jo
I love love love this idea!! I’ll be doing these to match my living room in the near future!!
http://elislids.blogspot.com/
I love love love this idea!! I’ll be doing these to match my living room in the near future!!
http://elislids.blogspot.com/
How cute are those! I love that you gave the tutorial for us! I haven’t done anything crafty in a while…but I think I will try these. Thanks for sharing!
How cute are those! I love that you gave the tutorial for us! I haven’t done anything crafty in a while…but I think I will try these. Thanks for sharing!
Those frames are gorgeous ! I love them and how simple to do ! I’ve never seen a stain pad like that. Where do you get them ?
Those frames are gorgeous ! I love them and how simple to do ! I’ve never seen a stain pad like that. Where do you get them ?
Cheryl~
That is very clever! I love the way those turned out.
I would like to know where you picked up your stain pad too. I have never seen those before either.
Great job by someone who claims not to be crafty!
Cheryl~
That is very clever! I love the way those turned out.
I would like to know where you picked up your stain pad too. I have never seen those before either.
Great job by someone who claims not to be crafty!
I got the ink pad at Michaels
Thanks everyone!!
~Tidymom
I got the ink pad at Michaels
Thanks everyone!!
~Tidymom
OMG! That you so much for sharing what you learned! I have the supplies to do this. It sounds perfect for the kids to help.
OMG! That you so much for sharing what you learned! I have the supplies to do this. It sounds perfect for the kids to help.
I am beyond impressed. I wasn’t even sure what Mod Podge was before reading this! 🙂
I am beyond impressed. I wasn’t even sure what Mod Podge was before reading this! 🙂
Beautiful! I will take one of each! Those turned out awesome!
Beautiful! I will take one of each! Those turned out awesome!
These are super cute!!!
These are super cute!!!
Love them! I’m linking ya!
Love them! I’m linking ya!
Me…not so crafty either, but this I think I can handle! Thanks for the great directions.
Any particular stain I should use?
Me…not so crafty either, but this I think I can handle! Thanks for the great directions.
Any particular stain I should use?
How pretty! The frame on the left at the bottom of your tutorial is the paper I used for my wedding invitations, which my sister and I made. Very beautiful!! And how wonderful it would be to make a frame in that one and put a wedding pic in it!!! See if DH catches the significance!! Wait…never mind…he’s a man, he won’t notice!
Take care,
Teresa