Wax Paper Bow | Gift Wrapping Tips
This post may contain Amazon or other affiliate links. As an Amazon associate, I earn from qualifying purchases.
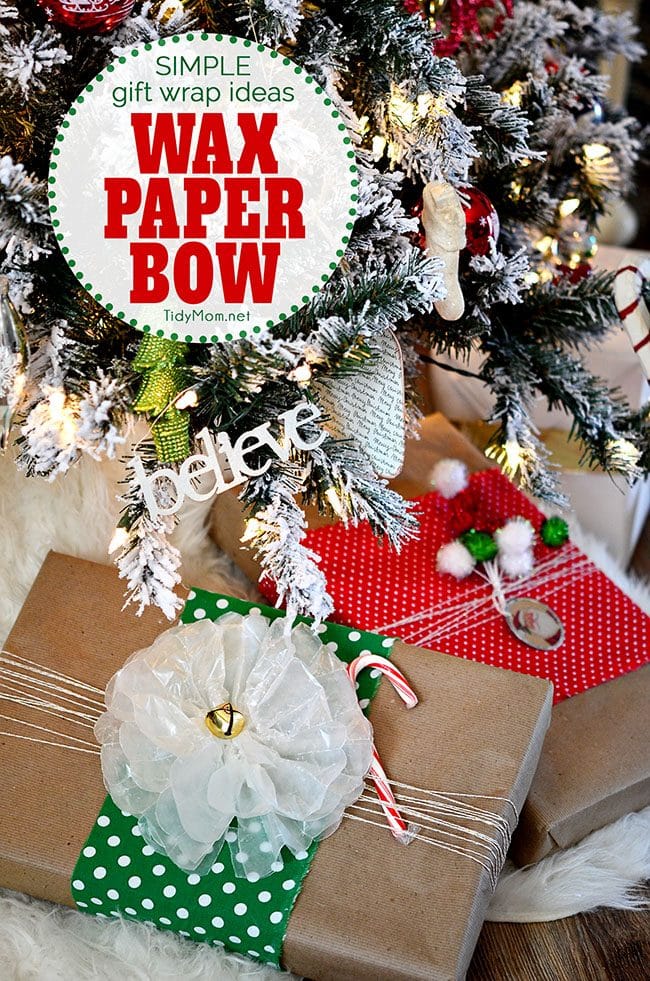
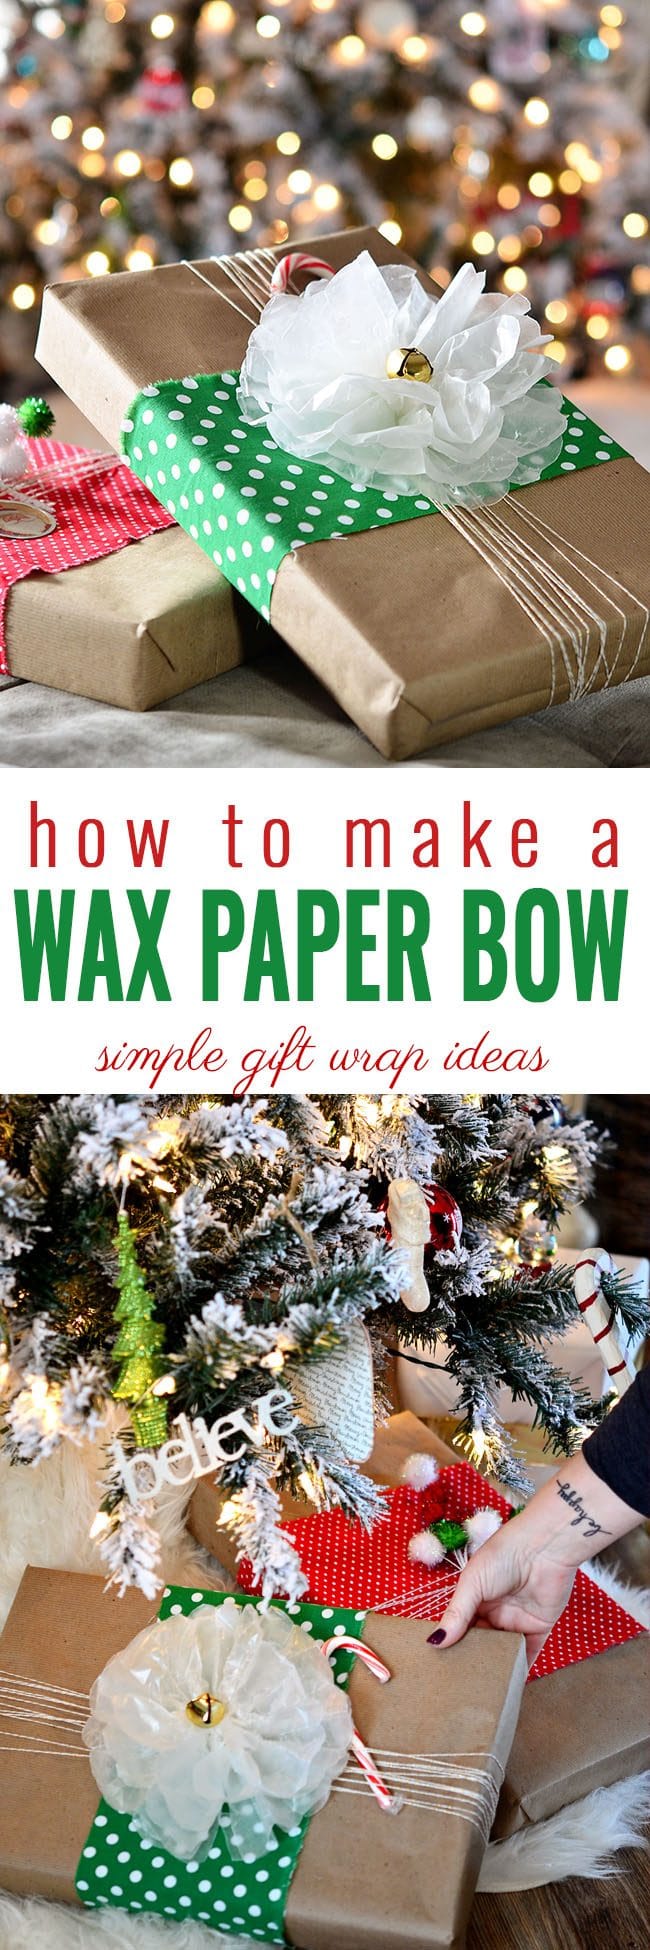
We are officially in the serious gift wrap season. I thought it would be a good time to share how to make a Wax Paper Bow and a few other gift wrapping tips to take ordinary wrapped presents and make them truly special.
One of my favorite things about giving gifts is wrapping them. Sometimes receiving a beautifully wrapped gift is almost as exciting as what’s inside the box!
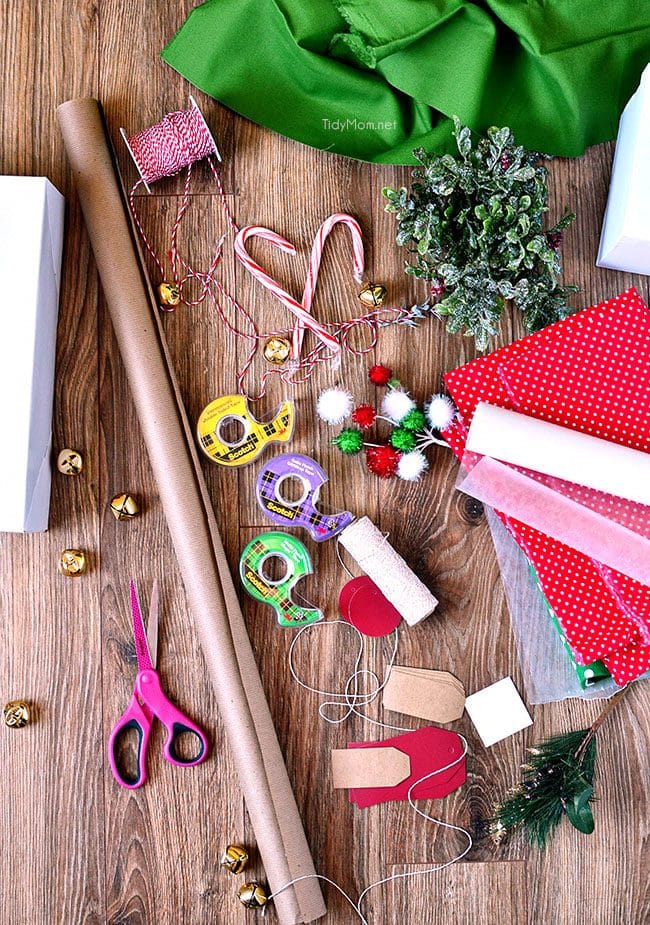
Get those fingers ready!! I pulled out my portable gift wrap station (aka an under-the-bed storage box) filled with Scotch® GiftWrap tape, scissors, rolls of gift wrap, ribbon, tags and more and started my gift wrapping!
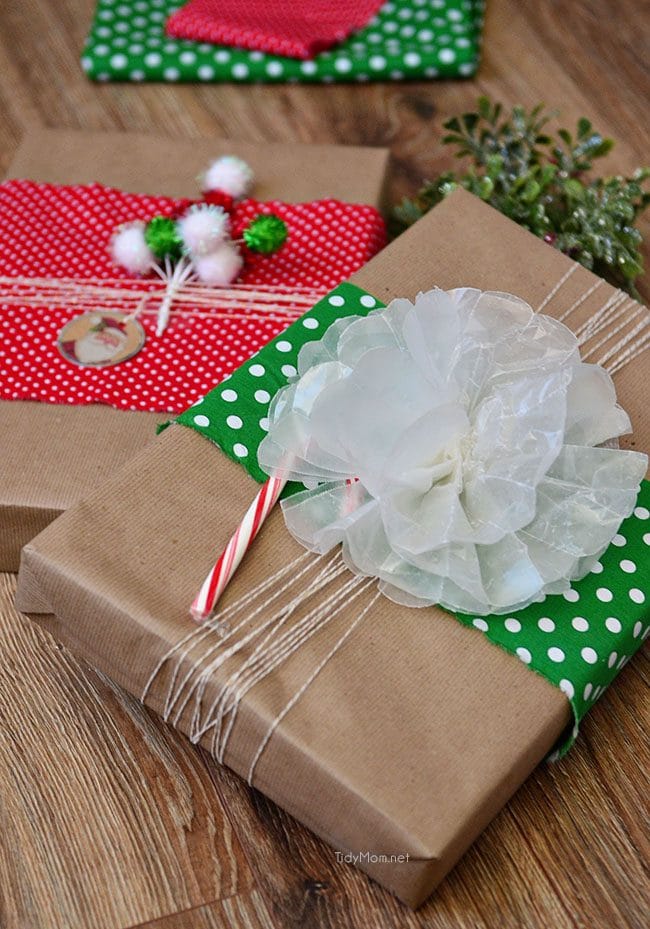
I like to keep a roll of brown kraft paper on hand. The neutral paper works for any occasion, and I can dress up the gift wrap with embellishments from around the house, such as fabric scraps, twine, florals, greenery, and even wax paper! Believe it or not, you can use everyday items to embellish your gift wraps and make your holiday season a little less stressful!
How to wrap a gift and make a wax paper bow
Materials Needed:
- Gift box(es) – with gifts inside
- Kraft paper
- Fabric scraps
- Twine
- 4 pieces of wax paper, each approximately 12-inches by 12-inches
- Materials from around your home such as glittered pom-poms, candy canes, floral picks, greenery, lollipops, yarn, feather, felt, twigs, etc.
- scissors
- gift wrap tape dispenser roll
- double Sided
Step-by-Step Instructions For Making a Wax Paper Bow:
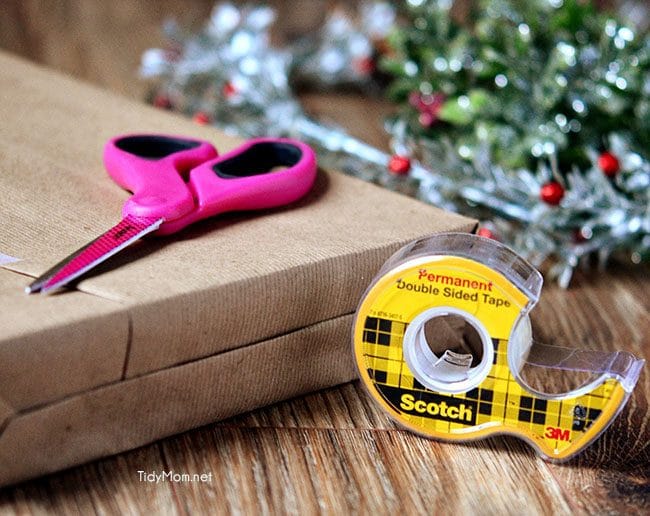
Gather supplies for wrapping as well as your gift(s). Start by measuring the kraft paper and cut to the size of the gift box using Scotch™ Designer Student Scissors. Tip: for a beautifully wrapped box you don’t want to use too much paper. When measuring, wrap the paper around the box, the ends should overlap just a couple of inches. When folded over the ends, the paper should extend just a little more than halfway.
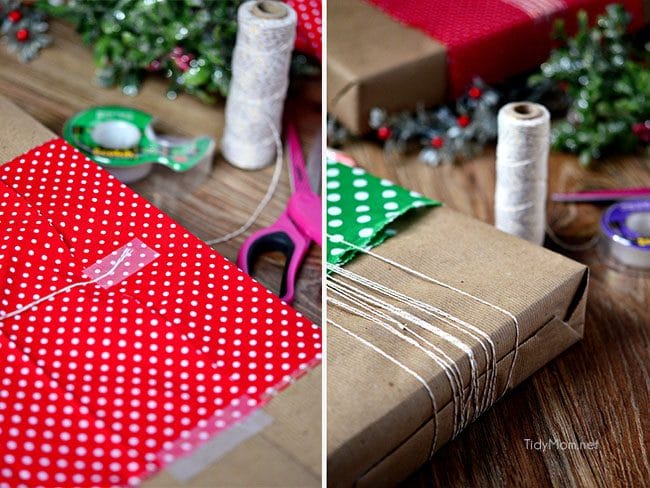
Fold the paper around the gift. Place the gift top side down on the center of the piece of gift wrap. On the horizontal side of the paper, wrap the paper around the box and pull the two long edges together so that they meet in the middle. Fold the cut edge (make sure it has a nice smooth crease), pull over the other end and pull it tight and secure with Scotch® Double-sided Tape or Scotch® GiftWrap Tape.
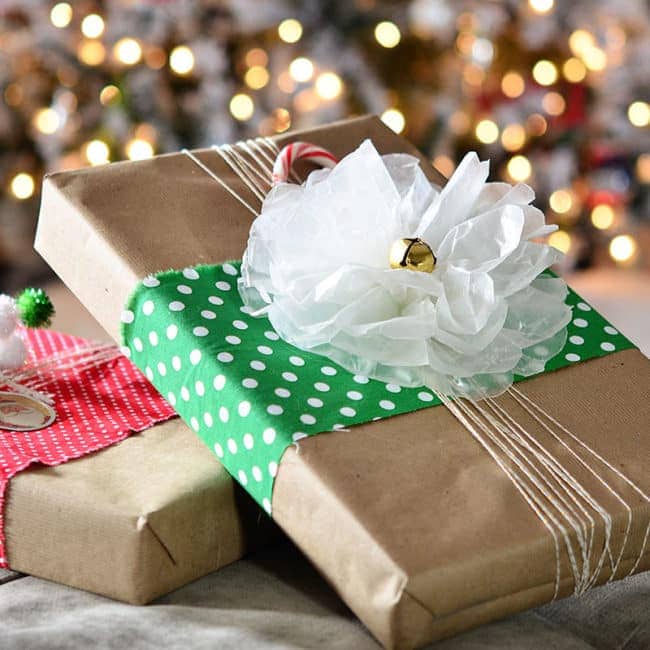
To embellish the gift, cut or tear a piece of scrap fabric that will fit around the box and secured it with Double-sided tape, then wrap twine several times around the box, in the opposite direction than the fabric. Secure ends with GiftWrap tape.
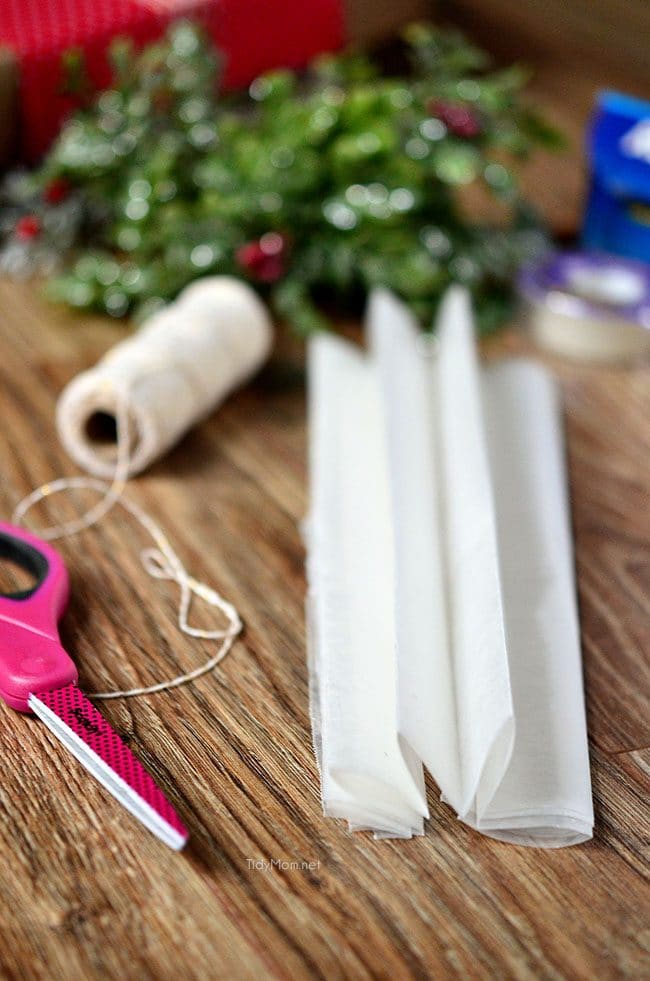
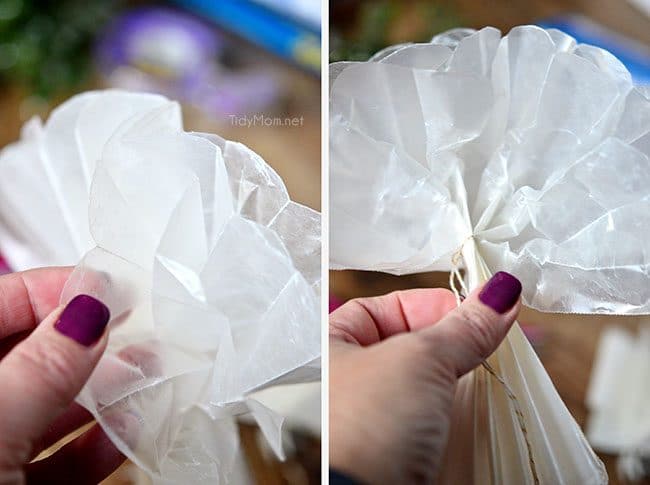
To make the wax paper bow; stack 4 pieces of wax paper on top of each other and fold accordion style, with each fold about 1-inch wide.
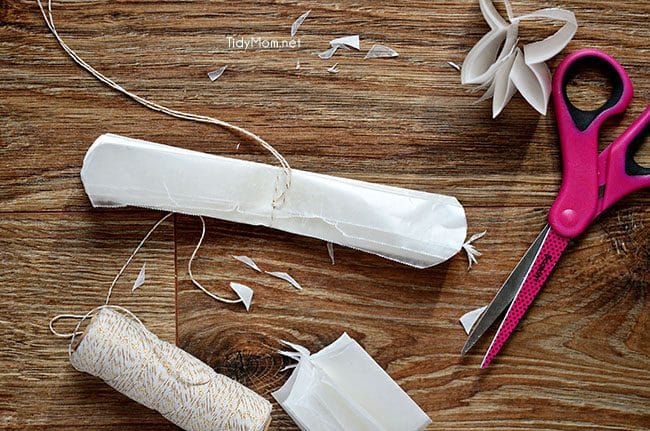
Once folded, use designer student scissors to cut a 6-inch piece of twine and tie the center of the folded wax paper.
Trim the ends of the folded wax paper into a rounded curve shape. Then, gently start to pull apart the layers of the wax paper bow flower by pulling the paper, one by one to the center.
Fluff the wax paper bow to your liking and attach to the gift with Scotch Brand Double-sided Tape.
Repeat Steps 1-5 to wrap your remaining gift boxes and use other materials around your home like glittered pom-poms, candy canes, lollipops, yarn, feather, felt, twigs, etc. to dress them up!
Have you started wrapping yet? Do you have some interesting creative gift wrapping tips? Share them in the comments below!
MORE Gift Wrapping Tips and Ideas
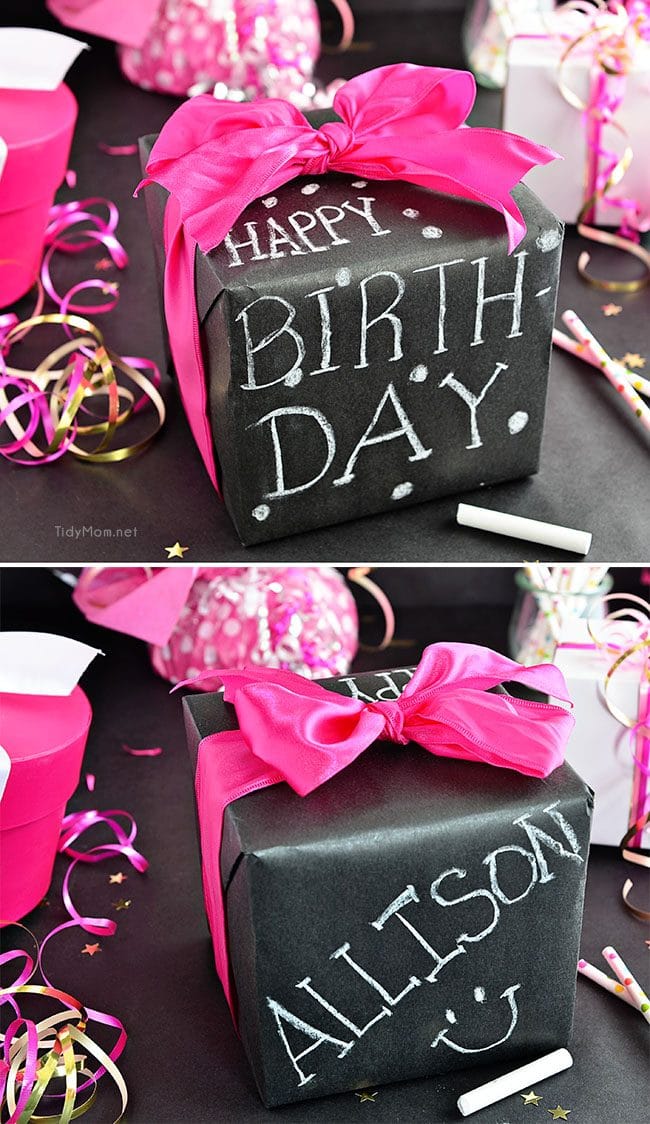
DIY Chalkboard Gift Wrap can be used for Christmas, too, by using holiday color ribbon and seasonal messages.
Plaid-Inspired Printable Christmas Gift Tags are an easy way to put a fun finishing touch on your holiday gift wrapping!
Wrapping a magazine worthy Christmas gift is so much easier than you might think! All you need is the right tools, a little time and these 10 best Christmas gift wrapping tips!
A sweet little DIY Christmas boxwood wreath bow is a festive way to add a little more pretty to plain brown craft paper gift wrap.
Make your own reusable gift wrap flannel bags! Not only is there no huge obnoxious garbage bag of gift wrap on Christmas morning, but it’s easy to wrap gifts. You slip the present in the bag, tie the ribbon, and move on!
Tidymom is a participant in the amazon services llc associates program, an affiliate advertising program designed to provide a means for sites to earn advertising fees by advertising and linking to Amazon.com.
Please respect my work, recipes and photographs. If you do use a recipe in your own writing, please give proper credit and link back to the original post.


I love this idea of wax paper bows! Great post!! 🙂
I remember making a version of these when I was kid. Yours are very pretty!
What a great use of an ordinary every day product! Love it.
You can also make bows out of tissue paper the same way. Very pretty, and colorful!
I am so sorry I for got I was already signed up but figured this may be just for Holidays I Love
your work & talent. Keep up your great work
Love All You Do For Us,
Thanks Sweetie,
Bonnie
This is a great post with so much information! I have definitely learnt a couple of things.
See your the kinda person I’d wanna do a gift exchange with. I go all out on wrapping my gifts too. I love love pretty gift wrapping.
What a cute idea. I can’t wait to try these bows. Thanks for sharing on Link Party Palooza.