DIY Mercury Glass {Tutorial}
This post may contain Amazon or other affiliate links. As an Amazon associate, I earn from qualifying purchases.
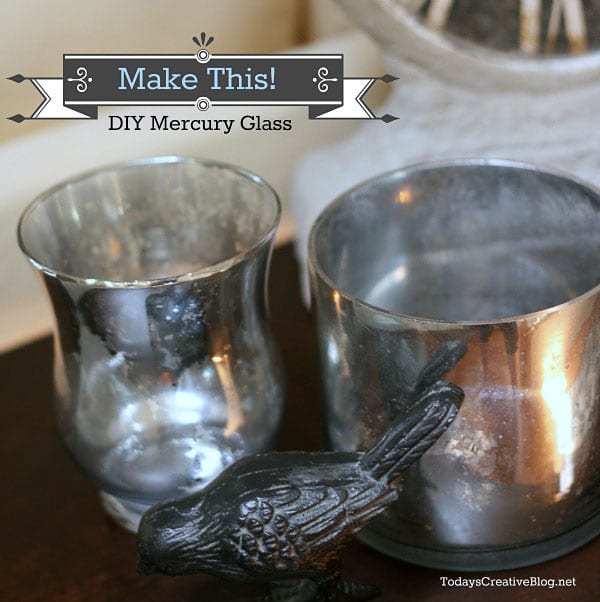
Today, my sweet friend Kim from Today’s Creative Blog is sharing how she made her own DIY Mercury Glass. Sparkle, shimmer, shine with out all the expense of real Mercury Glass . Kim’s step by step tutorial shows a simple and affordable method for transforming any piece of glass into a beautiful decor update with an antiqued mercury glass style finish. I’m letting her take the reins here on TidyMom while we’re moving to our new house!
While Cheryl is busy packing and moving across town, I thought I’d pop in from Today’s Creative Blog and share with you one of my latest obsessions. DIY Mercury Glass.
I love it! I never get tired of it. That aged, vintage and rustic look adds instant style into any room in my opinion. But dang……it can be expensive if you want anything bigger than a candle votive. I was determined to figure out how to create a few pieces myself.
After scouring the internet for different ways to achieve this look, I set out to make my own DIY Mercury Glass. I even shared this technique on my monthly TV segment here in Portland Oregon because I think everyone needs mercury glass somewhere.
DIY Mercury Glass Tutorial
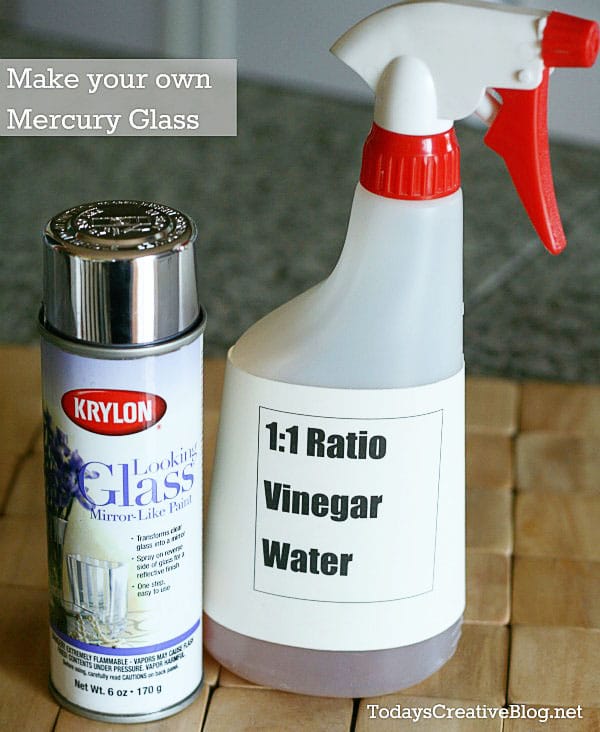
1. Looking Glass Spray Paint – I looked high and low for this stuff and couldn’t find it anywhere! I ended up buying off Amazon. The can is smaller than I thought and I should have bought 2 since I plan on spraying everything in my range.
2. Solution: Mix equal parts apple cider vinegar and water into a fine misting spray bottle.
3. Spray the INSIDE of your clear glass container. If your container has a narrow opening, just spray the out side………it will be OK. This paint is thin and runs really easily. I found spraying short bursts with about 6-8 inches away from my vase worked best. It dries pretty quickly too. (This spray paint is highly flammable like all spray paints and should be used in a well ventilated area and away from your hot water heater.)
4. Once your vase is dry, mist the spray painted area with a light mist of the vinegar solution.
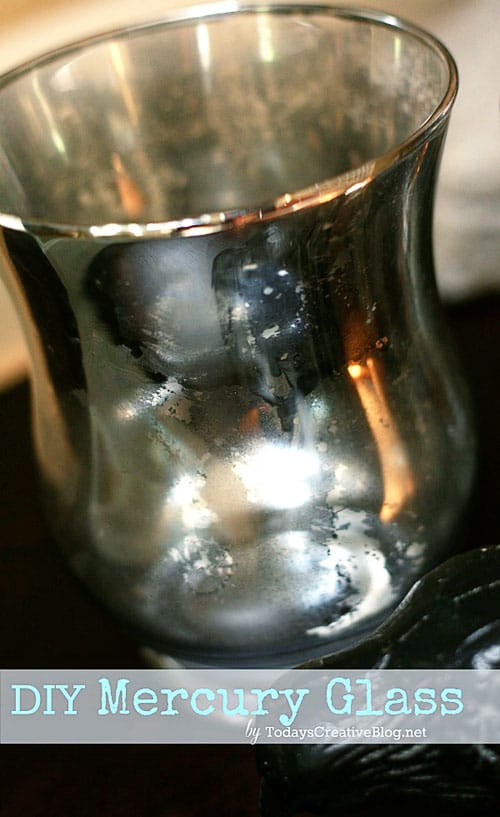
5. Using a cotton rag, gently blot to achieve the distressed look you’re wanting. I made the mistake of using a terry cloth rag at first and it left terry cloth marks.
6. Enjoy your new DIY Mercury Glass and try not to brag to all your friends that you made this………..oh who am I kidding? Tell everyone!
Have you ever tried making your own Mercury Glass?
Tidymom is a participant in the amazon services llc associates program, an affiliate advertising program designed to provide a means for sites to earn advertising fees by advertising and linking to Amazon.com.
Please respect my work, recipes and photographs. If you do use a recipe in your own writing, please give proper credit and link back to the original post.




This is so cool Kim! Can’t wait to try it!
Yippee! I was just looking at the stack of cool glass bottle out in my garage and wondering what I could do with them (before my husband goes crazy!) Now I know what to do! I can’t wait to give it a try. Thanks for the easy tutorial.
Genius! I love mercury glass! Great tutorial-thanks! 🙂
I love making my own mercury glass – and it’s very addictive too! 🙂 Yours turned out beautifully, Kim!
Cheryl, good luck with the move! So tiring but exciting. Can’t wait to see pics.
xo, Claire
Thanks for the tutorial Kim! I’m into the vintage thing, so this is definitely up my alley!
Good luck with the move Cheryl!
Great idea Kim!! Great to see you here:-)
Wow! I can’t wait to try it … thank you for sharing 😉
i love mercury glass! those vases are beautiful, Kim.
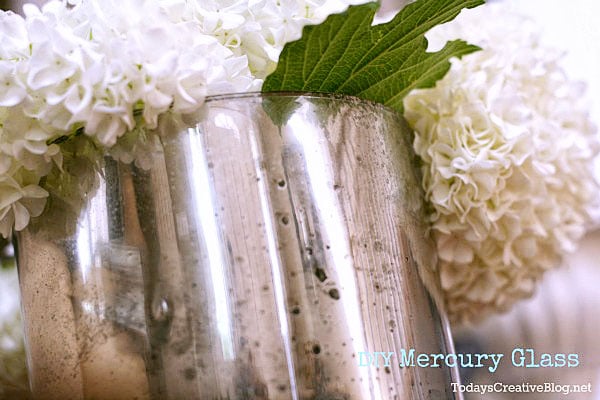
so pretty with the flowers!
xo
kellie
So neat!
This is so cool! I love this tutorial
I love the look of mercury glass – thanks so much for showing us how to do this!
hmm. wondering how the light globes on the ceiling fans would look done in this?
I love this!
So pretty!
I love how easy this is!
Well, this is the coolest thing ever!
My sister and I were just talking about Mercury Glass yesterday…THANKS for the DIY instructions…can’t wait to try this!! Also just found the Southwestern Eggs recipe…can you say “Girl’s Brunch”!?!?! Yummy!
~Susan
I was looking for tutorial like this, Thank you for sharing, can’t wait to try this, I have to go shopping ASAP 🙂 I also shared the tutorial on my Facebook
was thinking of trying on
vases for my daughter’s wedding. Will the finish hold up if water is put into vase?
I’m wondering if you’ve tried this on wood? I have a small wood table that is beat up and I wanted to sand it a bit and then try this technique on it. Thanks.
This looks like it would be so much fun to try out! Can you use regular white vinegar, or does it have to be the apple cider vinegar?
I have seen the looking glass paint at Home Depot!
i tried it on ceramic and the paint will not stick any suggestions