Mod Podge Frame tutorial
This post may contain Amazon or other affiliate links. As an Amazon associate, I earn from qualifying purchases.
I stick with SIMPLE projects.
But I learned something this week…….
***I CAN be crafty!***
I have found a new SIMPLE project that I had a lot of fun with over the weekend!
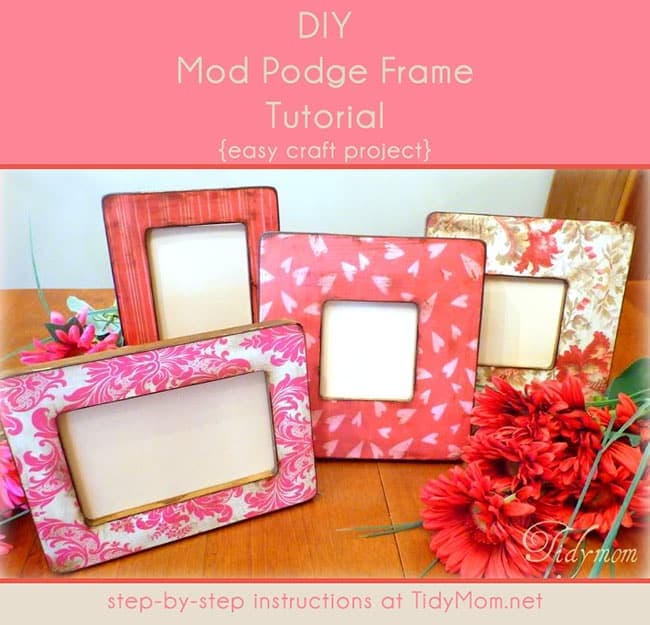
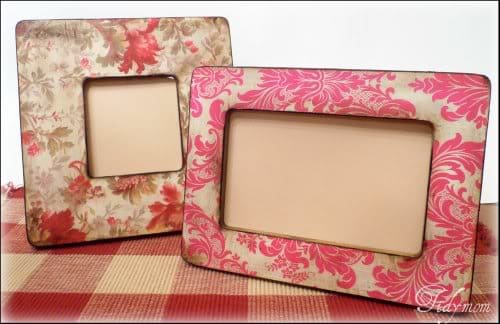
I made some fun easy Valentine picture frames!
and NON-Valentinesy (yes, I made up that word lol) frames
I can’t wait to make more of these (and I will certainly be doing these for Christmas this year!)
Like I said, these are really easy (and cheap).
But since some of you may be a little “crafty challenged” like I am, and like “visuals”, I made a tutorial to so you can make your own!
Mod Podge Picture Frames Tutorial
Supplies:
Frame(s) – I got these for $1.00 each at Michaels
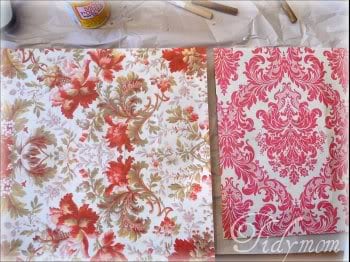
Scrapbook paper
Mod Podge
Stain Ink
sand paper
sponge applicator/brush
Exacto knife
Instructions
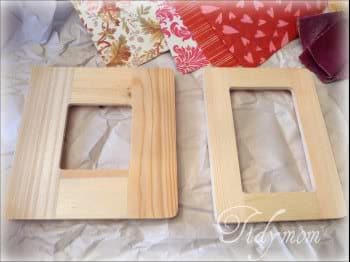
1) gather your unfinished wood frames
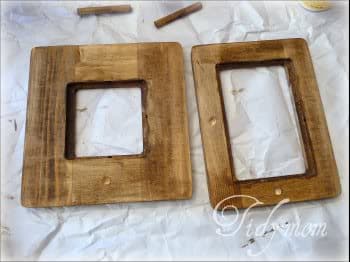
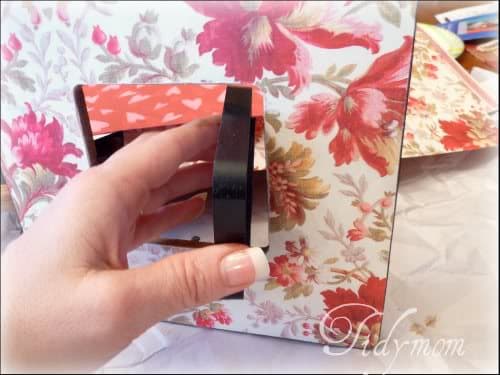
2) Stain the parts that will not be covered by paper. That means, the back, the inside and outside edges and the little doll rod.
Let the stain dry.
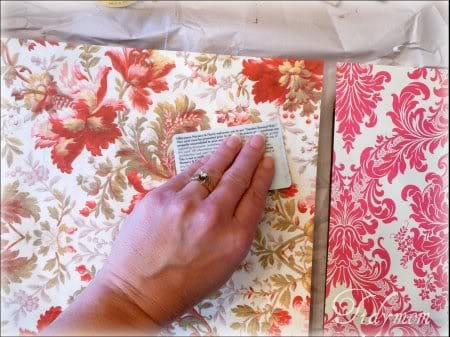
3) I forgot to take a picture of the next step – but you want to cover the front of the frame with a nice layer of ModPodge using your sponge brush. Let it “set” for about 30 seconds, then apply another layer of Mod Podge. Next place your scrapbook paper on top and smooth out bubbles.
I used a card to smooth out the bubbles really good.
Rub the card all over the frame.
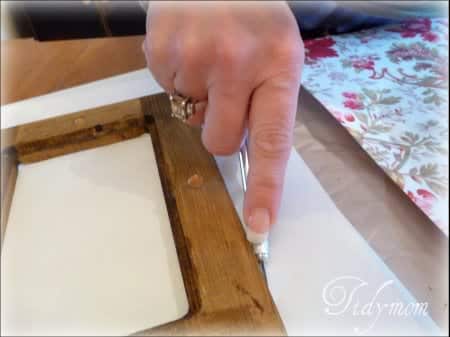
4) Now you want to lay the frame face down and cut the paper around the frame, and the center.
Don’t worry, it doesn’t have to be perfect – we’re going to sand the edges next.
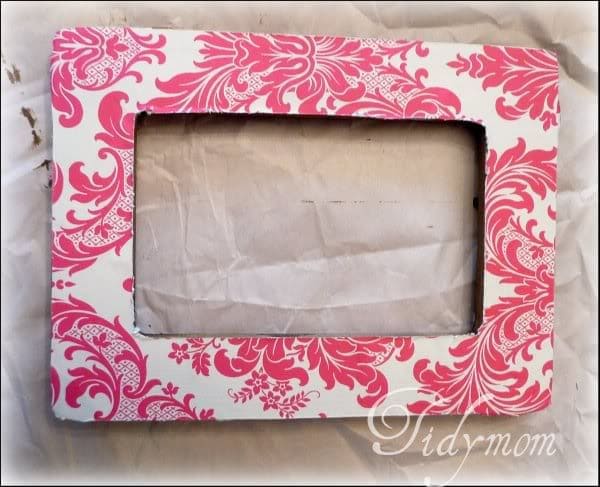
Here you can see how rough my cut edges are.
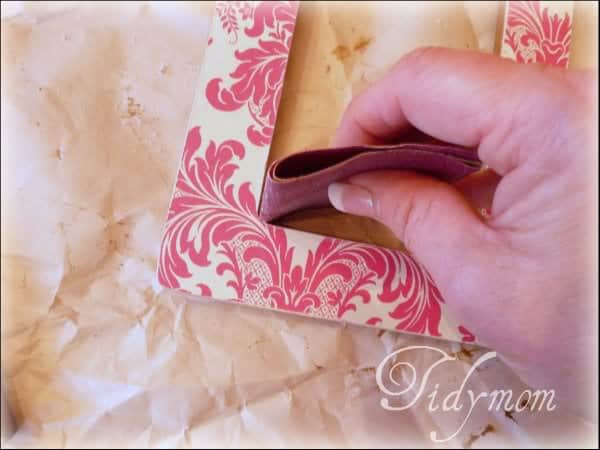
5) Now use your sandpaper to smooth out all of the sides/edges. For the inside corners I fold my sandpaper and rub up and down to get the corners sanded.
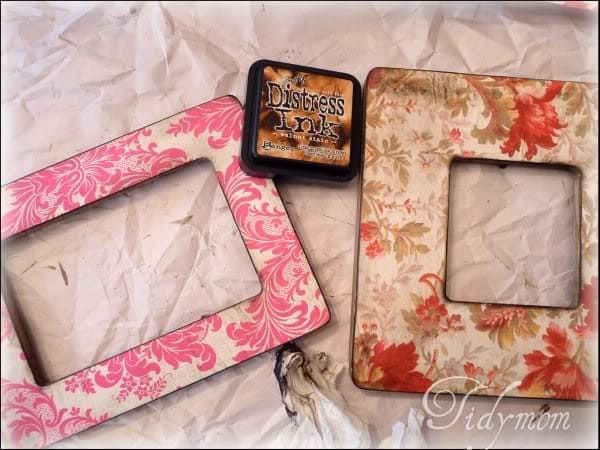
6) Next you want to use your ink/stain pad to cover up all of the white edges you got from sanding.
Run the stain pad over the edges, you can play with this part and stain as much or as little as you wish. If you tilt the pad, you will get more stain on the frame.
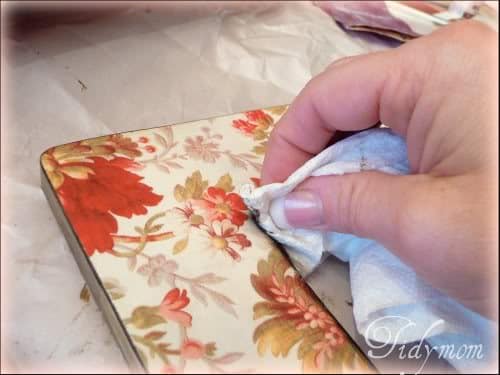
You can use a cloth or paper towel to get into the corners or to spread the stain over the paper.
I like to dab my cloth in the ink and wipe the whole paper with ink.
I then take the pad and wipe it on some spots and corners to make the ink darker in sporadic spots.
See how it’s dark and “worn” looking in some spots?
7) The final step, cover your frame, including sides, with 3 more layers of Mod Podge. Let it dry about 10-15 mins. between each coat.
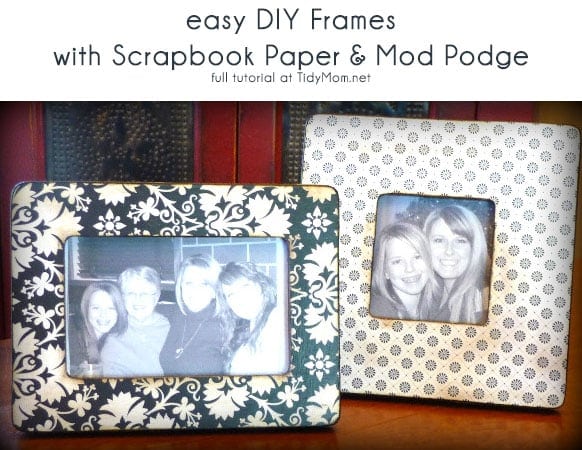
Then……there you go! some great lookin’ frames! Easy Peasy!
These only took about an hour and 15 mins to do 2 of them, that includes the drying time between coats.
Tidymom is a participant in the amazon services llc associates program, an affiliate advertising program designed to provide a means for sites to earn advertising fees by advertising and linking to Amazon.com.
Please respect my work, recipes and photographs. If you do use a recipe in your own writing, please give proper credit and link back to the original post.



Wow, so cute! What a great idea!
Wow, so cute! What a great idea!
What an adorable idea!
Came by the way of twitter..so now the “stalking/tweeting” begins…glad to have found you as your blog and cleverness can be very helpful to this sahm!
What an adorable idea!
Came by the way of twitter..so now the “stalking/tweeting” begins…glad to have found you as your blog and cleverness can be very helpful to this sahm!
Well, how crafty are you! Those are great. And your photo tutorial is so professional!
Love it!
Well, how crafty are you! Those are great. And your photo tutorial is so professional!
Love it!
I’M NOT USUALLY A “CRAFTY” GAL, BUT THIS IS ONE I’M GOING TO DO! THANK YOU!!! HUGS FROM MAINE http://sophie4me.blogspot.com/
I’M NOT USUALLY A “CRAFTY” GAL, BUT THIS IS ONE I’M GOING TO DO! THANK YOU!!! HUGS FROM MAINE http://sophie4me.blogspot.com/
Very Cute! My best friend and I started a “Mom’s Craft Night Out” once a month and I’m in charge of the craft…because I’m crafty. I have to be careful of what I plan because the other Moms are not crafty and if I pick something too complicated, I’ll be finishing all of theirs. Here is what we did for January’s craft. You could so do this. VERY easy!
http://cindis.blogspot.com/2009/01/moms-tie-one-on.html
These frames are awesome! I paint these frames all the time, but have never done this. I will be now! My mother’s bday is Friday….
Thanks for the tutorial!
~Misti
These frames are awesome! I paint these frames all the time, but have never done this. I will be now! My mother’s bday is Friday….
Thanks for the tutorial!
~Misti
Thanks for the tutorial! I’ll have to try it! Cheap and easy works for me!
-Kim
Thanks for the tutorial! I’ll have to try it! Cheap and easy works for me!
-Kim
As easy as this looks, I’m sure I could mess it up…
As easy as this looks, I’m sure I could mess it up…
Those papers you used were beautiful too! TFS!
Those papers you used were beautiful too! TFS!
Thanks you inspired me and I had a go, I didn’t use the mod podge though but next time I will. You can check mine out if you like at http://everydaymomofone.blogspot.com. Thanks for the great idea I never would have thought of it.
Thanks you inspired me and I had a go, I didn’t use the mod podge though but next time I will. You can check mine out if you like at http://everydaymomofone.blogspot.com. Thanks for the great idea I never would have thought of it.
Hi TidyMom! nice tutorial! makes me want to try it out though i’m not very good in crafts. hehe.
I saw your nails and they look like they were professionally done! The French tips look great =)
Hi TidyMom! nice tutorial! makes me want to try it out though i’m not very good in crafts. hehe.
I saw your nails and they look like they were professionally done! The French tips look great =)
I’ve always wondered how the smudged ink effect was done! Thanks,
kristen
I’ve always wondered how the smudged ink effect was done! Thanks,
kristen
SOO glad i found your blog. Love it! Found you on twitter. Following you. (@monogramgifts)
Paige
SOO glad i found your blog. Love it! Found you on twitter. Following you. (@monogramgifts)
Paige
This is waaaay cute! I love it and it does look really easy!
Thanks for sharing.
This is waaaay cute! I love it and it does look really easy!
Thanks for sharing.
I have been wanting to try this and now thanks to your step by step instructions i feel ready to do so….the ones that you made are so cute, i hope mine will turn out as well!
I have been wanting to try this and now thanks to your step by step instructions i feel ready to do so….the ones that you made are so cute, i hope mine will turn out as well!
Visiting from Today's Creative Blog. THIS IS SOMETHING I COULD DO! Thank-YOU! I'm not super creative… and this is somethign I could do… YAY! THanks!
Visiting from Today's Creative Blog. THIS IS SOMETHING I COULD DO! Thank-YOU! I'm not super creative… and this is somethign I could do… YAY! THanks!
So cute! And easy….
So cute! And easy….
Cheryl~I love these~they would be so cute in my girls' room! Great pics and great tutorial!
Cheryl~I love these~they would be so cute in my girls' room! Great pics and great tutorial!
These are adorable! Thanks for the tutorial!
These are adorable! Thanks for the tutorial!
Is there a certain type of Modge Podge that is best to use for paper to wood projects? Finish–Matte or Gloss? I've never used the stuff before. I'd love to make some of these up for Christmas. I have a bottle of the Paper Matte Modge Podge. Will it work for this project?
Thanks!
Is there a certain type of Modge Podge that is best to use for paper to wood projects? Finish–Matte or Gloss? I've never used the stuff before. I'd love to make some of these up for Christmas. I have a bottle of the Paper Matte Modge Podge. Will it work for this project?
Thanks!
KK – either should work fine – Gloss will just give it more luster/shinny finish
KK – either should work fine – Gloss will just give it more luster/shinny finish
The tutorial was here this morning and gone this afternoon! I just got back from Michael’s and can’t get the site to show anything but the comments. HELP!!! I have to do this. I just bought all the stuff 🙁
I LOVE this idea!! I am definitely going to try it. Are those standing frames that you used or did you add something to them?
Thanks:)
I made a few frames using this tutorial! I didn’t stain the wood though, instead I spray painted it and I didn’t add any distressed look with the ink because I liked how they looked.
Really cute gift idea. How did u get the frames to stand up? U didn’t mention if the frames came with stands. Thanks!!!
i just got finished making this and i love them! i made 6 (make great gifts) and it took me forever.. but it was worth it! i couldnt find ink anywhere so instead i just used some more stain with a sponge brush. they still have that worn look. thanks so much for the great idea!
When you bought the wood frames did it come with the back or how do it make it